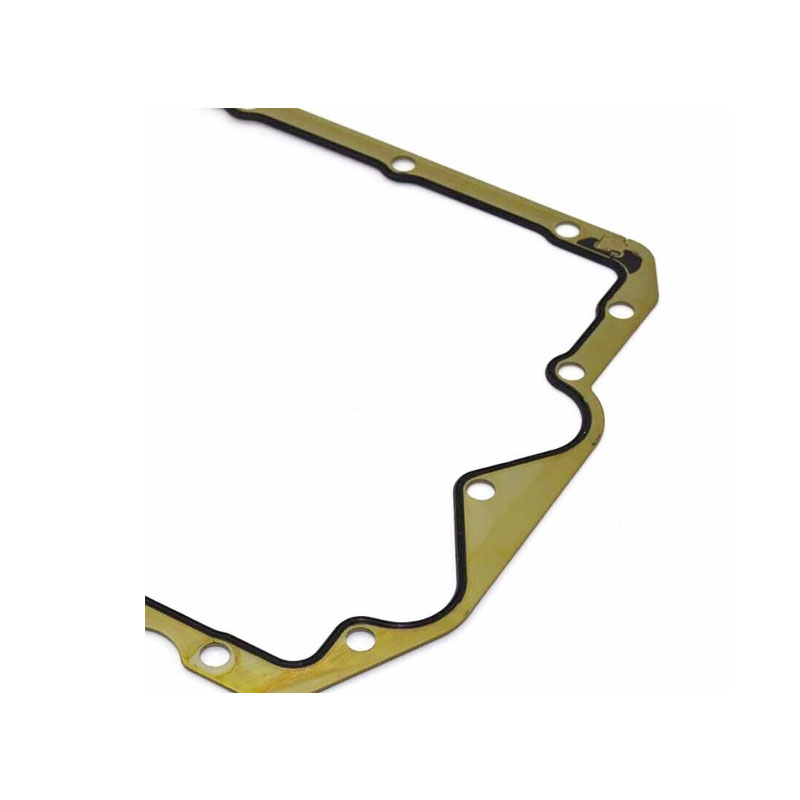
front crankshaft seal


Installing the new seal requires precision and care. Lightly lubricate the outer edge of the new seal with engine oil, and position it accurately over the crankshaft. Utilize a seal driver to press the new seal evenly into place, taking care not to tilt or twist the seal while installing it. Ensuring it is inserted straight will prevent potential leaks and ensure optimal functioning. Once the new seal is secure, proceed to reassemble the previously removed components. Reattach the crankshaft pulley using the torque wrench, ensuring it is fastened to the specified torque settings outlined in your vehicle’s service manual. Reinstall the serpentine belt and any other components removed during the process. Finally, reconnect the battery. After completing the installation, fill the engine with the appropriate amount of oil if necessary, and start the engine to observe the repair's effectiveness. Allow the engine to run and inspect for leaks during operation. This test not only checks for successful sealing but also serves to build confidence in your repair work. In conclusion, replacing a front crankshaft seal is a valuable skill for any car owner or automotive enthusiast. While it requires meticulous attention to detail and proper tools, mastering this repair can save time and money, while significantly contributing to the longevity and efficiency of your vehicle’s engine. By following proper procedures and using quality parts, you reinforce your car's performance and reliability, ensuring a smoother, more secure driving experience.
-
The Ultimate Guide to Boat Propeller Bearings and Trailer Wheel Bearings
News Jul.31,2025
-
The Essential Guide to Marine Bearings and Boat Trailer Wheel Bearings
News Jul.31,2025
-
The Complete Guide to Heavy Duty Seals: Protecting Doors and Spaces Efficiently
News Jul.31,2025
-
Essential Guide to Marine Shaft Bearings and Boat Trailer Axle Bearings
News Jul.31,2025
-
Comprehensive Guide to Marine and Trailer Bearings for Safe Boating and Transport
News Jul.31,2025
-
Comprehensive Guide to Automotive Oil Seals: Protecting Your Engine and Shafts
News Jul.31,2025
-
Understanding Automotive Oil Seals: Essential Components for Engine and Shaft Protection
News Jul.30,2025
Products categories


