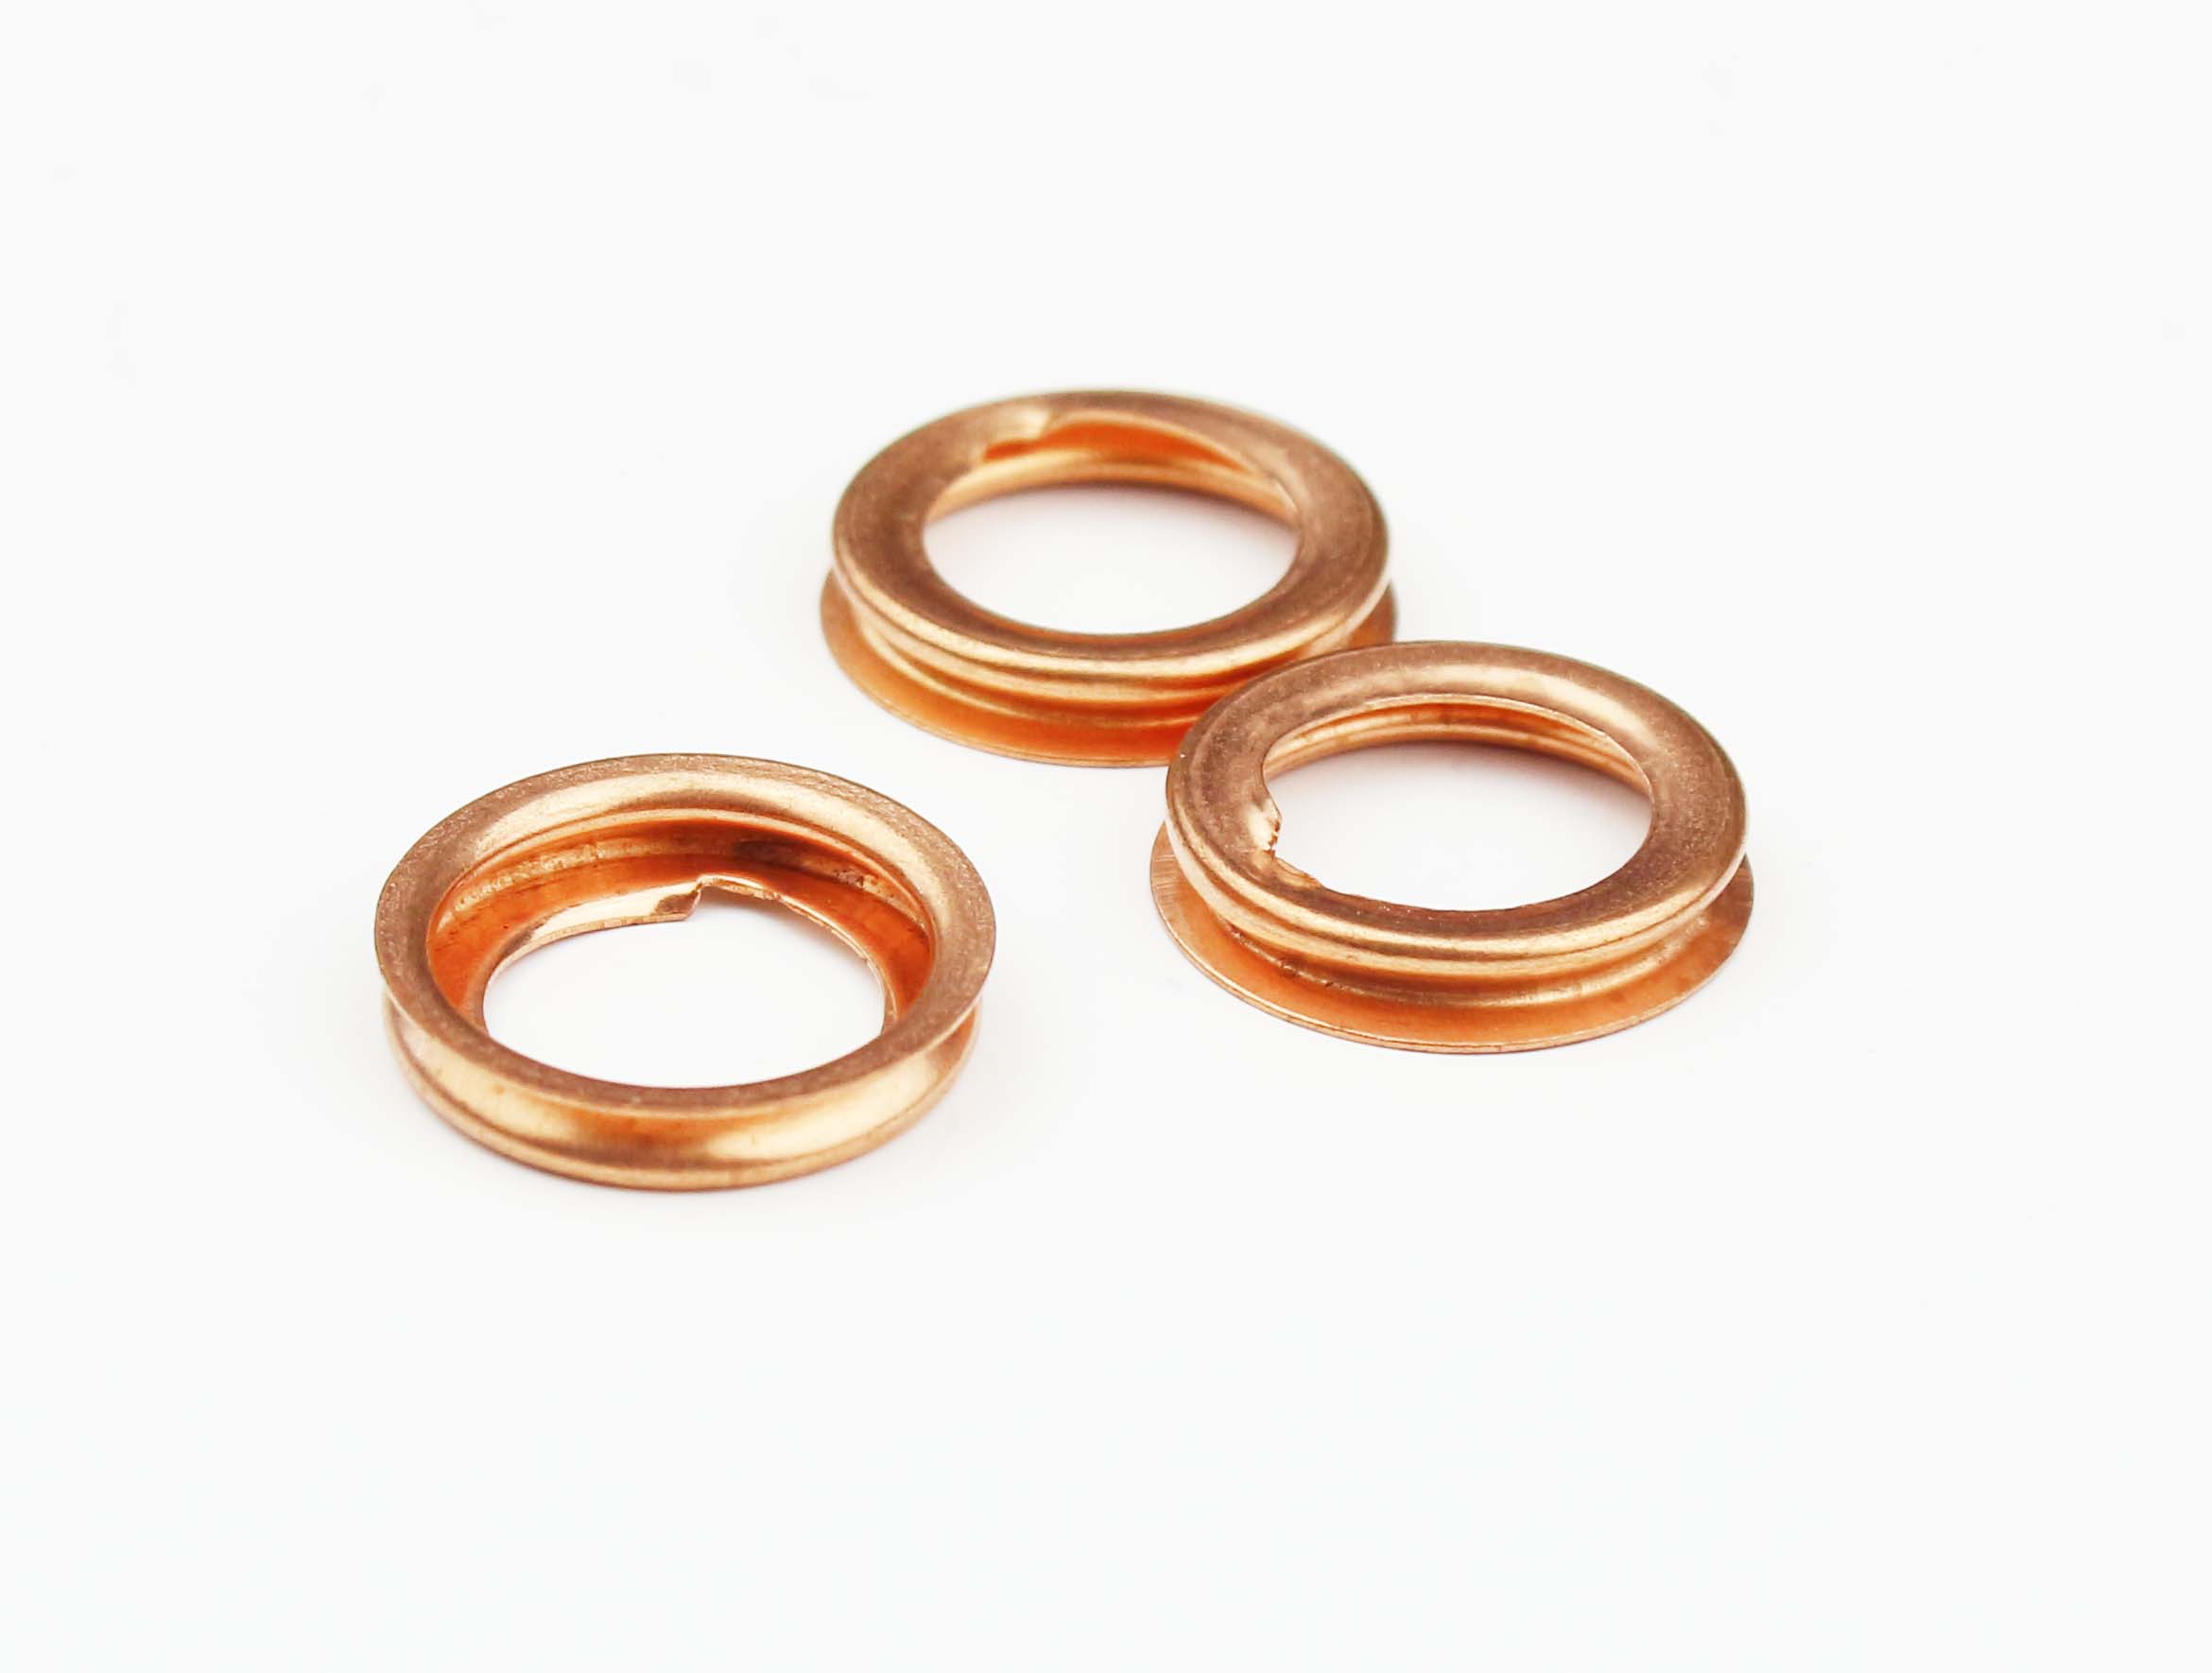
front crankshaft seal


Step-by-step, the replacement process involves meticulous planning. First, secure the vehicle on a flat surface and disconnect the battery to prevent any electrical mishaps. Drain the engine oil and remove components obstructing access to the crankshaft seal, such as the timing cover and harmonic balancer. Precision is key when removing the old seal. Use a seal puller, taking care not to damage the crankshaft surface. Thoroughly clean the area around the crankshaft to remove any oil residue or debris, ensuring a clean base for the new seal. Installation of the new seal requires precision. Gently position the seal onto the crankshaft, using a seal driver or a similarly-sized socket to evenly press it into place. Avoid forceful hammering which could potentially damage the seal or cause misalignment. Once seated snugly, reassemble the parts removed earlier, ensuring all bolts and nuts are torqued to the manufacturer’s specifications. Finish the process by replenishing engine oil and checking for any leaks after a short test drive. Proper maintenance post-installation includes regular oil checks and inspections for any signs of oil leakage. Engaging in routine checks prolongs the life of not only the seal but also other engine components. Educate yourself on the optimal conditions for your specific vehicle make and model, as these can influence the longevity of the components. Remember, expertise in crankshaft seal replacement not only saves time and money but also enhances your understanding of vehicle mechanics. It's essential to rely on credible sources and professionals for guidance and advice. Engaging with automotive communities online, such as forums and social media groups, can provide additional insights and support. By approaching this task with confidence and caution, you ensure a smooth and efficient experience that enhances vehicle performance and reliability.
-
Understanding the Front Main Engine Seal: Purpose, Maintenance, and Installation
News Jul.29,2025
-
Understanding O-Rings and Seal Rings: Types, Applications, and Custom Solutions
News Jul.29,2025
-
Understanding Crankshaft Oil Seals: Rear Seals, Pulley Seals, and Their Role in Engine Integrity
News Jul.29,2025
-
The Importance of Front and Rear Crankshaft Seals in Engine Performance and Oil Management
News Jul.29,2025
-
Crank Oil Seals: Functions, Types, and Cost Considerations in Engine Maintenance
News Jul.29,2025
-
A Comprehensive Guide to O-Rings and Seals: Types, Materials, and Global Applications
News Jul.29,2025
-
Mastering Diesel and Performance Engine Maintenance: A Guide to Critical Oil Gaskets
News Jul.28,2025
Products categories


