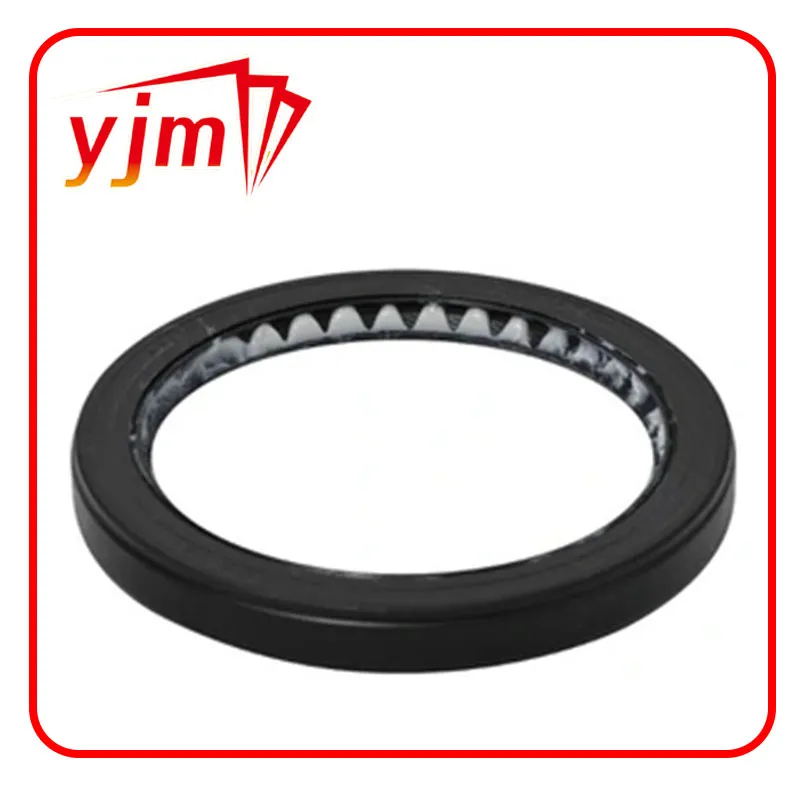
changing oil filter housing gasket
Changing the Oil Filter Housing Gasket A Step-by-Step Guide
The oil filter housing gasket is often an overlooked component in vehicle maintenance, yet it plays a crucial role in preventing oil leaks and ensuring your engine runs smoothly. Over time, this gasket can become brittle, leading to potential leaks that could affect your engine's performance. If you're experiencing oil leaks or simply want to perform preventive maintenance, changing the oil filter housing gasket is an essential task. This guide will walk you through the process, ensuring you can do it safely and efficiently.
Tools and Materials Needed
Before you get started, gather the following tools and materials
- New oil filter housing gasket - Oil filter (if replacing) - Socket set - Torque wrench - Screwdrivers (flathead and Phillips) - Oil catch pan - Clean rags - Engine oil (for refilling, if necessary) - Safety glasses and gloves
Step 1 Safety First
Ensure the vehicle is parked on a level surface and the engine is cool. Engage the parking brake and wear safety glasses and gloves to protect yourself during the process.
Step 2 Locate the Oil Filter Housing
Open the hood and locate the oil filter housing. The exact position will depend on your vehicle model, but it is usually situated at the top or side of the engine. Refer to your vehicle’s owner manual for specific instructions related to your model.
Step 3 Drain Oil (If Necessary)
If you are changing the oil filter as well, you might need to drain the engine oil first. Place the oil catch pan underneath the oil pan and remove the drain plug. Allow the oil to completely drain before replacing the drain plug.
Step 4 Remove the Oil Filter
Using the appropriate tool, loosen the oil filter. Be prepared for some residual oil to spill out when you remove it. Ensure that you clean the surface where the filter will attach, removing any old gasket material that could interfere with the new gasket’s seal.
Step 5 Remove the Oil Filter Housing
Using a socket or wrench, remove the bolts securing the oil filter housing to the engine. Carefully lift the housing away. You may encounter some oil, so keep your catch pan handy. Inspect the old gasket and the oil filter housing for any signs of wear or damage.
changing oil filter housing gasket

Step 6 Clean the Surfaces
Thoroughly clean both the mounting surface on the engine and the oil filter housing to remove any old gasket material, dirt, or debris. A clean surface is essential for a proper seal with the new gasket.
Step 7 Install the New Gasket
Place the new oil filter housing gasket into the housing. Make sure it is seated evenly without any twists or protrusions, as this can lead to leaks.
Step 8 Reinstall the Oil Filter Housing
Position the oil filter housing back onto the engine and tighten the bolts to the manufacturer's specified torque using a torque wrench. Ensuring the proper torque is crucial as overtightening can damage the housing.
Step 9 Install the New Oil Filter
Screw in the new oil filter, following the manufacturer’s instructions. Hand-tighten it, and be cautious not to overtighten.
Step 10 Refill Engine Oil
If you drained the oil earlier, now is the time to refill the engine with fresh oil. Refer to your owner’s manual for the correct type and amount of oil.
Step 11 Check for Leaks
Start the engine and let it run for a few minutes. Check around the oil filter and the oil filter housing for any signs of leakage. If everything looks good, you can shut the engine off and close the hood.
Conclusion
Changing the oil filter housing gasket is a straightforward but vital maintenance task. Regularly checking and replacing this gasket can prevent more extensive engine issues down the line. By following these steps, you can ensure that your vehicle remains in optimal condition, maintaining both efficiency and performance. Always consult your vehicle’s manual for specific instructions and torque specifications, as these can vary between different makes and models. Happy motoring!
-
Understanding the Front Main Engine Seal: Purpose, Maintenance, and Installation
News Jul.29,2025
-
Understanding O-Rings and Seal Rings: Types, Applications, and Custom Solutions
News Jul.29,2025
-
Understanding Crankshaft Oil Seals: Rear Seals, Pulley Seals, and Their Role in Engine Integrity
News Jul.29,2025
-
The Importance of Front and Rear Crankshaft Seals in Engine Performance and Oil Management
News Jul.29,2025
-
Crank Oil Seals: Functions, Types, and Cost Considerations in Engine Maintenance
News Jul.29,2025
-
A Comprehensive Guide to O-Rings and Seals: Types, Materials, and Global Applications
News Jul.29,2025
-
Mastering Diesel and Performance Engine Maintenance: A Guide to Critical Oil Gaskets
News Jul.28,2025
Products categories


