details
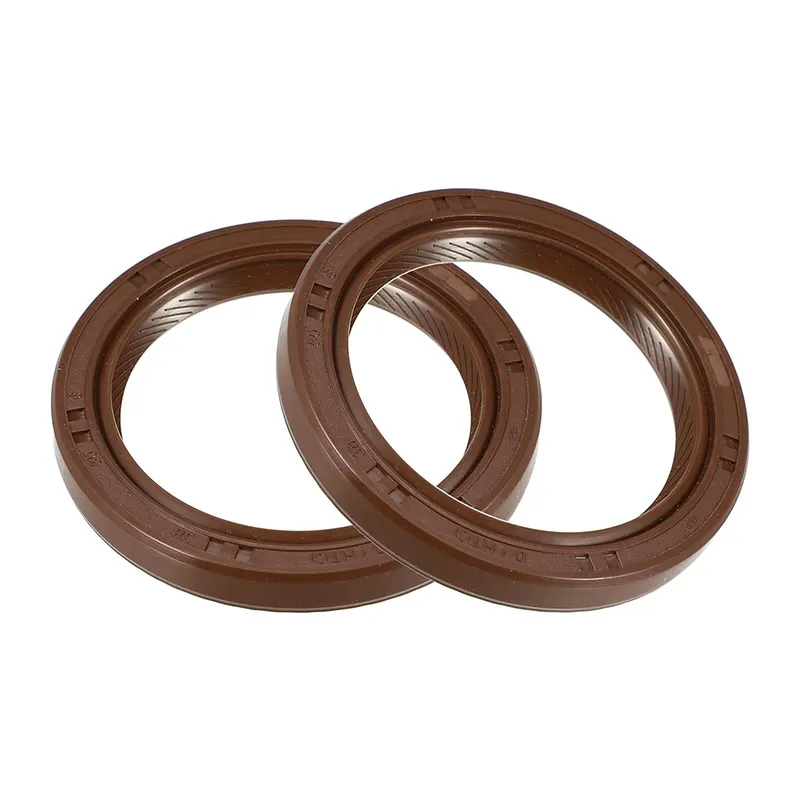
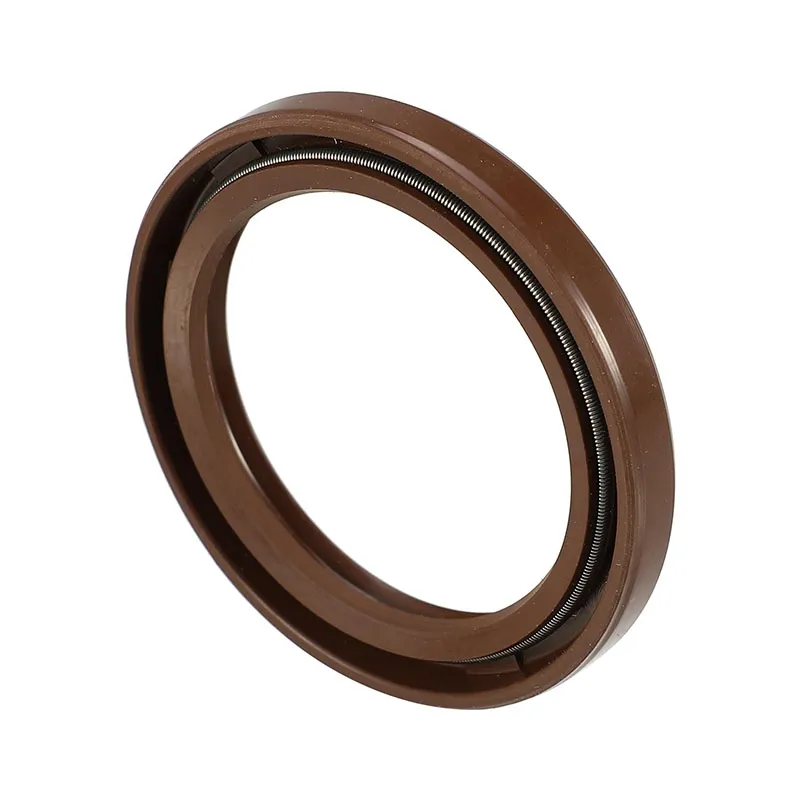
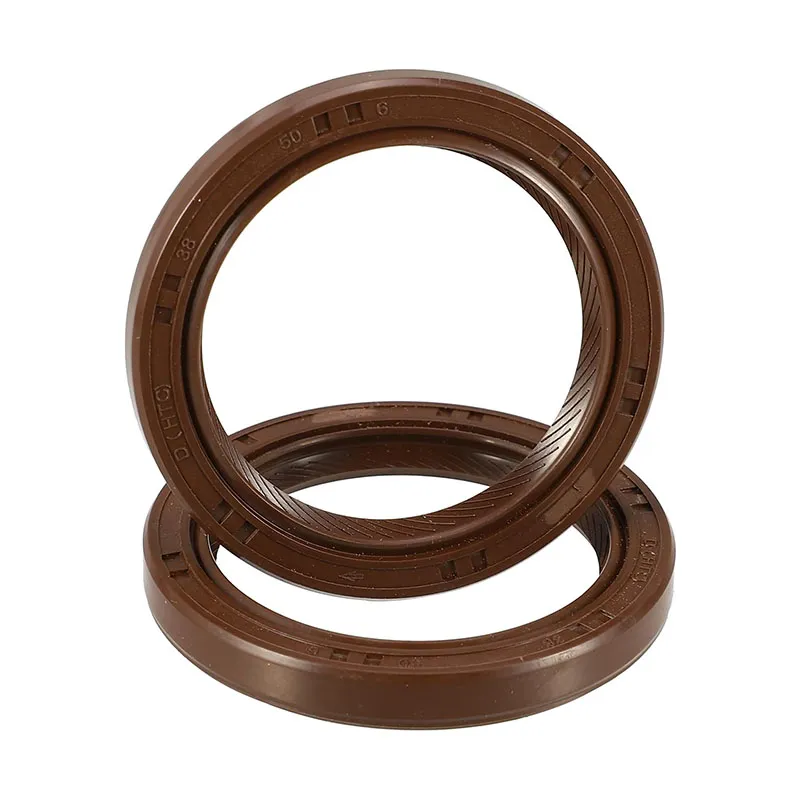
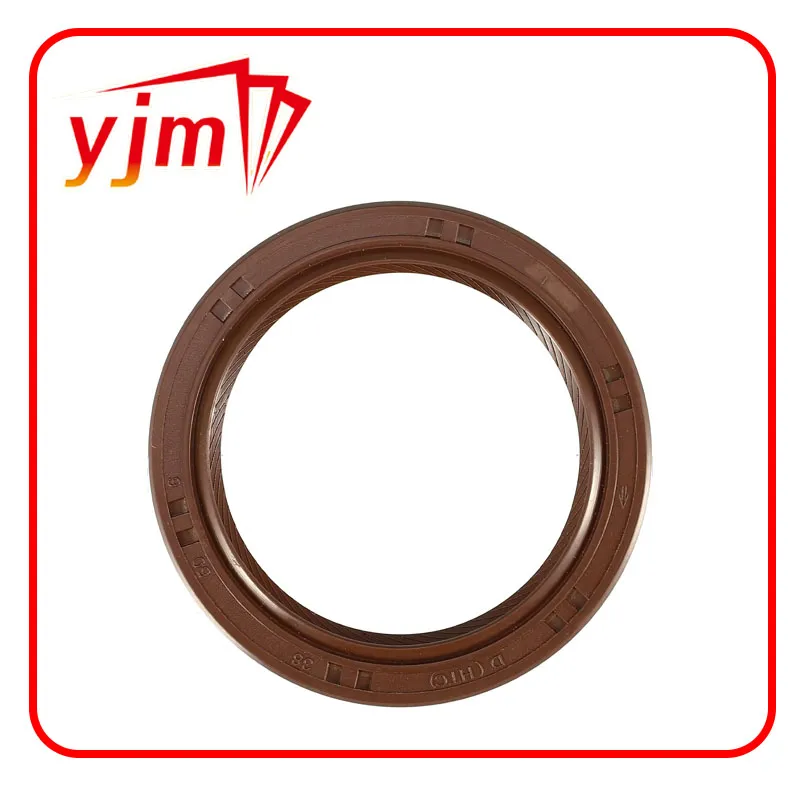
OE Number:9031138096; Crankshaft Oil Seal fit for Lexus CT200h 2012-2017, for Lexus HS250h 2011 2012.
Function: Crankshaft oil seal use to sealed the crankcase to prevent oil leakage.
Features: Oil seal is made with rubber,good sealing and good ductility, replace damaged crankshaft oil seals.
Easy Installation: Easy to put in and seal the crankcase, no need tool.

incazelo
Features:
Crankshaft oil seal use to sealed the crankcase to prevent oil leakage.
Oil seal is made with rubber, good sealing and good ductility, replace damaged crankshaft oil seals.
This is Non-OEM product, accessory Only!
Specification:
Product Color: Brown
Product Material: Rubber, Metal
Size: 6x50mm / 0.24"x1.97"(H*D)
Inner Diameter: 36mm / 1.42"
OE Number:
9031138096
Fitment:
for Lexus CT200h 2012-2017
for Lexus HS250h 2011 2012
Engine 9031138096 Replacement – A Comprehensive Guide
Replacing an engine, especially one identified by a specific part number such as 9031138096, is a complex but essential task when dealing with engine failure, performance degradation, or significant internal damage. Whether used in commercial trucks, industrial machinery, or agricultural equipment, the process of replacing an engine requires technical knowledge, precision, and adherence to manufacturer specifications.
This guide provides a detailed overview of what the engine replacement process involves for engine part number 9031138096, including when to replace it, how to do it, and what to consider for a successful installation.
- Understanding Engine Part Number 9031138096
While the exact specifications of engine 9031138096 depend on the manufacturer, part numbers like this typically refer to a specific engine model or configuration used in certain vehicles or machinery. The number can indicate engine displacement, series, or design features.
These engines are usually used in:
Heavy-duty trucks
Construction equipment
Agricultural vehicles
Generators or stationary power units
Identifying the correct part number is crucial to ensure compatibility with the transmission, mounts, cooling system, and electrical connections.
- Reasons for Engine Replacement
Engine replacement is often considered when repair is no longer cost-effective or feasible. Common reasons include:
Severe internal damage (crankshaft failure, piston seizure, etc.)
Excessive oil consumption or oil pressure loss
Overheating causing warped components or blown head gasket
Metal shavings in oil (indicating internal wear)
Lack of power or poor compression
Fuel efficiency drop with no easy fix
Emissions system failure beyond economical repair
In fleet vehicles and commercial operations, downtime can be costly, making engine replacement a better long-term investment than continuous repairs.
- Planning the Replacement
Before starting the replacement process, several steps are essential for a successful engine swap:
- Confirm Compatibility
Ensure the replacement engine with part number 9031138096 matches the original in:
Mounting points
Transmission connection
Electrical connectors and harnesses
Emissions control systems
- Choose the Engine Type
You may choose between:
New Engine: Expensive but ensures long life and warranty.
Remanufactured Engine: Completely rebuilt to original specs with warranties.
Used Engine: Lower cost but higher risk without warranty.
- Gather Necessary Tools and Parts
Depending on the vehicle, you may need:
Engine hoist/crane
Basic hand tools and specialty sockets
Gaskets and seals
Fluids (engine oil, coolant, etc.)
New mounts or belts
- Engine Removal Process
Replacing engine 9031138096 involves several major steps, generally performed in a workshop or garage environment:
- Disconnect the Battery
Always disconnect the negative battery cable to prevent electrical shorts.
- Drain Fluids
Drain engine oil, coolant, and any transmission fluid that may be affected.
- Remove External Components
Air intake
Radiator and hoses
Exhaust manifolds
Alternator and power steering pump
Wiring harness and sensors
- Support the Transmission
Use a jack or stand to support the transmission if the engine mounts are removed.
- Unbolt Engine Mounts
Disconnect the engine from the chassis and transmission. Carefully lift the engine using an engine hoist.
- Installing the Replacement Engine
Once the old engine is removed, preparation for installing the replacement 9031138096 engine begins.
- Inspect and Replace Worn Components
Engine mounts
Clutch (for manual transmission)
Hoses and belts
Sensors
- Install Engine
Lower the replacement engine into position
Align with transmission and bolt together
Reconnect mounts and torque to spec
- Reinstall External Components
Attach all hoses, wiring, sensors, belts, and accessories in the reverse order of removal.
- Refill Fluids
Add fresh engine oil, coolant, and any other required fluids.
- Post-Installation Checklist
After installing the replacement engine, perform a thorough inspection and initial test:
Check for leaks at all gaskets and connections
Verify fluid levels
Inspect engine timing and sensor calibration
Clear or reprogram any ECU codes
Perform a test start and idle check
Monitor for overheating, abnormal noises, or warning lights
- Engine Break-In and Maintenance
New or remanufactured engines often require a break-in period:
Avoid full throttle during the first 500–1000 km
Change oil and filter after break-in
Monitor for leaks or unusual performance
Follow manufacturer maintenance schedule strictly
- Cost and Time Estimate
The cost of replacing an engine with part number 9031138096 varies depending on factors like:
Labor rates in your area
Engine source (new, reman, used)
Additional parts needed (mounts, gaskets, fluids)
Estimated costs:
Used engine replacement: $2,000 – $4,000
Remanufactured engine: $4,000 – $7,000
New engine: $7,000 – $10,000+
Labor time: 10–20 hours depending on vehicle complexity
- Common Challenges
Misalignment of mounts or bellhousing
Incorrect wiring connections
Incompatible ECU or sensors
Air locks in the cooling system
Oil leaks from reused gaskets
Working with a certified mechanic or engine specialist can help avoid these pitfalls.
Replacing the engine with part number 9031138096 is a significant but often necessary operation when dealing with a failed or underperforming power unit. By following a systematic approach—ensuring compatibility, using proper tools, and performing thorough post-installation checks—you can extend the life of your equipment or vehicle and restore it to full functionality.
Always consult your service manual or engine supplier for specific torque settings, installation procedures, and maintenance guidelines related to this particular engine model.
Izigaba zemikhiqizo
Related News
-
 24 . Nov, 2025
Discover the key benefits and applications of the seal 12x20x5, a durable, cost-effective radial shaft seal used worldwide in machinery, automotive, and renewable industries.
Okuningi... -
 24 . Nov, 2025
Discover everything about seal 12x18x5 — from technical specs and global applications to vendors and FAQs. Ensure mechanical reliability with the right seal.
Okuningi... -
 23 . Nov, 2025
Explore the essentials of seal 12 20 5, from definitions and specifications to global uses, benefits, and supplier comparisons. Discover why these seals are vital across industries.
Okuningi...
