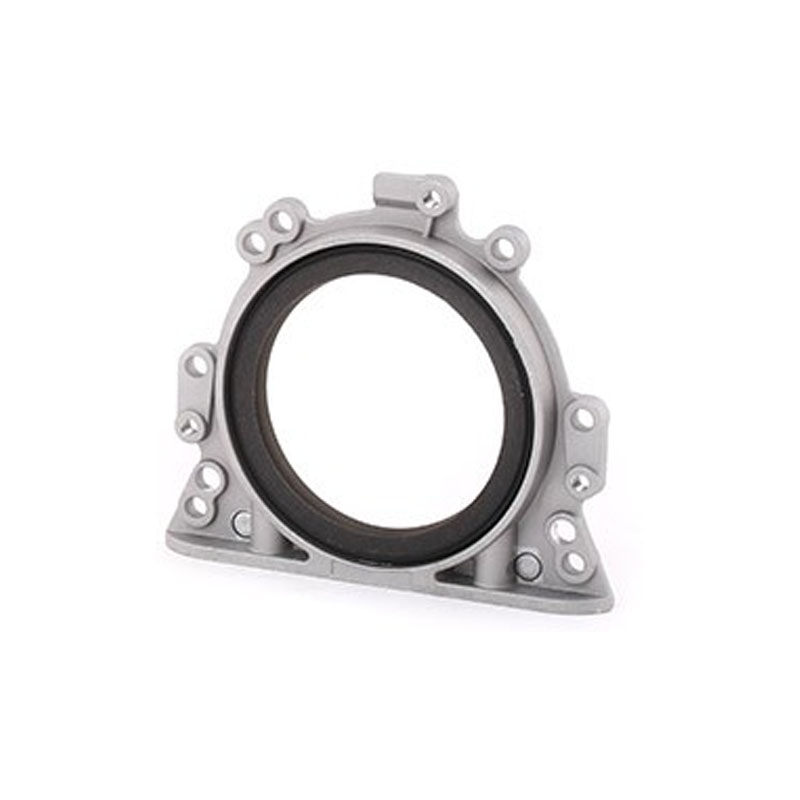
rear axle oil seal replacement
Rear Axle Oil Seal Replacement A Comprehensive Guide
When it comes to vehicle maintenance, certain components often get overlooked, yet their functionality is essential for the overall health of your vehicle. One such component is the rear axle oil seal. The rear axle oil seal plays a crucial role in preventing differential fluid leaks that can lead to severe damage if not addressed promptly. If you notice signs of a leak or simply want to extend the life of your vehicle, understanding how to replace the rear axle oil seal can save you time and money in the long run.
What is a Rear Axle Oil Seal?
The rear axle oil seal is designed to keep the lubricating fluid inside the axle housing and prevent it from leaking. Located at the end of the axle shaft, this seal also keeps debris and contaminants out, providing a clean operating environment. Given the harsh conditions it operates under—exposure to heat, friction, and road grime—oil seals can wear out over time, leading to leaks and, eventually, damage to the axle and differential.
Signs You Need to Replace Your Rear Axle Oil Seal
Before diving into the replacement process, it’s essential to recognize the signs indicating that your rear axle oil seal may need replacement
1. Fluid Leaks Puddles of oil under the vehicle, particularly after it has been parked, are a clear sign of a leaking oil seal. 2. Unusual Noises A whining or grinding noise from the rear axle can indicate that the differential fluid level is low due to a leak.
3. Poor Handling If your vehicle feels unstable or is handling poorly, it could be related to insufficient lubrication in the axle.
Tools and Materials Needed
Before starting the replacement process, gather the following tools and materials
- Jack and jack stands - Wrench set - Screwdrivers (flat and Phillips head) - Seal puller - New rear axle oil seal - Differential fluid - Brake cleaner - Clean rags - Torque wrench (optional)
Step-by-Step Guide to Replace the Rear Axle Oil Seal
rear axle oil seal replacement

1. Safety First Begin by ensuring your vehicle is on a flat surface. Engage the parking brake and wear safety glasses. Use a jack to lift the rear of the vehicle and secure it on jack stands.
2. Remove the Wheel Start by removing the wheel to access the rear axle.
3. Remove the Brake Assembly Detach the brake drum or disc, which will give you a clearer view of the axle.
4. Detach the Axle Shaft Depending on your vehicle model, you may need to remove bolts or nuts to free the axle shaft from the differential. Be prepared to hold the axle securely as you extract it.
5. Remove the Old Seal Using a seal puller, carefully remove the old rear axle oil seal from its housing. Take care not to damage the surrounding area.
6. Clean the Area Before installing the new seal, thoroughly clean the seal area with brake cleaner and a clean rag to remove any leftover debris or old fluid.
7. Install the New Seal Gently tap the new rear axle oil seal into place using a seal installation tool or a piece of wood to evenly distribute pressure as you hammer it in. Ensure it is seated properly and flush with the axle housing.
8. Reassemble the Axel - Reinsert the axle shaft into its housing. - Reattach the brake assembly, making sure all components are secure. - Reinstall the wheel and lower the vehicle.
9. Fill Differential Fluid Before taking your vehicle for a drive, check the differential fluid level and top it off if necessary.
10. Final Checks After everything is reassembled, inspect for any leaks after driving for a short distance.
Conclusion
Replacing a rear axle oil seal is an essential preventative maintenance task that can save you from more significant headaches down the road. By following this guide, you can complete the replacement process efficiently and ensure your vehicle runs smoothly. Regular checks and maintenance will go a long way in prolonging your vehicle’s life, keeping you safe on the road. If you’re ever in doubt or feel uncomfortable performing this task, consult a professional mechanic. Safety always comes first!
-
Simplifying Oil Changes: A Comprehensive Guide to Oil Drain Plugs and Their Variants
News Aug.04,2025
-
Mastering Oil Drain Maintenance: Solutions for Stripped, Worn, and Upgraded Oil Plugs
News Aug.04,2025
-
Fixing Oil Pan Plug Issues: Leaks, Stripped Nuts, and the Right Replacement Solutions
News Aug.04,2025
-
Everything You Need to Know About Oil Drain Plugs: Sizes, Fixes, and Upgrades
News Aug.04,2025
-
Choosing the Right Oil Drain Plug: A Guide to Sizes, Materials, and Drain Innovations
News Aug.04,2025
-
A Complete Guide to Automotive Drain Plugs: Types, Problems, and Innovative Solutions
News Aug.04,2025
-
The Ultimate Guide to Car Repair Kits: Tools and Essentials Every Driver Should Own
News Aug.01,2025
Products categories


