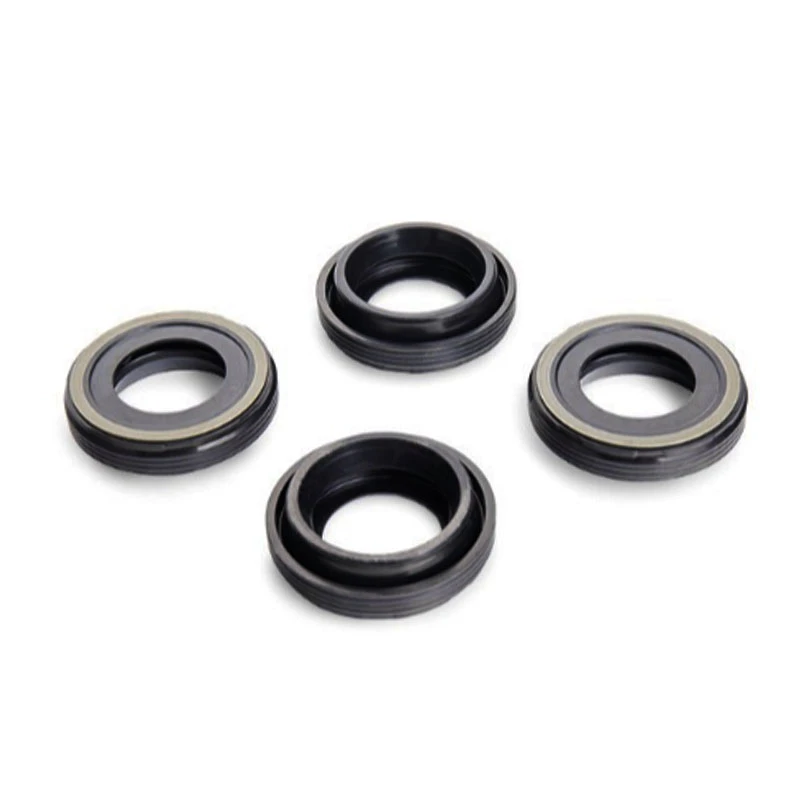
replacing oil filter housing
Replacing the Oil Filter Housing A Comprehensive Guide
The oil filter housing is a critical component of your vehicle’s engine that plays a vital role in maintaining proper oil circulation and filtration. Over time, this part can become damaged or clogged, leading to decreased performance and potential engine damage. If you’re considering replacing the oil filter housing, this guide will provide you with everything you need to know about the process, including signs of failure, tools required, and step-by-step instructions.
Understanding the Oil Filter Housing
The oil filter housing serves as a connection point for the oil filter, facilitating the influx and outflow of engine oil. Its primary function is to house the oil filter securely, ensuring that oil is filtered properly before it circulates through your engine. A well-functioning oil filter housing helps in preventing contaminants from entering the engine and ensures that the oil remains clean and effective.
Signs of Oil Filter Housing Failure
Before jumping into the replacement process, it’s crucial to recognize the signs of a failing oil filter housing. Common symptoms include
1. Oil Leaks If you notice oil pooling under your vehicle or spots on your driveway, it could indicate a leak from the oil filter housing. 2. Low Oil Pressure A malfunctioning housing can lead to inconsistent oil pressure, which may become evident on your dashboard gauge. 3. Engine Overheating Improper oil circulation due to a clogged or damaged housing can cause the engine to overheat. 4. Unusual Noises If you hear knocking or tapping sounds during operation, it could be a sign that your engine isn’t receiving adequate lubrication.
If you observe any of these issues, it’s advisable to address them promptly to avoid further damage to your engine.
Tools Required
Before starting the replacement process, gather the following tools
- Socket set - Torque wrench - Screwdrivers (flathead and Phillips) - Oil catch pan - New oil filter housing assembly - Gasket or sealant (as recommended) - Clean rags or paper towels
Step-by-Step Replacement Process
Step 1 Prepare Your Vehicle
replacing oil filter housing

1. Safety First Ensure your car is parked on a level surface and the engine is cool. Engage the parking brake. 2. Disconnect the Battery For safety, disconnect the negative terminal of the battery to prevent any electrical issues.
Step 2 Drain the Engine Oil
1. Place the oil catch pan under the oil pan. 2. Remove the oil drain plug using a socket wrench. Allow the old oil to completely drain into the pan.
Step 3 Remove the Old Oil Filter Housing
1. Locate the oil filter housing, typically positioned on the engine block. 2. Disconnect any hoses or electrical connectors attached to the housing. 3. Remove the bolts securing the housing to the engine using the socket wrench. 4. Gently pull the oil filter housing away from the engine, taking care to remove any old gasket material that may remain.
Step 4 Install the New Oil Filter Housing
1. Place the new oil filter housing in position on the engine block. 2. Apply a thin layer of oil to the new gasket (if applicable) for a better seal. 3. Secure the housing with bolts, tightening them to the manufacturer’s specified torque setting using a torque wrench. 4. Reconnect any hoses or electrical connectors.
Step 5 Refill Engine Oil
1. Replace the oil drain plug, ensuring it’s tightly secured. 2. Use a funnel to pour fresh engine oil through the oil fill cap, referring to your owner’s manual for the correct type and quantity. 3. Check the oil level with the dipstick and add more oil if necessary.
Step 6 Reconnect the Battery and Test
1. Reconnect the battery’s negative terminal. 2. Start the engine and let it run for a few minutes. Check for any leaks around the oil filter housing. 3. Monitor the oil pressure gauge to ensure it is within normal limits.
Conclusion
Replacing an oil filter housing may seem intimidating, but with the right tools and a bit of patience, it’s a task that can be accomplished by most DIY enthusiasts. By following this guide, you can help maintain your vehicle’s engine performance and extend its lifespan. Always remember that regular maintenance and timely repairs are key to a reliable vehicle. If at any point you feel unsure during the process, don’t hesitate to consult a professional mechanic for assistance.
-
Simplifying Oil Changes: A Comprehensive Guide to Oil Drain Plugs and Their Variants
News Aug.04,2025
-
Mastering Oil Drain Maintenance: Solutions for Stripped, Worn, and Upgraded Oil Plugs
News Aug.04,2025
-
Fixing Oil Pan Plug Issues: Leaks, Stripped Nuts, and the Right Replacement Solutions
News Aug.04,2025
-
Everything You Need to Know About Oil Drain Plugs: Sizes, Fixes, and Upgrades
News Aug.04,2025
-
Choosing the Right Oil Drain Plug: A Guide to Sizes, Materials, and Drain Innovations
News Aug.04,2025
-
A Complete Guide to Automotive Drain Plugs: Types, Problems, and Innovative Solutions
News Aug.04,2025
-
The Ultimate Guide to Car Repair Kits: Tools and Essentials Every Driver Should Own
News Aug.01,2025
Products categories


