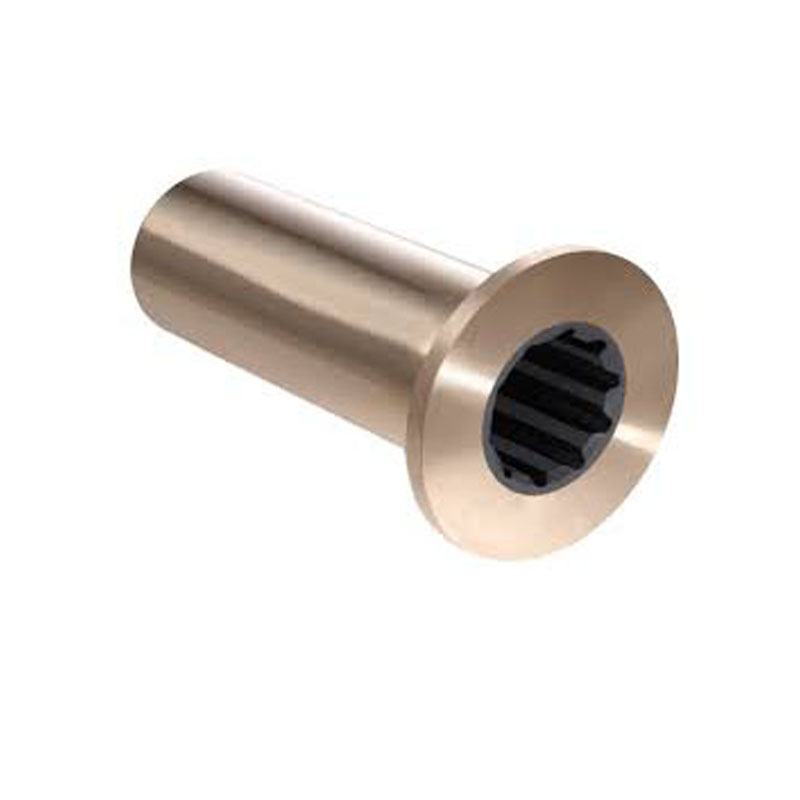
rear axle oil seal replacement
Rear Axle Oil Seal Replacement A Step-by-Step Guide
Maintaining your vehicle is crucial for its longevity and performance. One vital component that often gets overlooked during routine maintenance is the rear axle oil seal. Over time, oil seals can wear out or become damaged, leading to oil leaks that can severely affect the overall functionality of your vehicle. This article will guide you through the process of replacing a rear axle oil seal, ensuring your vehicle remains in top shape.
Understanding Rear Axle Oil Seals
The rear axle oil seal is a critical component of your vehicle's drivetrain. Its primary role is to prevent differential fluid from leaking out of the axle housing. When the oil seal fails, it can lead to a significant loss of differential fluid, resulting in inadequate lubrication of the gears and bearings inside the rear axle. This could lead to severe damage and costly repairs if not addressed promptly.
Signs of a Failing Oil Seal
Before diving into the replacement process, it's essential to recognize the signs that indicate your rear axle oil seal may be failing. Common symptoms include
1. Oil Puddles Spotting oil puddles under your vehicle, specifically around the rear axle. 2. Lower Fluid Levels Frequent checks of the differential fluid reveal decreasing levels over time. 3. Strange Noises Unusual sounds coming from the rear axle could indicate that the components are not adequately lubricated.
If you notice any of these signs, it’s crucial to replace the rear axle oil seal as soon as possible.
Tools and Materials Needed
Before starting the replacement, gather the following tools and materials
- Jack and jack stands - Wheel chocks - Socket set - Screwdrivers - Pliers - Oil seal remover - New rear axle oil seal - Differential fluid - Cleaning rags
Step-by-Step Replacement Process
rear axle oil seal replacement

1. Preparation Begin by parking your vehicle on a level surface. Engage the parking brake and place wheel chocks around the front wheels to ensure stability.
2. Lift the Vehicle Use a jack to lift the rear of the vehicle. Once elevated, securely place jack stands under the vehicle for safety.
3. Remove the Wheel and Wheel Hub Take off the rear wheel and any necessary components to access the axle. Depending on your vehicle, this may include removing brake rotors or calipers.
4. Remove Axle Shaft Disconnect the axle from the differential by removing the retaining bolts. Carefully slide the axle shaft out of the housing, taking care not to damage any surrounding parts.
5. Remove Old Oil Seal Use an oil seal remover or a flathead screwdriver to carefully pry the old oil seal out of its housing. Be cautious not to damage the surrounding surfaces during this process.
6. Install the New Oil Seal Clean the sealing surface with a rag and ensure there are no debris or contaminants. Position the new oil seal and gently tap it into place, ensuring it sits flush with the housing.
7. Reassemble the Axle Slide the axle shaft back into the housing, reattach it securely, and replace any components you had previously removed. Don’t forget to torque the bolts to the manufacturer’s specifications.
8. Fill Differential Fluid Finally, use a funnel to refill the differential with the appropriate fluid. Check for leaks around the new oil seal.
9. Lower the Vehicle Carefully remove the jack stands and lower the vehicle back to the ground.
Conclusion
Replacing a rear axle oil seal might seem daunting, but with the proper tools and guidance, it’s a manageable task that can save you from expensive repairs in the future. Regular maintenance and inspection of your vehicle will help ensure its reliability and performance. If you’re unsure or uncomfortable with this process, don’t hesitate to seek professional assistance. Safe driving!
-
Simplifying Oil Changes: A Comprehensive Guide to Oil Drain Plugs and Their Variants
News Aug.04,2025
-
Mastering Oil Drain Maintenance: Solutions for Stripped, Worn, and Upgraded Oil Plugs
News Aug.04,2025
-
Fixing Oil Pan Plug Issues: Leaks, Stripped Nuts, and the Right Replacement Solutions
News Aug.04,2025
-
Everything You Need to Know About Oil Drain Plugs: Sizes, Fixes, and Upgrades
News Aug.04,2025
-
Choosing the Right Oil Drain Plug: A Guide to Sizes, Materials, and Drain Innovations
News Aug.04,2025
-
A Complete Guide to Automotive Drain Plugs: Types, Problems, and Innovative Solutions
News Aug.04,2025
-
The Ultimate Guide to Car Repair Kits: Tools and Essentials Every Driver Should Own
News Aug.01,2025
Products categories


