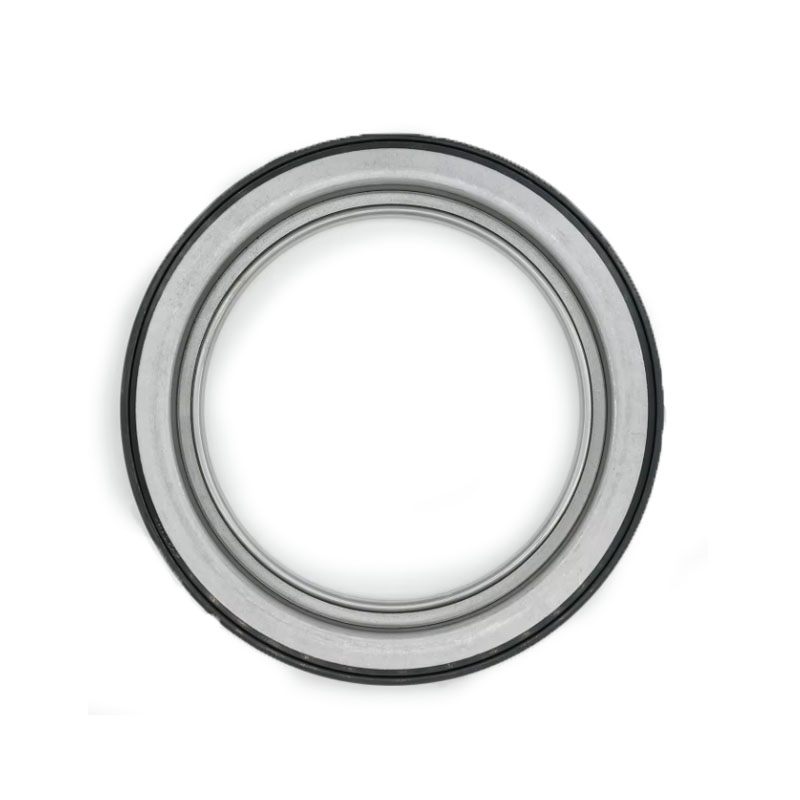
Guide to Replacing the Rear Axle Oil Seal Efficiently and Effectively
Rear Axle Oil Seal Replacement A Comprehensive Guide
The rear axle oil seal is a crucial component of a vehicle's drivetrain system. It functions to keep the differential fluid contained within the rear axle housing, preventing leaks and protecting the internal components from dirt and contaminants. Over time, oil seals can wear out due to age, heat, and constant exposure to lubricants, leading to potential leaks that can compromise your vehicle’s performance. Replacing a rear axle oil seal is a task that can be accomplished with some mechanical knowledge and the right tools.
Signs of a Failing Oil Seal
Before delving into the replacement process, it’s important to identify the signs of a failing rear axle oil seal. Common symptoms include
1. Fluid Leaks The most evident indication of a failing seal is the presence of oil on the ground where the vehicle is parked, usually near the rear axle. 2. Wet Axle Housing Upon inspection, you may notice that the axle housing appears wet or has a glaze of oil around the seal. 3. Noise A failing seal may also lead to increased noise from the differential due to insufficient lubrication of the gears.
If you notice any of these symptoms, it’s advisable to replace the seal promptly to avoid further damage to the axle or differential components.
Tools and Materials Needed
To replace a rear axle oil seal, you will need the following tools and materials
- Jack and jack stands - Wrench set - Screwdrivers - Pliers - Oil seal removal tool or a flathead screwdriver - New oil seal - Differential oil - Clean rags - Torque wrench
Step-by-Step Replacement Process
rear axle oil seal replacement

1. Prepare the Vehicle Begin by parking the vehicle on a level surface. Engage the parking brake and lift the rear of the vehicle using a jack. Secure it with jack stands to ensure safety.
2. Remove the Wheel and Brake Assembly Take off the rear wheel on the side where the oil seal is being replaced. Depending on your vehicle, you may need to remove the brake drum or caliper for better access to the axle shaft.
3. Access the Axle Shaft Locate the retaining bolts for the axle shaft. Remove these bolts to free the axle shaft. Gently wiggle and pull the axle out of the housing.
4. Remove the Old Oil Seal Using an oil seal removal tool or a flathead screwdriver, carefully pry out the old oil seal from the axle housing. Be cautious not to scratch or damage the housing during this process.
5. Install the New Oil Seal Before installing the new oil seal, apply a small amount of differential oil to the sealing surface of the new seal. This helps with installation and prevents damage during the seating process. Gently press the new seal into place, ensuring it is evenly seated.
6. Reassemble Components Reinsert the axle shaft, making sure it is properly aligned. Reattach the retaining bolts and tighten them to the recommended torque specifications. Reassemble the brake components and then replace the wheel.
7. Add Differential Oil Check the differential fluid level. If it is low, add the appropriate type of differential oil according to your vehicle’s specifications.
8. Final Checks Lower the vehicle and make sure everything is secure. Start the vehicle and monitor for any signs of leaks or unusual noises.
Conclusion
Replacing a rear axle oil seal is a manageable task that can help maintain the health of your vehicle’s drivetrain system. By recognizing the signs of a failing seal, having the right tools, and following the steps outlined, you can effectively perform this maintenance task. Remember that if you are unsure about any step in the process, consulting a professional mechanic is always a wise decision. Regular maintenance not only extends the life of your vehicle but also ensures your safety on the road.
-
Understanding the Importance of the Crankshaft Oil Seal in Engine Performance
News Jun.16,2025
-
The Unsung Heroes of Engine Protection: Understanding Automotive Shaft Seals and Oil Seals
News Jun.16,2025
-
Keeping the Engine Tight: The Role of Crankshaft Seals and Gaskets in Oil Control
News Jun.16,2025
-
Complete Protection in Harsh Conditions: A Deep Dive into Cassette Seals
News Jun.16,2025
-
Choosing the Right Oil Seal: A Guide to Trusted Brands and Suppliers
News Jun.16,2025
-
Advanced Sealing Technologies: Exploring the Range of Modern Oil Seals
News Jun.16,2025
-
Your Essential Guide to Car Repair Kits: From Rust to Dings
News Jun.13,2025
Products categories


