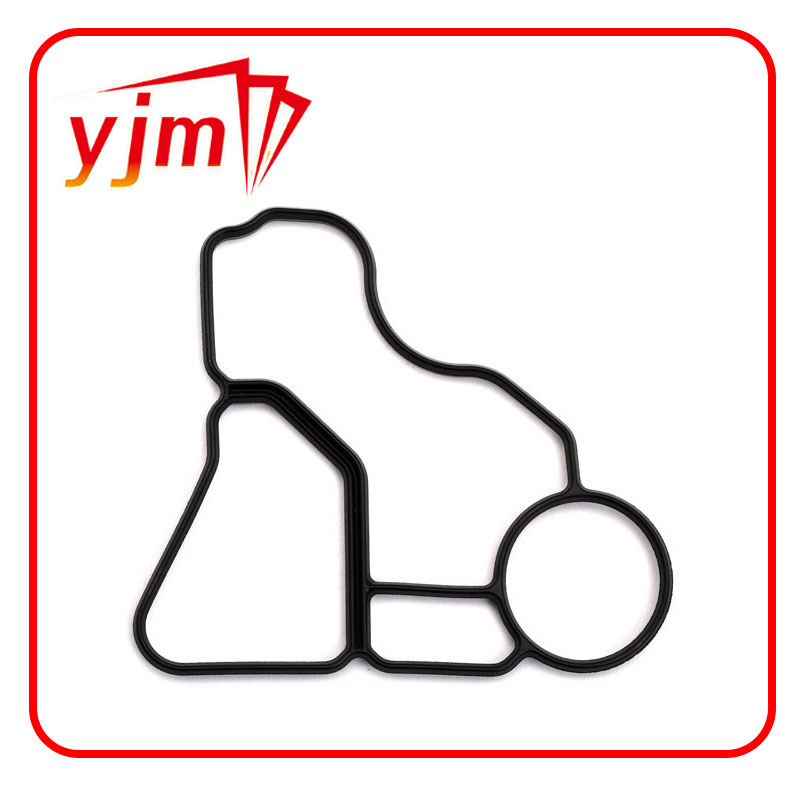
crankshaft seal replacement
Understanding Crankshaft Seal Replacement A Comprehensive Guide
The crankshaft seal plays a vital role in the functioning of an engine by preventing oil leaks and maintaining proper lubrication within the engine system. Over time, however, wear and tear can lead to seal degradation, resulting in oil leaks that can compromise engine performance and longevity. This article seeks to provide a comprehensive guide on crankshaft seal replacement, helping vehicle owners understand the process and its importance.
What is a Crankshaft Seal?
The crankshaft seal, also known as the crankshaft oil seal, is positioned at both ends of the crankshaft. It seals the spaces where the crankshaft exits the engine block and the timing cover, thereby preventing engine oil from leaking into the outside environment. A well-functioning crankshaft seal is essential for maintaining adequate oil pressure, preventing contaminants from entering the engine, and ensuring that the engine runs smoothly.
Symptoms of a Failing Crankshaft Seal
Identifying issues with the crankshaft seal early can save vehicle owners time and money on repairs. Common symptoms of a failing crankshaft seal include
1. Oil Leaks Puddles or spots of oil under the vehicle can indicate a leaking crankshaft seal. 2. Oil Consumption An increase in oil consumption may suggest that the seal is allowing oil to escape. 3. Engine Performance Issues Low oil levels can result in decreased engine performance, including rough idling or sluggish acceleration. 4. Visible Damage Cracks or deterioration of the seal may be visible upon inspection.
The Replacement Process
Replacing a crankshaft seal can be a labor-intensive process, often requiring mechanical expertise. Here’s an overview of the steps typically involved
crankshaft seal replacement

1. Preparation Begin by gathering necessary tools and materials, including a new crankshaft seal, sealant, wrenches, and a torque wrench. Ensure the vehicle is safely elevated and that the engine is cool.
2. Remove Components Depending on the vehicle, you may need to remove various components such as the harmonic balancer, timing cover, or other parts that obstruct access to the crankshaft seal.
3. Extract the Old Seal Carefully remove the old crankshaft seal using a seal puller or appropriate tools to avoid damage to the crankshaft or surrounding components.
4. Clean the Area Ensure the sealing surface is clean and free of debris. A clean surface is crucial for a proper seal.
5. Install the New Seal Apply a light coat of oil to the new crankshaft seal's lip and press it evenly into place. Make sure it is seated correctly and flush with the surrounding surface.
6. Reassemble Components Reinstall any components that were removed during the process. Ensure all fasteners are torqued to the manufacturer’s specifications.
7. Test for Leaks Once everything is reassembled, start the engine and inspect the area for any signs of leaks. Allow the engine to run for a few minutes and check oil levels to ensure everything is functioning correctly.
Conclusion
Replacing a crankshaft seal is an essential maintenance task that can prevent more significant engine issues down the line. For those who may be uncomfortable performing this task, seeking help from a certified mechanic is always a wise option. Regular checks and timely replacements can extend the life of your engine and ensure smooth performance. Remember, addressing potential problems early not only saves money but also enhances the overall safety and efficiency of your vehicle.
-
Understanding Automotive Oil Seals: Essential Components for Engine and Shaft Protection
News Jul.30,2025
-
The Importance of Heavy Duty Seals in Industrial and Residential Applications
News Jul.30,2025
-
Exploring Industrial Oil Seals: From Felt Oil Seals to TTO and CFW Solutions
News Jul.30,2025
-
Essential Guide to Oil Seals: From Radial to Metal-Cased Seals for Industrial Reliability
News Jul.30,2025
-
Choosing the Right Oil Seals and Gaskets for Industrial and Automotive Applications
News Jul.30,2025
-
Cassette Seals: Durable Sealing Solutions for Harsh Environments
News Jul.30,2025
-
Understanding the Front Main Engine Seal: Purpose, Maintenance, and Installation
News Jul.29,2025
Products categories


