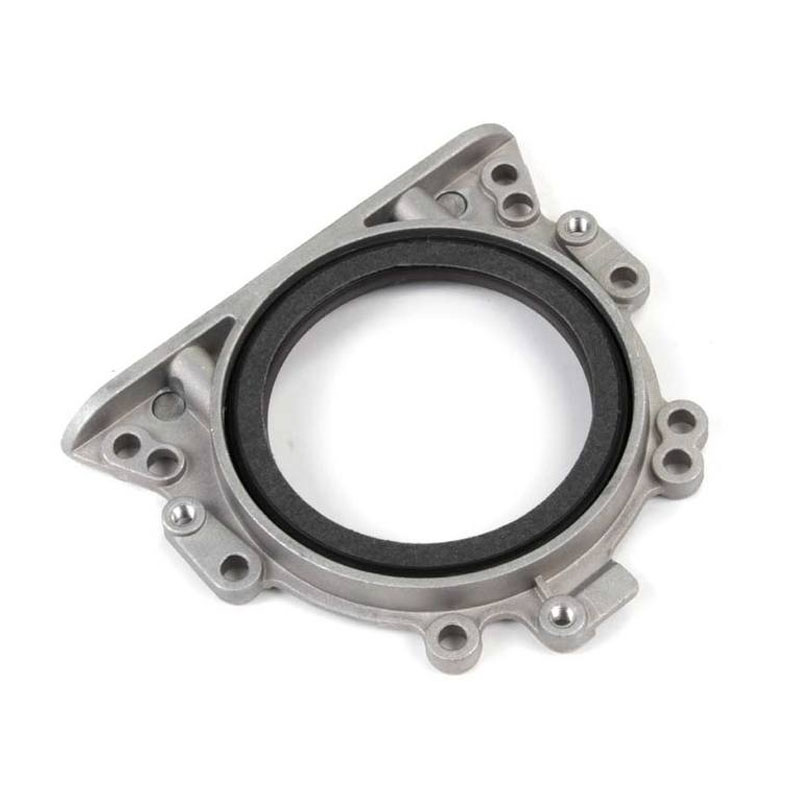
replacing front engine oil seal
Replacing the Front Engine Oil Seal A Step-by-Step Guide
The front engine oil seal is a critical component in preventing oil leaks in your vehicle’s engine. Over time, these seals can wear out due to exposure to heat and pressure, leading to oil leaks that can affect engine performance and longevity. If you notice oil spots under your vehicle or a drop in oil levels, it may be time to replace the front engine oil seal. Here’s a comprehensive guide to help you through the process.
Tools and Materials Needed
Before you get started, gather the necessary tools and materials
- New front engine oil seal - Clean rags - Oil filter wrench - Socket set - Screwdrivers (flathead and Phillips) - Torque wrench - Gasket scraper - Engine oil
Step 1 Prepare the Vehicle
Begin by ensuring safety. Park the vehicle on a flat surface, engage the parking brake, and disconnect the negative battery terminal. This prevents any accidental electrical issues during the process.
Step 2 Access the Engine
Depending on your vehicle, you may need to remove components such as the air intake, serpentine belt, and possibly the timing cover to access the front engine oil seal. Consult your vehicle's service manual for specific instructions, as the exact procedure can vary.
Step 3 Drain the Engine Oil
To prevent spilling oil, drain the existing engine oil. Place a drain pan under the oil pan and remove the drain plug using a socket wrench. Allow the oil to fully drain out before replacing the plug.
Step 4 Remove the Old Oil Seal
replacing front engine oil seal

With the engine accessible and oil drained, locate the old front oil seal. Carefully pry it out using a flathead screwdriver, taking care not to damage surrounding components. Clean the area around the seal thoroughly to ensure a proper fit for the new seal.
Step 5 Install the New Oil Seal
Before installing the new front engine oil seal, lubricate the seal's outer edge with a little engine oil. This will help it seat correctly and prevent damage during installation. Press the new seal into place gently, ensuring it is flush with the engine surface.
Step 6 Reassemble the Engine
Once the new seal is in place, it’s time to reassemble the components you removed earlier. Replace the timing cover, air intake, and serpentine belt as necessary. Make sure to follow the manufacturer's torque specifications when tightening bolts.
Step 7 Refill Engine Oil
Before starting the engine, refill it with fresh engine oil through the oil filler cap. Use the recommended type and amount found in your vehicle’s service manual.
Step 8 Test for Leaks
Reconnect the negative battery terminal and start the engine. Let it run for a few minutes while monitoring the area around the new seal for any signs of leaks. If everything looks good, you’ve successfully replaced the front engine oil seal.
Conclusion
Replacing the front engine oil seal is a straightforward task that can save you from more significant engine problems down the road. By following these steps and using the right tools, you can ensure your engine remains oil-tight, ultimately extending its life and performance. If you're uncomfortable performing this task yourself, don’t hesitate to seek professional help.
-
Understanding Automotive Oil Seals: Essential Components for Engine and Shaft Protection
News Jul.30,2025
-
The Importance of Heavy Duty Seals in Industrial and Residential Applications
News Jul.30,2025
-
Exploring Industrial Oil Seals: From Felt Oil Seals to TTO and CFW Solutions
News Jul.30,2025
-
Essential Guide to Oil Seals: From Radial to Metal-Cased Seals for Industrial Reliability
News Jul.30,2025
-
Choosing the Right Oil Seals and Gaskets for Industrial and Automotive Applications
News Jul.30,2025
-
Cassette Seals: Durable Sealing Solutions for Harsh Environments
News Jul.30,2025
-
Understanding the Front Main Engine Seal: Purpose, Maintenance, and Installation
News Jul.29,2025
Products categories


