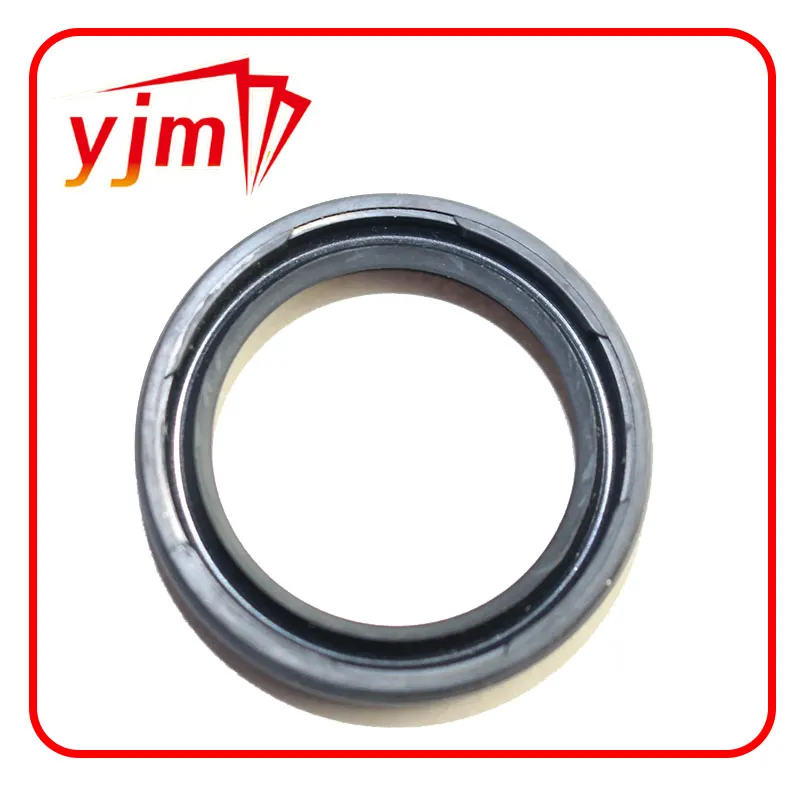
installing crankshaft seal
Installing a Crankshaft Seal A Comprehensive Guide
A crankshaft seal, often referred to as a crankshaft oil seal, is an essential component in an internal combustion engine. This seal is designed to prevent oil from leaking out of the engine and keeps contaminants from entering. When the crankshaft seal wears out or gets damaged, it can lead to oil leaks, resulting in potential engine damage. Therefore, replacing the crankshaft seal may be necessary, and understanding how to install it properly is crucial. This article will provide a step-by-step guide to installing a crankshaft seal effectively.
Tools and Materials Needed
Before beginning the installation, gather all necessary tools and materials
- New crankshaft seal - Socket set and wrenches - Screwdrivers - A hammer - Seal installer tool (optional but recommended) - Engine oil or grease - Clean rags - Torque wrench
Step 1 Preparation
1. Safety First Ensure you are working in a well-ventilated area. Wear safety goggles and gloves to protect yourself from any debris or oil.
2. Disconnect the Battery If you're working on a vehicle, disconnect the negative terminal of the battery to prevent any electrical mishaps.
3. Access the Crankshaft Seal Depending on your vehicle's design, you may need to remove certain components such as the flywheel, harmonic balancer, or timing cover to access the crankshaft seal. Keep track of all bolts and parts removed for reassembly later.
Step 2 Remove the Old Crankshaft Seal
1. Inspect for Damage Before removal, inspect the existing seal for visible damage or wear. This can indicate why it has failed.
2. Pry Out the Old Seal Using a flathead screwdriver, carefully pry the old crankshaft seal out. Be cautious not to damage the crankshaft or the surrounding housing. If necessary, a seal puller tool can make this process easier.
installing crankshaft seal

3. Clean the Area Once the old seal is removed, clean the sealing surface on the crankshaft and the bore where the seal sits. Use a clean rag to wipe away any oil or debris.
Step 3 Install the New Crankshaft Seal
1. Lubricate the Seal Before installation, apply a thin layer of engine oil or grease to the lip of the new crankshaft seal. This will help in ensuring a proper seal and ease the installation.
2. Position the Seal Gently place the new crankshaft seal into the bore where the old seal was located. Ensure it is aligned correctly and seated evenly.
3. Seal Installation It is crucial to press the seal in straight. Using a seal installer tool or a small piece of wood and a hammer, gently tap around the circumference of the seal until it is flush with the housing. Be careful not to damage the seal during this process.
Step 4 Reassemble and Test
1. Reassemble Removed Components Once the seal is installed, reattach any components you removed to gain access to the crankshaft seal. Ensure all bolts are torqued to the manufacturer’s specifications using a torque wrench.
2. Reconnect the Battery After reassembly, reconnect the battery's negative terminal.
3. Start the Engine Finally, start the engine and let it run for a few minutes. Check for oil leaks around the new crankshaft seal. If you notice any leaking, you may need to re-evaluate the installation.
Conclusion
Replacing a crankshaft seal may seem daunting, but with the right tools and a methodical approach, it can be accomplished effectively. Regular maintenance and prompt replacement of worn seals can ensure your engine remains oil-tight and operates efficiently. Always refer to your vehicle’s service manual for specific instructions related to your make and model, as procedures may vary. Happy wrenching!
-
The Ultimate Guide to Car Repair Kits: Tools and Essentials Every Driver Should Own
News Aug.01,2025
-
The Complete Guide to Oil Pan Gaskets: Sealing Engine Leaks the Right Way
News Aug.01,2025
-
Preventing Oil Leaks: A Complete Guide to Oil Pan Gaskets and Drain Seals
News Aug.01,2025
-
Everything You Need to Know About Oil Pan Gaskets and Drain Plug Seals
News Aug.01,2025
-
Essential for Car Owners: How to Use a Car Repair Kit to Deal with Minor Breakdown
News Aug.01,2025
-
Comprehensive Guide to Engine Oil Sump Gaskets and Related Seals
News Aug.01,2025
-
The Ultimate Guide to Boat Propeller Bearings and Trailer Wheel Bearings
News Jul.31,2025
Products categories


