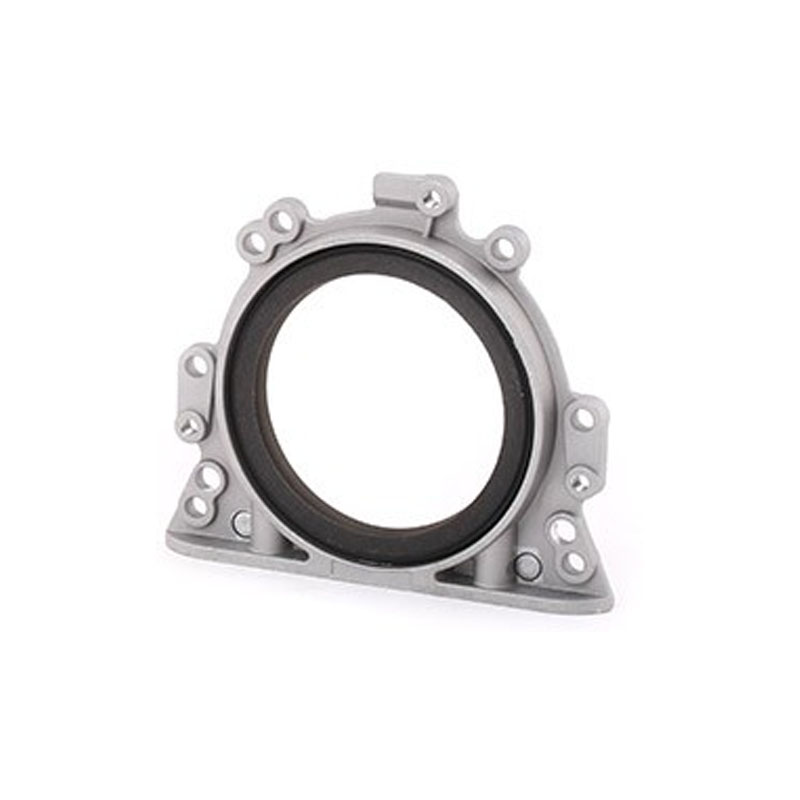
installing crankshaft seal
How to Install a Crankshaft Seal A Comprehensive Guide
The crankshaft seal plays a vital role in maintaining the integrity of your engine's performance. It prevents oil leaks, keeps contaminants out, and ensures that your engine runs smoothly. If you're experiencing oil leaks or have encountered signs of wear and tear on your crankshaft seal, it's essential to replace it promptly. This guide will provide you with step-by-step instructions on how to install a crankshaft seal effectively.
Tools and Materials Needed
Before you begin, gather the following tools and materials - New crankshaft seal - Screwdrivers (flathead and Phillips) - Socket set and ratchet - Torque wrench - Oil for lubricating the seal - Clean rags - Crankshaft seal installer tool (optional) - Pliers - Hammer (if necessary)
Step 1 Prepare the Vehicle
1. Safety First Ensure the vehicle is parked on a flat surface and the engine is cool. Engage the parking brake. 2. Disconnect the Battery For safety, disconnect the negative terminal of the battery to prevent any electrical issues.
3. Remove Obstructions Depending on the vehicle, you may need to remove the engine covers, belts, or other parts to gain access to the crankshaft seal. Take your time and remember where each part goes.
Step 2 Accessing the Crankshaft Seal
1. Remove the Harmonic Balancer (if applicable) If your vehicle has a harmonic balancer mounted on the crankshaft, use a puller to remove it safely. Make sure to note the orientation of the balancer for reinstallation.
2. Locate the Crankshaft Seal The crankshaft seal is typically positioned at the front or rear of the engine, depending on the configuration. Inspect the area for oil leaks to identify the seal's location.
Step 3 Removing the Old Crankshaft Seal
1. Use a Seal Puller If the seal is stubborn, using a seal puller or a flathead screwdriver can help pry it out. Be cautious not to damage the crankshaft surface or the casing.
installing crankshaft seal

2. Clean the Area Once the old seal is removed, clean the area thoroughly with a clean rag. Ensure that there are no leftover debris or old sealant that could hinder the installation of the new seal.
Step 4 Installing the New Crankshaft Seal
1. Lubricate the New Seal Before installation, apply a thin layer of oil to the lip of the new crankshaft seal. This lubrication prevents the seal from tearing during installation and helps it seat properly.
2. Align and Insert the Seal Carefully align the new seal with the crankshaft and press it into place. If you have a crankshaft seal installer tool, this process becomes much easier. If not, you can use a flat, hard surface (like a block of wood) to gently tap the seal in evenly.
3. Ensure Proper Seating The seal should be seated completely without any gaps. Check the alignment to ensure it is flush with the engine casing.
Step 5 Reassemble the Engine
1. Reinstall the Harmonic Balancer If you removed the balancer, reinstall it carefully by following the orientation noted earlier. Torque it to the manufacturer's specifications.
2. Replace Any Removed Components Reattach any engine covers, hoses, or belts that were removed for access.
3. Reconnect the Battery Once everything is back in place, reconnect the negative terminal of the battery.
Conclusion
Installing a crankshaft seal is a task that can be accomplished with some basic mechanical skills and the right tools. By following these steps, you can prevent oil leaks and ensure the longevity of your engine. As with any automotive repair, take your time and consult your vehicle’s service manual for specific instructions relevant to your model. If you’re ever in doubt, don’t hesitate to seek help from a professional mechanic. Remember, the health of your engine depends greatly on how well it is maintained!
-
The Ultimate Guide to Car Repair Kits: Tools and Essentials Every Driver Should Own
News Aug.01,2025
-
The Complete Guide to Oil Pan Gaskets: Sealing Engine Leaks the Right Way
News Aug.01,2025
-
Preventing Oil Leaks: A Complete Guide to Oil Pan Gaskets and Drain Seals
News Aug.01,2025
-
Everything You Need to Know About Oil Pan Gaskets and Drain Plug Seals
News Aug.01,2025
-
Essential for Car Owners: How to Use a Car Repair Kit to Deal with Minor Breakdown
News Aug.01,2025
-
Comprehensive Guide to Engine Oil Sump Gaskets and Related Seals
News Aug.01,2025
-
The Ultimate Guide to Boat Propeller Bearings and Trailer Wheel Bearings
News Jul.31,2025
Products categories


