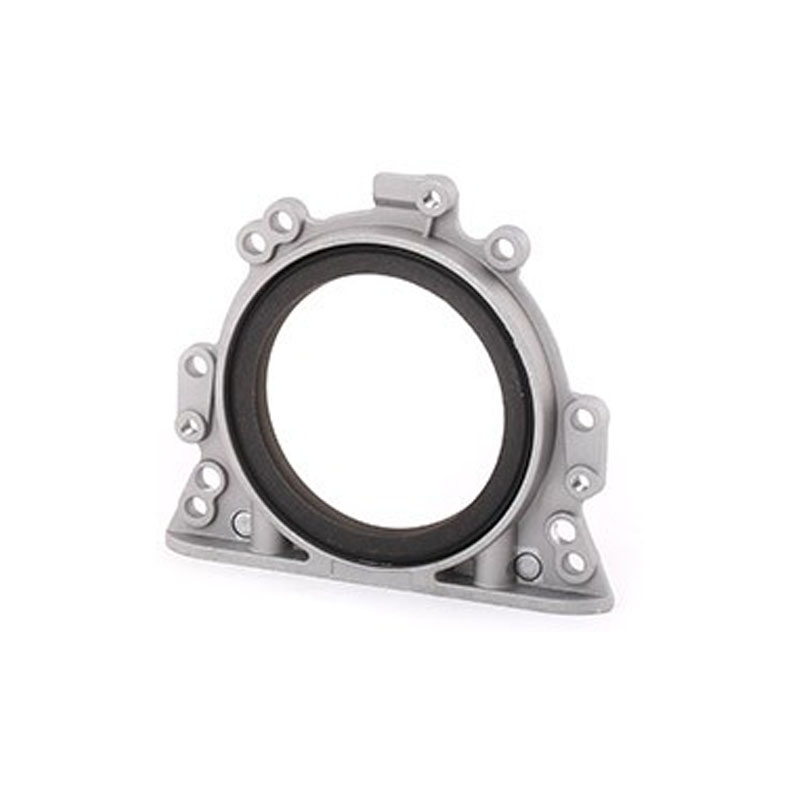
How to replace the front main seal in your vehicle efficiently and effectively.

replacing front main seal. After gaining access to the front main seal, it can be removed using a seal puller or a screwdriver to carefully pry it out. It is important to be gentle during this process to avoid damaging the crankshaft or the surrounding components. Once the old seal is removed, the area should be cleaned thoroughly to remove any debris or old sealant. The new front main seal can then be installed by lubricating it with oil and gently pressing it into place. It is crucial to ensure that the seal is properly seated and aligned with the crankshaft to prevent any future leaks. Once the seal is in place, the timing cover and harmonic balancer can be reinstalled, and the engine oil can be refilled to the appropriate level. After completing the replacement process, it is essential to start the engine and check for any leaks or unusual noises. If everything looks and sounds normal, the job has been successfully completed, and the car is once again ready to hit the road. In conclusion, replacing the front main seal is a crucial maintenance task that should not be ignored. By following the proper steps and using the right tools, car owners can ensure that their engine remains properly lubricated and free from leaks. Regular inspection and replacement of the front main seal can help prevent costly engine damage and keep the car running smoothly for years to come.
-
Your Essential Guide to Car Repair Kits: From Rust to Dings
News Jun.13,2025
-
Understanding Vital Engine Seals: Key Gaskets in Diesel and Performance Engines
News Jun.13,2025
-
The Vital Role of Bearings in Marine and Boating Applications
News Jun.13,2025
-
Sealing the System: A Complete Guide to Engine Oil Gaskets
News Jun.13,2025
-
Sealing the Foundation: A Complete Guide to Engine and Transmission Pan Gaskets
News Jun.13,2025
-
Essential Bearings and Hubs for Marine Vessels and Trailers
News Jun.13,2025
-
Your Complete Guide to Automotive Oil Drain Plugs and Valves
News Jun.12,2025
Products categories


