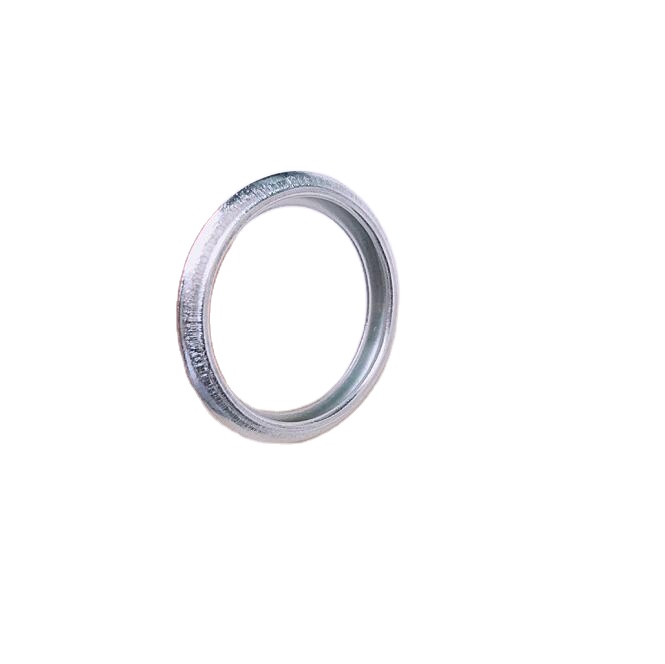
changing oil filter housing gasket
Changing the Oil Filter Housing Gasket A Step-by-Step Guide
Maintaining your vehicle involves a series of critical tasks that preserve its longevity, ensure optimum performance, and avoid costly repairs down the line. One often-overlooked element in this maintenance routine is the oil filter housing gasket. This essential component plays a crucial role in sealing the connection between the oil filter and the engine, preventing oil leaks and maintaining the correct oil pressure. Over time, however, the gasket can wear out, become brittle, or become damaged, necessitating a replacement. In this article, we will guide you through the process of changing the oil filter housing gasket, ensuring your engine continues to run smoothly.
Understanding the Importance of the Oil Filter Housing Gasket
The oil filter housing gasket serves as a seal between the oil filter and the engine block. It helps to ensure that oil flows smoothly through the engine's oil system, which is critical for lubrication and cooling. A worn-out or damaged gasket can lead to oil leaks, which can significantly impact engine performance and lead to more severe issues, such as engine damage or overheating. Therefore, regularly checking and replacing the oil filter housing gasket when needed is an essential part of vehicle maintenance.
Signs That Indicate a Failing Gasket
Before diving into the replacement process, it’s crucial to recognize the signs of a failing oil filter housing gasket. Common indicators include
1. Oil Leaks The most significant sign is visible oil pooling under your vehicle, usually near the oil filter. 2. Oil Pressure Warning Light A sudden drop in oil pressure can trigger an alert on your dashboard. 3. Burning Smell Oil leaking onto hot engine components may produce a burning smell, indicating a leak. 4. Engine Noise Insufficient oil in the engine due to leaks can lead to increased engine noise.
If you observe any of these signs, it's time to consider changing the oil filter housing gasket.
Tools and Materials Needed
Before you begin the replacement process, gather the following tools and materials
- New oil filter housing gasket - Oil filter (if replacing) - Socket set - Torque wrench - Gasket scraper or razor blade - Engine oil - Clean rags - Safety glasses and gloves
Step-by-Step Guide to Changing the Oil Filter Housing Gasket
Step 1 Prepare Your Vehicle
Start by parking your vehicle on a level surface and engaging the parking brake. Gather your tools and materials, then disconnect the negative battery terminal to prevent any electrical issues.
changing oil filter housing gasket

Step 2 Access the Oil Filter Housing
Locate the oil filter housing, usually situated on the engine block. Depending on your vehicle's make and model, you may need to remove other components like engine covers or intake ducts to gain full access.
Step 3 Remove the Old Oil Filter
Using the appropriate wrench, remove the oil filter. Have a container ready to catch any leaking oil. Make sure to thoroughly clean the area around the oil filter housing.
Step 4 Remove the Old Gasket
Once the oil filter is off, remove the old gasket. A gasket scraper or a razor blade can help you clean the surface effectively. Be careful not to scratch the metal surfaces underneath.
Step 5 Install the New Gasket
Place the new oil filter housing gasket in position, ensuring it sits properly in the groove. If you're replacing the oil filter, lubricate the rubber seal of the new filter with a bit of fresh oil before installation.
Step 6 Reattach the Oil Filter
Reinstall the oil filter, tightening it according to the manufacturer's specifications. Use a torque wrench if necessary, ensuring you do not overtighten, which can damage the new gasket.
Step 7 Refill Oil and Test
Reconnect everything, including the negative battery terminal. Refill your engine with the correct type of oil, start the engine, and allow it to warm up. Check for leaks around the oil filter housing.
Conclusion
Changing the oil filter housing gasket is a straightforward task that every vehicle owner can undertake with the right tools and guidance. By following these steps, you not only enhance your engine's performance but also extend its lifespan. Regular maintenance and timely replacements of critical components like the oil filter housing gasket contribute significantly to the overall health of your vehicle. Always refer to your vehicle's service manual for specific instructions related to your model, and don’t hesitate to consult a professional mechanic if you are unsure about any steps in the process.
-
Simplifying Oil Changes: A Comprehensive Guide to Oil Drain Plugs and Their Variants
News Aug.04,2025
-
Mastering Oil Drain Maintenance: Solutions for Stripped, Worn, and Upgraded Oil Plugs
News Aug.04,2025
-
Fixing Oil Pan Plug Issues: Leaks, Stripped Nuts, and the Right Replacement Solutions
News Aug.04,2025
-
Everything You Need to Know About Oil Drain Plugs: Sizes, Fixes, and Upgrades
News Aug.04,2025
-
Choosing the Right Oil Drain Plug: A Guide to Sizes, Materials, and Drain Innovations
News Aug.04,2025
-
A Complete Guide to Automotive Drain Plugs: Types, Problems, and Innovative Solutions
News Aug.04,2025
-
The Ultimate Guide to Car Repair Kits: Tools and Essentials Every Driver Should Own
News Aug.01,2025
Products categories


