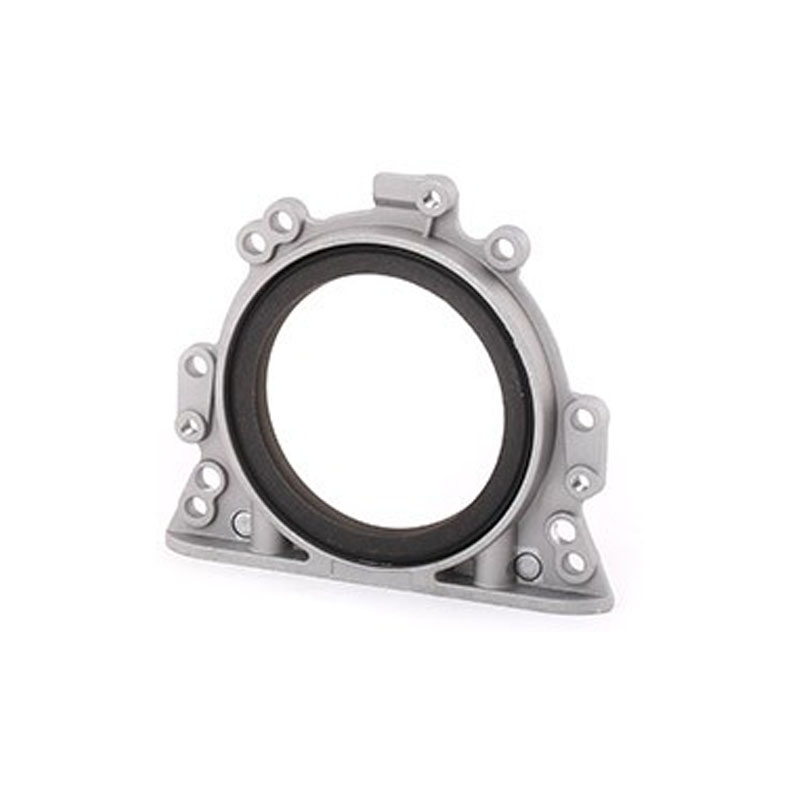
Steps for Replacing Differential Axle Seals Efficiently and Effectively
Differential Axle Seal Replacement A Comprehensive Guide
The differential axle seal plays a crucial role in maintaining the integrity of your vehicle's drivetrain. It serves to keep the differential fluid contained, preventing leaks that can lead to further transmission issues and costly repairs. Over time, seals can wear out due to age, exposure to heat, and the sheer number of revolutions they endure while in operation. If you suspect that your differential axle seal is leaking, it is essential to address the issue promptly to avoid more significant mechanical problems down the road.
Signs of a Worn Differential Axle Seal
Identifying a failing differential axle seal can save you from substantial repair costs. Common symptoms include
1. Fluid Leaks The most noticeable sign is a visible leak of differential fluid. This usually appears as reddish or brownish fluid pooling under your vehicle. 2. Unusual Noises A failing seal can lead to a low fluid level, resulting in whining or grinding noises from the differential due to insufficient lubrication. 3. Vibration If the axle starts to wear because of inadequate lubrication, you might experience vibrations while driving. 4. Warning Lights Some vehicles have differential-related warning lights that may activate when the fluid level is too low.
Preparing for Replacement
If you're skilled at DIY mechanics, replacing a differential axle seal can be done at home with the right tools and equipment. Here’s what you’ll need
- Basic hand tools (ratchet set, wrenches, screwdrivers) - Seal puller - Torque wrench - New differential axle seals - Differential fluid - Gasket scraper (if necessary) - Safety gear (gloves, goggles)
Before starting, ensure your vehicle is on a level surface and securely lifted using jack stands. Safety is paramount when working under your vehicle.
Step-by-Step Replacement Process
1. Remove the Wheel Begin by taking off the lug nuts and removing the wheel on the side where you're replacing the axle seal. 2. Disconnect Suspension Components Depending on your vehicle’s setup, you may need to disconnect suspension components to access the axle.
differential axle seal replacement

3. Remove the Axle Shaft Carefully remove any retaining clips or bolts holding the axle shaft in place. Gently slide the axle out of the differential.
4. Extract the Old Seal Use a seal puller to carefully remove the old axle seal from its seating. Take care not to damage the surrounding surfaces.
5. Clean the Area Inspect the seal area for any debris, dirt, or damage. Clean it thoroughly to ensure a proper seal when the new one is installed.
6. Install the New Seal Carefully press the new axle seal into place using a seal installer or a similar tool to avoid damaging it. Make sure it’s flush with the housing.
7. Reassemble the Axle Slide the axle shaft back into the differential, ensuring it seats correctly. Reattach any clips or bolts removed earlier.
8. Reconnect Suspension Components Reinstall any suspension components that were disconnected during the process.
9. Fill Differential Fluid Once everything is back in place, refill the differential with the appropriate type of fluid. Be sure to check for leaks after refilling.
10. Test Drive Finally, take your vehicle for a short test drive to ensure everything is functioning correctly and that there are no leaks.
Conclusion
Replacing the differential axle seal is an essential maintenance task that can prevent costly repairs and ensure the longevity of your vehicle's drivetrain. While it may seem daunting, with the right tools and a bit of patience, it can be accomplished as a DIY project. However, if you're not confident in your mechanical skills, it's always advisable to seek assistance from a professional mechanic to ensure the job is done correctly. Remember, proactive maintenance can save you time, money, and keep your vehicle running smoothly for years to come.
-
Understanding the Front Main Engine Seal: Purpose, Maintenance, and Installation
News Jul.29,2025
-
Understanding O-Rings and Seal Rings: Types, Applications, and Custom Solutions
News Jul.29,2025
-
Understanding Crankshaft Oil Seals: Rear Seals, Pulley Seals, and Their Role in Engine Integrity
News Jul.29,2025
-
The Importance of Front and Rear Crankshaft Seals in Engine Performance and Oil Management
News Jul.29,2025
-
Crank Oil Seals: Functions, Types, and Cost Considerations in Engine Maintenance
News Jul.29,2025
-
A Comprehensive Guide to O-Rings and Seals: Types, Materials, and Global Applications
News Jul.29,2025
-
Mastering Diesel and Performance Engine Maintenance: A Guide to Critical Oil Gaskets
News Jul.28,2025
Products categories


