Seal oil filter housing Engine Side BMW Petrol 11427537293
4. Removing the Old Gasket – Carefully peel off the old gasket residue. – Clean the gasket surface using a gasket scraper for perfect sealing with the new gasket. 5. Installing the New Gasket – Place the new gasket evenly on the transmission pan. – Align it correctly without stretching or bending to avoid future leaks. 6. Reinstalling the Transmission Pan – Position the transmission pan back under the vehicle. – Secure it with bolts using appropriate torque settings (refer to vehicle’s manual for precise torque specifications). – Ensure no overtightening as it may damage the gasket. 7. Refilling Transmission Fluid – Open the hood and locate the transmission fluid fill port. – Gradually pour transmission fluid using a funnel. – Continuously check the fluid level using the dipstick to avoid overfilling. Significance of Authentic Transmission Products Using authentic products is critical for the success of such replacements. Genuine gaskets are made to fit perfectly and adhere to rigorous quality standards, ensuring effective sealing and durability. Substandard products may compromise your vehicle’s performance, leading to recurring issues and added expenses. Conclusion Trust in Expertise While replacing the transmission pan gasket might seem straightforward, precision and understanding of the task are imperative. Engaging with authentic products and adhering strictly to procedural correctness underscore not just a successful gasket replacement but also assure the robust operation of your vehicle. Always prioritize safety and consult professional assistance if unsure at any stage of the process. This proactive approach promises not only an impeccably functioning transmission system but also peace of mind, fostering trust and authority in vehicular maintenance endeavors.
-
Guide to Choosing the Right Washer for Oil Change and Sealing
News Apr.16,2026
-
Essential Guide to High Quality rubber washer oil drain plug
News Apr.09,2026
-
Understanding Rubber Crush Washers for Optimal Sealing Performance
News Apr.07,2026
-
Comprehensive Guide to Understanding and Reusing Crush Washer for Optimal Sealing
News Apr.04,2026
-
The Vital Role of a Drain Screw Gasket in Fluid System Integrity
News Mar.31,2026
-
The Essential Guide to Drain Crush Washer Selection and Plumbing Leak Prevention
News Mar.28,2026
-
The Vital Role of a Crush Washer in Oil Changes for Engine Protection
News Mar.26,2026
Products categories
-

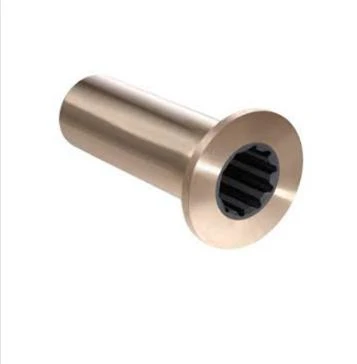
Brass cutlass marine bearing
-

Genuine OEM Engine Oil Filter Housing Cover O-Ring For VW/Audi 06E115446
-

Oil Filter Stand Gasket,Oil filter cover seal
-

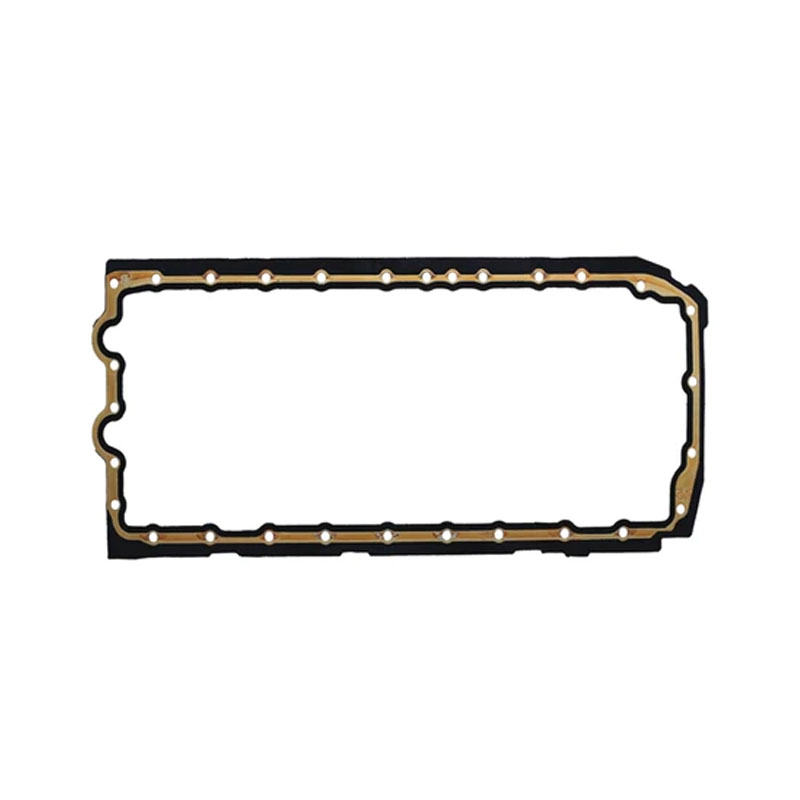
Oil Cooler Gasket, Oil Cooler to Oil Filter Housing 11427525335
-

11427508970 BMW - OIL FILTER HOUSING GASKETS
-
")
SEAL, OIL Genuine Toyota (9031170011)
-

Transfer Case Output Shaft Seal Part 9031223001
-
")
SEAL, OIL Genuine Toyota (9031672001)
-

Engine Crankshaft Oil Seal No.9031138096
-

Toyota Transfer Case Output Shaft Seal Front 9031136006
-

Seal, type v oil 9031287001 TOYOTA
-

Oil pump seal 9031143010
-

Genuine Toyota Oil SEAL 90311-54006
-

Toyota SEAL TYPE T OIL 90311-48031
-

Type T Oil Seal, Front Drive Shaft, Left 9031150064
-

Seal, type d oil 9031634001 TOYOTA