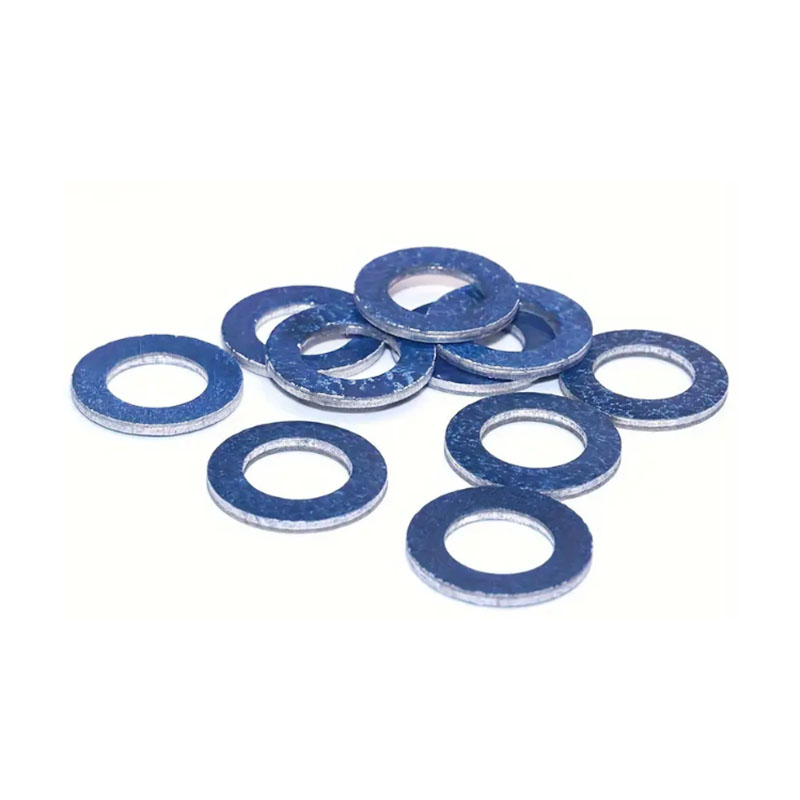
replacing transmission pan gasket
Replacing the Transmission Pan Gasket A Step-by-Step Guide
The transmission pan gasket plays a crucial role in your vehicle's transmission system by sealing the transmission fluid within the pan. Over time, this gasket can deteriorate due to heat, wear, and exposure to harmful substances, leading to leaks that can impact the performance of your vehicle. Fortunately, replacing the transmission pan gasket is a task that many DIY enthusiasts can tackle. In this article, we will provide a step-by-step guide to help you replace your transmission pan gasket efficiently and safely.
Tools and Materials Needed
Before starting the replacement process, gather the following tools and materials
- Socket set and ratchet - Torque wrench - Screwdriver - Oil catch pan - Cleaning rags - Transmission pan gasket replacement kit - Transmission fluid - Disposable gloves
Step 1 Prepare Your Vehicle
Start by ensuring your vehicle is parked on a level surface with the engine turned off. Engage the parking brake and wear safety glasses and gloves for protection. If needed, use a jack and jack stands to lift the vehicle, providing enough clearance to access the transmission pan.
Step 2 Drain the Transmission Fluid
Place an oil catch pan underneath the transmission pan to collect any fluid that may spill during the process. Carefully remove the pan bolts using a socket wrench. Depending on your vehicle, you may need to loosen the bolts in a cross pattern to prevent bending the pan. Once loosened, carefully tilt the pan and allow the old transmission fluid to drain into the catch pan.
Step 3 Remove the Transmission Pan
Once drained, remove the transmission pan completely. Take your time with this step; some fluid may still be trapped in the pan, and it can spill. After removing the pan, inspect it for any metal shavings or debris, which may indicate internal transmission issues. Clean the pan thoroughly with a solvent or cleaning rag to remove any leftover fluid and grime.
Step 4 Remove the Old Gasket
replacing transmission pan gasket

With the pan removed, you’ll find the old gasket clinging to the surface. Gently peel it off using your fingers or a scraper, being careful not to damage the transmission pan or the mounting surface. Once removed, clean the surface thoroughly to ensure proper sealing for the new gasket.
Step 5 Install the New Gasket
Take the new gasket from the replacement kit and align it with the transmission pan. Ensure that it fits snugly around the edges and is correctly seated. Most gaskets are designed to stay in place during reinstallation, but some may require you to use a bit of adhesive to help keep them secure.
Step 6 Reattach the Transmission Pan
Once the new gasket is in position, carefully reinstall the transmission pan onto the transmission. Begin by hand-tightening the bolts in a crisscross pattern to ensure even pressure is applied to the gasket. After all bolts are snug, use a torque wrench to tighten them to the manufacturer’s specified torque settings. Over-tightening can lead to leaks, so it’s essential to adhere to these specifications.
Step 7 Refill with Transmission Fluid
After reattaching the pan, it’s time to refill the transmission with fresh fluid. Locate the transmission dipstick tube under the hood, and using a funnel, pour in the recommended type and amount of transmission fluid for your vehicle.
Step 8 Check for Leaks
Start the engine and let it idle for a few minutes, then engage the gears to circulate the new fluid. Check beneath the vehicle for any signs of leaks around the pan. If everything looks good, take your vehicle for a short test drive to ensure proper operation.
Conclusion
Replacing the transmission pan gasket may seem intimidating, but with the right tools and a bit of patience, you can complete the task successfully. Regular maintenance, including checking for leaks, is essential for prolonging the life of your vehicle’s transmission. By following these steps, you can ensure that your vehicle remains in optimal condition for years to come.
-
Understanding the Front Main Engine Seal: Purpose, Maintenance, and Installation
News Jul.29,2025
-
Understanding O-Rings and Seal Rings: Types, Applications, and Custom Solutions
News Jul.29,2025
-
Understanding Crankshaft Oil Seals: Rear Seals, Pulley Seals, and Their Role in Engine Integrity
News Jul.29,2025
-
The Importance of Front and Rear Crankshaft Seals in Engine Performance and Oil Management
News Jul.29,2025
-
Crank Oil Seals: Functions, Types, and Cost Considerations in Engine Maintenance
News Jul.29,2025
-
A Comprehensive Guide to O-Rings and Seals: Types, Materials, and Global Applications
News Jul.29,2025
-
Mastering Diesel and Performance Engine Maintenance: A Guide to Critical Oil Gaskets
News Jul.28,2025
Products categories


