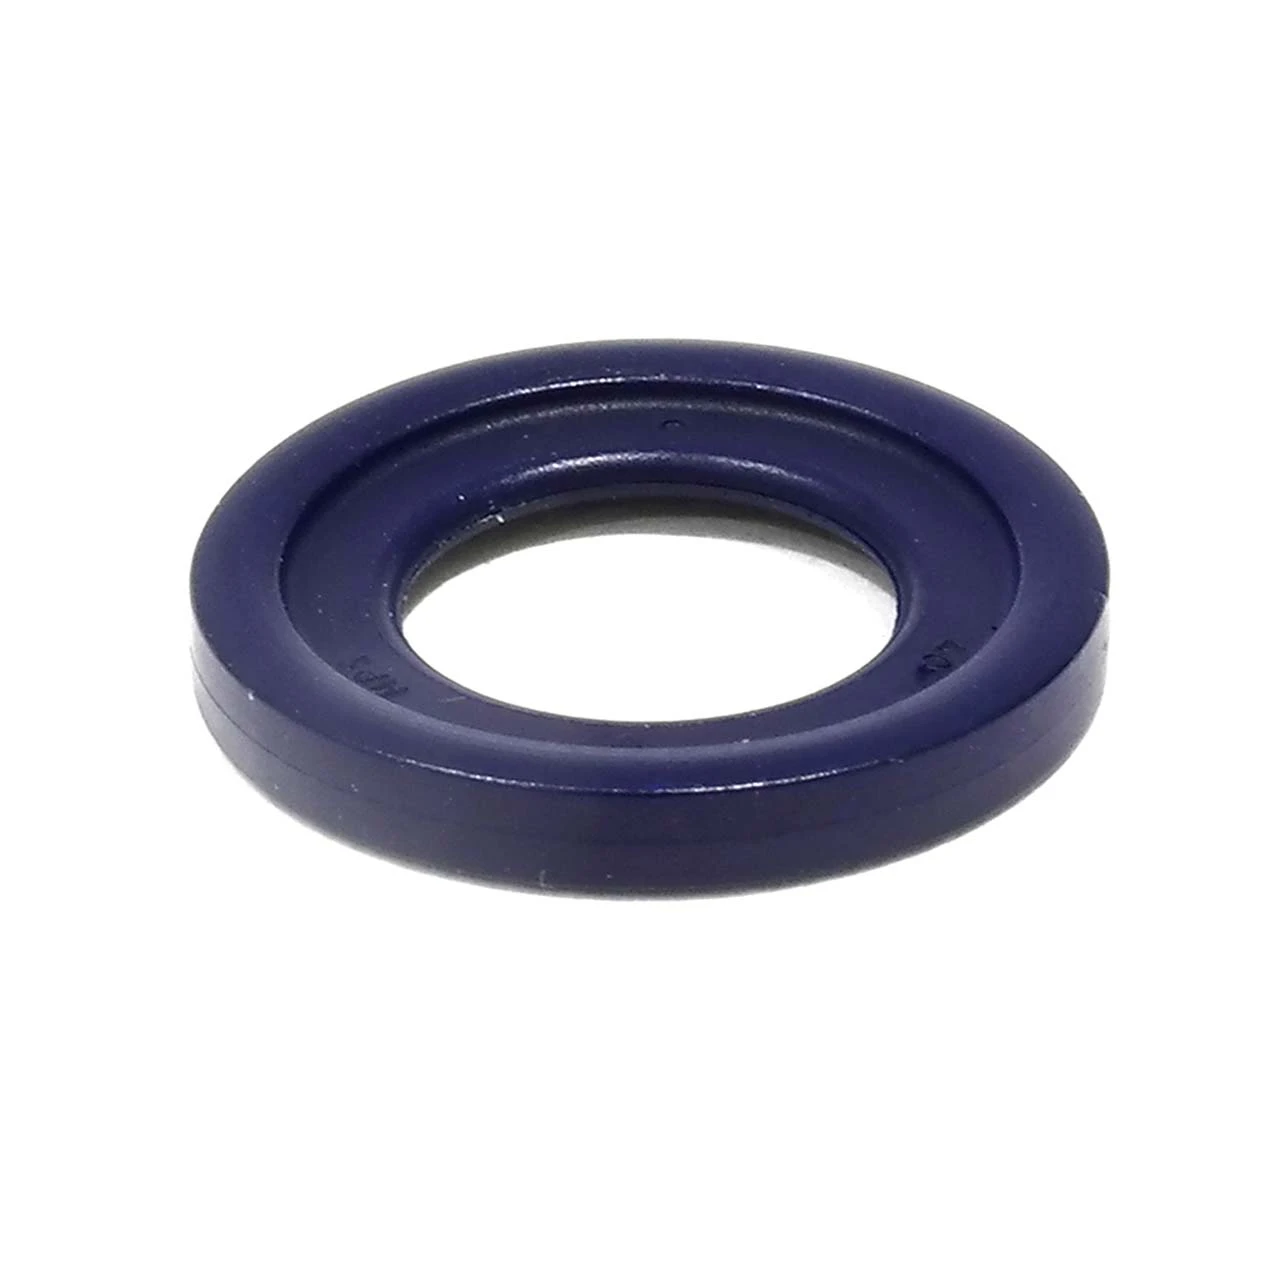
Replacing a Transmission Pan Gasket for Improved Performance and Durability
Replacing Transmission Pan Gasket A Comprehensive Guide
The transmission pan gasket plays a crucial role in the operation of a vehicle's transmission system. Positioned between the transmission pan and the transmission case, this gasket serves as a seal that prevents fluid leaks. Over time, however, the gasket can wear out or become damaged, leading to transmission fluid leaks that can compromise the functionality of the transmission. Replacing a worn or damaged transmission pan gasket is essential for maintaining the health of your vehicle's transmission.
Signs of a Worn Transmission Pan Gasket
Before diving into the replacement process, it’s essential to identify the signs of a failing transmission pan gasket. Common symptoms include
1. Fluid Leaks One of the most evident signs of a problem is reddish-brown fluid pooling beneath your vehicle. This fluid is typically transmission fluid, indicating that the gasket may be compromised. 2. Transmission Overheating Low transmission fluid levels due to leaks can lead to overheating, which can cause further damage to the transmission.
3. Unusual Shifting If your vehicle is experiencing erratic shifting or slipping gears, it might be an indication that the transmission is not adequately lubricated due to low fluid levels.
4. Fluid-Worn Gasket Sometimes, visible cracks or tears in the gasket can be found during routine inspections.
If you notice any of these signs, it might be time to consider replacing the transmission pan gasket.
Tools and Materials Needed
Before you start the replacement process, gather the following tools and materials
- New transmission pan gasket - Transmission fluid - Socket and ratchet set - Pliers - Clean rags or towels - Scraper or gasket remover - Torque wrench (if necessary)
Step-by-Step Guide to Replacing the Transmission Pan Gasket
replacing transmission pan gasket

1. Preparation Ensure your vehicle is parked on a level surface and the engine is cool. Gather your tools and materials.
2. Lift the Vehicle Use jack stands to lift the vehicle safely off the ground, providing access to the transmission pan.
3. Drain Transmission Fluid Before removing the transmission pan, you should drain the old fluid. Place a drain pan underneath the transmission, remove the pan bolts, and let the fluid drain completely.
4. Remove the Transmission Pan Once the fluid is drained, gently tap or pry the transmission pan to loosen it. Be cautious, as the pan may still have some fluid in it. Remove all the bolts and set the pan aside.
5. Inspect and Clean Inspect the inside of the transmission pan and the condition of the transmission. Clean the mating surface where the gasket will sit, removing any old gasket material or debris.
6. Install the New Gasket Place the new gasket onto the transmission pan. Ensure it’s properly aligned with the holes. If needed, apply a thin layer of gasket maker to hold it in place.
7. Reattach the Transmission Pan Carefully position the transmission pan back onto the transmission and hand-tighten the bolts. If required, use a torque wrench to ensure you are tightening the bolts to the manufacturer’s specifications.
8. Refill Transmission Fluid Pour new transmission fluid into the fill tube. Check your owner’s manual for the correct type and quantity of fluid.
9. Check for Leaks Start the vehicle and let it run for a few minutes while checking for leaks around the transmission pan. If everything looks good, lower the vehicle back to the ground.
Conclusion
Replacing the transmission pan gasket is a task that can save you from serious transmission issues down the line. While the process might seem daunting, with the right tools and a careful approach, it can be accomplished by most DIY enthusiasts. Regular maintenance and prompt repairs not only enhance the longevity of your vehicle but also ensure a smooth driving experience. Always refer to the vehicle's service manual for specific guidelines and recommendations tailored to your car model.
-
Understanding the Front Main Engine Seal: Purpose, Maintenance, and Installation
News Jul.29,2025
-
Understanding O-Rings and Seal Rings: Types, Applications, and Custom Solutions
News Jul.29,2025
-
Understanding Crankshaft Oil Seals: Rear Seals, Pulley Seals, and Their Role in Engine Integrity
News Jul.29,2025
-
The Importance of Front and Rear Crankshaft Seals in Engine Performance and Oil Management
News Jul.29,2025
-
Crank Oil Seals: Functions, Types, and Cost Considerations in Engine Maintenance
News Jul.29,2025
-
A Comprehensive Guide to O-Rings and Seals: Types, Materials, and Global Applications
News Jul.29,2025
-
Mastering Diesel and Performance Engine Maintenance: A Guide to Critical Oil Gaskets
News Jul.28,2025
Products categories


