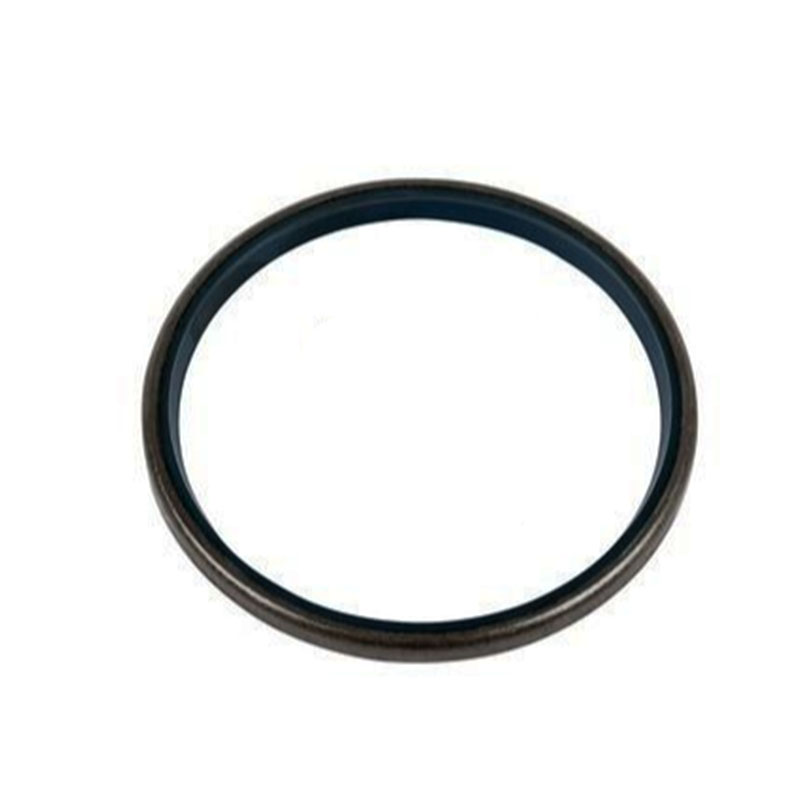
replacing transmission pan gasket
Replacing a Transmission Pan Gasket A Comprehensive Guide
The transmission system of a vehicle is crucial for its overall performance and efficiency. One of the essential components of this system is the transmission pan gasket. Over time, this gasket can wear out, leading to leaks and potential damage to the transmission itself. In this article, we will explore the importance of the transmission pan gasket, signs of a failing gasket, and provide a step-by-step guide on how to replace it.
Understanding the Transmission Pan Gasket
The transmission pan gasket serves as a seal between the transmission pan and the transmission housing. It is designed to keep transmission fluid contained within the pan, allowing it to circulate and lubricate the various components of the transmission. When the gasket is intact, it prevents leaks and ensures that your transmission operates smoothly. However, with exposure to heat, fluid, and time, gaskets can become brittle, crack, or wear down, resulting in fluid leaks.
Signs of a Failing Transmission Pan Gasket
Identifying a failing transmission pan gasket early can save you from more extensive and costly repairs. Here are some common signs to look for
1. Fluid Leaks The most obvious sign of a failing gasket is transmission fluid pooling under your vehicle. The fluid is usually reddish in color and has a distinct smell. 2. Low Transmission Fluid Levels If you notice that you constantly need to top off your transmission fluid, it may indicate a leak caused by a bad gasket.
3. Shifting Problems A leaking transmission can lead to insufficient fluid levels, which may cause your vehicle to experience difficulty in shifting gears.
4. Warning Lights Some modern vehicles come equipped with warning lights that can indicate low transmission fluid levels, alerting you to a possible gasket issue.
Steps to Replace a Transmission Pan Gasket
If you’ve determined that your transmission pan gasket needs replacing, follow these steps for a successful DIY repair
Tools and Materials Needed
- New transmission pan gasket - Transmission fluid - Socket set - Torque wrench - Oil catch pan - Clean rags - Gasket scraper or razor blade
Step 1 Prepare Your Vehicle
1. Safety First Park your vehicle on a flat surface, and ensure the engine is cold. Engage the parking brake and use wheel chocks for extra safety.
replacing transmission pan gasket

2. Lift the Vehicle Use a floor jack to elevate the front end of your car and secure it with jack stands.
Step 2 Drain the Transmission Fluid
1. Locate the Drain Plug If your transmission pan has a drain plug, remove it and let the fluid drain into an oil catch pan. If there is no drain plug, you may need to remove the pan entirely to drain the fluid.
Step 3 Remove the Transmission Pan
1. Unscrew the Bolts Use your socket set to remove the bolts securing the transmission pan. Carefully lower the pan and make sure to catch any remaining fluid.
2. Clean the Old Gasket Material Use a scraper or razor blade to remove any remnants of the old gasket from both the pan and the transmission housing.
Step 4 Install the New Gasket
1. Position the New Gasket Place the new gasket onto the transmission pan. Often, the gasket will have pre-drilled holes to help align it with the pan.
2. Reattach the Pan Lift the pan back into place and use your torque wrench to tighten the bolts in a crisscross pattern to ensure even pressure.
Step 5 Refill Transmission Fluid
1. Add New Fluid Locate the transmission dipstick tube and pour in the recommended type and amount of transmission fluid.
Step 6 Check for Leaks
1. Start the Engine Start your vehicle and let it run for a few minutes. Check for any signs of leaks around the newly installed gasket.
Conclusion
Replacing a transmission pan gasket is a manageable task for many DIY enthusiasts. By staying vigilant for signs of a failing gasket and following the steps outlined in this guide, you can ensure your vehicle’s transmission remains in top condition. Regular maintenance can save you time, money, and the headache of more severe transmission issues down the line. If you are unsure or uncomfortable with any step of the process, consulting a professional mechanic is always a wise choice.
-
Everything You Need to Know About Oil Pan Gaskets and Drain Plug Seals
News Aug.01,2025
-
Essential for Car Owners: How to Use a Car Repair Kit to Deal with Minor Breakdown
News Aug.01,2025
-
Comprehensive Guide to Engine Oil Sump Gaskets and Related Seals
News Aug.01,2025
-
The Ultimate Guide to Boat Propeller Bearings and Trailer Wheel Bearings
News Jul.31,2025
-
The Essential Guide to Marine Bearings and Boat Trailer Wheel Bearings
News Jul.31,2025
-
The Complete Guide to Heavy Duty Seals: Protecting Doors and Spaces Efficiently
News Jul.31,2025
-
Essential Guide to Marine Shaft Bearings and Boat Trailer Axle Bearings
News Jul.31,2025
Products categories


