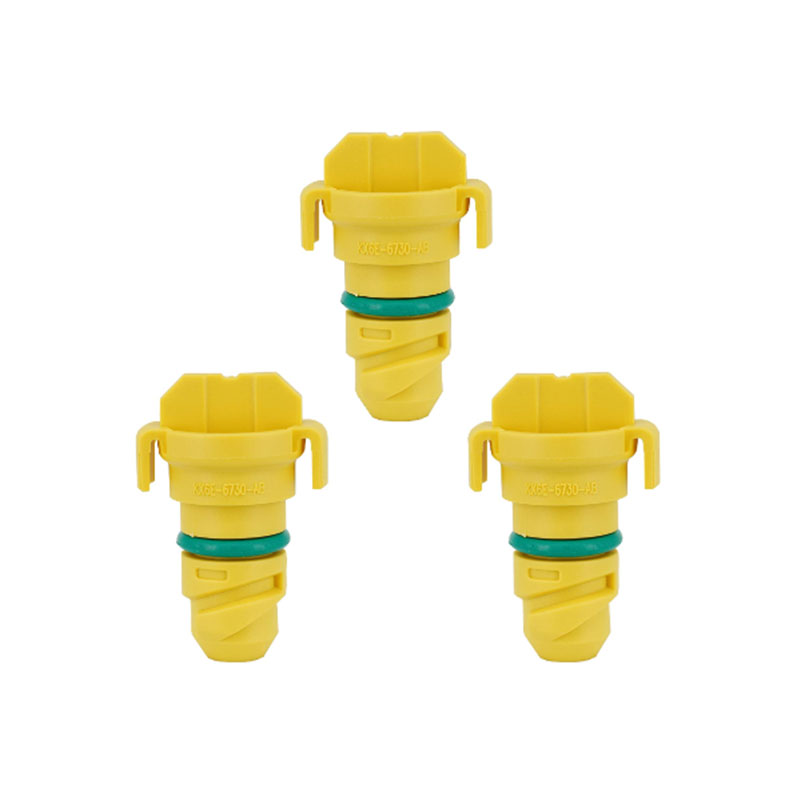
How to Replace an Oil Gasket Step by Step Guide
Replacing Oil Gasket A Comprehensive Guide
The oil gasket, an essential component of any engine, plays a crucial role in ensuring that the engine operates smoothly and efficiently. Over time, exposure to high temperatures and pressure can cause oil gaskets to wear out or become damaged, leading to leaks that can affect engine performance. When this happens, replacing the oil gasket becomes necessary. In this article, we will discuss the importance of the oil gasket, signs that it needs replacing, and a step-by-step guide on how to replace it.
Importance of the Oil Gasket
The oil gasket serves as a seal between the engine block and the oil pan, preventing oil from leaking out. It aids in maintaining the right oil pressure, which is vital for lubricating engine components, reducing friction, and preventing overheating. A properly functioning oil gasket ensures that the engine operates efficiently, prolonging its lifespan and enhancing performance.
Signs of a Worn or Damaged Oil Gasket
Recognizing the signs of a failing oil gasket is the first step toward addressing the issue. Here are some common indicators
1. Oil Leaks The most apparent sign of a faulty oil gasket is oil pooling under the vehicle or around the oil pan. These leaks can lead to low oil levels, which can damage the engine.
2. Oil Pressure Warning Light If the oil pressure warning light on your dashboard illuminates, it may indicate a problem with the oil circulation, possibly due to a leaking gasket.
3. Burning Oil Smell An unusual burning smell while driving could mean that oil is leaking onto hot engine components, creating smoke.
4. Increased Engine Noise Low oil levels due to a gasket leak can lead to insufficient lubrication, resulting in increased engine noise and potential damage.
How to Replace an Oil Gasket A Step-by-Step Guide
Replacing an oil gasket is a task that can be completed with some mechanical knowledge and the right tools. Here’s a step-by-step guide
replacing oil gasket

Tools and Materials Needed - New oil gasket - Socket set - Torque wrench - Gasket scraper or razor blade - Engine oil - Clean rags - Oil catch pan
Steps
1. Preparation Park your vehicle on a flat surface and engage the parking brake. Gather all necessary tools and materials.
2. Drain the Oil Place an oil catch pan under the oil pan and remove the drain plug. Allow the engine oil to drain completely.
3. Remove Oil Pan Bolts Using the appropriate socket, remove the bolts securing the oil pan. Carefully lift the oil pan off the engine block. You may need to gently tap it if it's stuck due to old gasket material.
4. Clean Surfaces Use a gasket scraper or razor blade to remove the old gasket material from the oil pan and the engine block. Ensure that both surfaces are clean and free of debris.
5. Install the New Gasket Place the new gasket onto the oil pan or the engine block, depending on the design. Ensure that it is aligned correctly.
6. Reattach the Oil Pan Carefully position the oil pan back onto the engine block. Hand-tighten the bolts to secure the pan in place.
7. Torque the Bolts Use a torque wrench to tighten the oil pan bolts to the manufacturer’s specifications. This step is crucial to avoid leaks.
8. Refill Engine Oil Replace the drain plug and refill the engine with the appropriate type and amount of oil.
9. Check for Leaks Start the engine and let it run for a few minutes while checking for any leaks around the oil pan. If any leaks are detected, tighten the bolts as necessary.
Conclusion
Replacing an oil gasket is a manageable task for those with some mechanical skills. By being aware of the signs of a failing gasket and understanding the replacement process, vehicle owners can save money on repairs and ensure their engines remain in good condition. Regular maintenance and prompt attention to potential issues will not only extend the life of the engine but also enhance overall driving performance.
-
Understanding Automotive Oil Seals: Essential Components for Engine and Shaft Protection
News Jul.30,2025
-
The Importance of Heavy Duty Seals in Industrial and Residential Applications
News Jul.30,2025
-
Exploring Industrial Oil Seals: From Felt Oil Seals to TTO and CFW Solutions
News Jul.30,2025
-
Essential Guide to Oil Seals: From Radial to Metal-Cased Seals for Industrial Reliability
News Jul.30,2025
-
Choosing the Right Oil Seals and Gaskets for Industrial and Automotive Applications
News Jul.30,2025
-
Cassette Seals: Durable Sealing Solutions for Harsh Environments
News Jul.30,2025
-
Understanding the Front Main Engine Seal: Purpose, Maintenance, and Installation
News Jul.29,2025
Products categories


