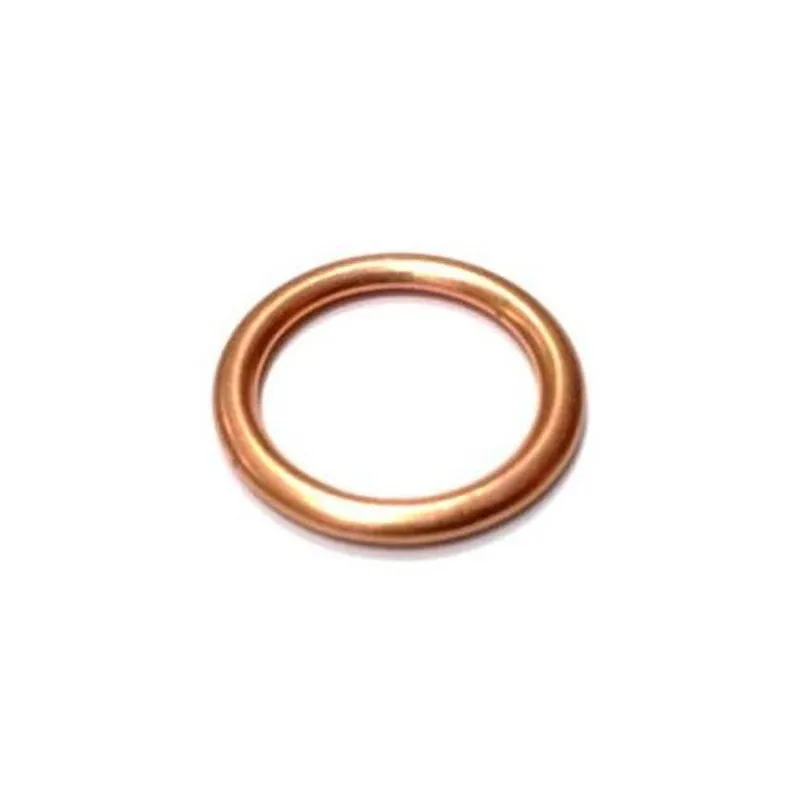
replacing oil filter housing gasket
Replacing Oil Filter Housing Gasket A Comprehensive Guide
The oil filter housing gasket plays a crucial role in ensuring that the engine operates smoothly. It forms a seal between the oil filter and the engine, preventing oil leaks and maintaining optimal oil pressure. Over time, however, gaskets can degrade due to heat, pressure, and exposure to oil, leading to leaks and potentially severe engine damage. If you suspect that your oil filter housing gasket needs replacement, it's essential to understand how to address this task efficiently.
Symptoms of a Failing Oil Filter Housing Gasket
Before jumping into the replacement process, it's vital to recognize the symptoms of a failing gasket. Common signs include
1. Oil Leaks The most obvious indication of a faulty gasket. Look for oil puddles under your vehicle or oil spots on your driveway. 2. Low Oil Levels Regularly checking your oil level is crucial. Frequent oil top-ups can indicate a leak elsewhere, including the oil filter housing gasket. 3. Engine Oil Pressure Warning A drop in oil pressure can signify a problem, including a faulty gasket. 4. Burning Oil Smell If oil leaks onto hot engine components, it can produce a burning smell.
Tools and Materials Needed
To replace the oil filter housing gasket, you will need
- New oil filter housing gasket - Oil filter (if needed) - Socket set and ratchet - Torque wrench - Screwdrivers - Clean cloth or rags - Engine oil (for top-ups) - Oil catch pan - Adhesive or gasket sealer (optional, depending on the gasket type)
Steps to Replace the Oil Filter Housing Gasket
1. Safety First Ensure that your vehicle is parked on a level surface. Turn off the engine and let it cool down. Disconnect the battery to prevent any electrical mishaps.
2. Prepare the Work Area Place an oil catch pan under the oil filter housing to catch any oil that may spill during the process.
replacing oil filter housing gasket

3. Remove the Oil Filter Use an oil filter wrench to unscrew and remove the old oil filter. If you're also replacing the oil filter, it's best to do it at this time. Be cautious, as some oil may spill out.
4. Clean the Area Once the oil filter is removed, clean the area around the oil filter housing thoroughly. Use clean rags to remove any residue or old gasket material. Ensuring a clean surface is crucial for a good seal with the new gasket.
5. Inspect the Gasket Surface Check both the engine block and the oil filter housing for any damage or excessive wear. If you notice any issues such as cracks, consider replacing the affected components.
6. Install the New Gasket Place the new gasket onto the oil filter housing. Some mechanics recommend using a gasket sealant for additional security, but this can depend on the type of gasket being installed. Follow the manufacturer's instructions if applicable.
7. Reattach the Oil Filter Before reinstalling the oil filter, apply a bit of new oil on the rubber O-ring of the filter. This ensures a better seal and makes it easier to remove during future replacements. Screw on the new or cleaned oil filter until it is snug but not overly tight.
8. Reattach Everything If you removed any components to gain access, reinstall them. Ensure all bolts are tightened to manufacturer specifications. A torque wrench is crucial here to avoid over-tightening, which can damage the gasket.
9. Refill Engine Oil Refill the engine with the appropriate oil if any was lost during the process. Check the oil level with the dipstick to ensure it's at the recommended level.
10. Reconnect the Battery Once everything is in place, reconnect the battery.
11. Start the Engine Allow the engine to run for a few minutes and check for any signs of leaks around the oil filter housing area.
Conclusion
Replacing the oil filter housing gasket is a vital maintenance task that can save you from costly engine repairs down the line. By following the steps outlined above, you can efficiently perform this replacement yourself, ensuring that your engine runs smoothly and efficiently. Regular maintenance goes a long way in prolonging the life of your vehicle and enhancing its performance. If you're ever in doubt, consult a professional mechanic to assist with more complex issues.
-
Understanding Automotive Oil Seals: Essential Components for Engine and Shaft Protection
News Jul.30,2025
-
The Importance of Heavy Duty Seals in Industrial and Residential Applications
News Jul.30,2025
-
Exploring Industrial Oil Seals: From Felt Oil Seals to TTO and CFW Solutions
News Jul.30,2025
-
Essential Guide to Oil Seals: From Radial to Metal-Cased Seals for Industrial Reliability
News Jul.30,2025
-
Choosing the Right Oil Seals and Gaskets for Industrial and Automotive Applications
News Jul.30,2025
-
Cassette Seals: Durable Sealing Solutions for Harsh Environments
News Jul.30,2025
-
Understanding the Front Main Engine Seal: Purpose, Maintenance, and Installation
News Jul.29,2025
Products categories


