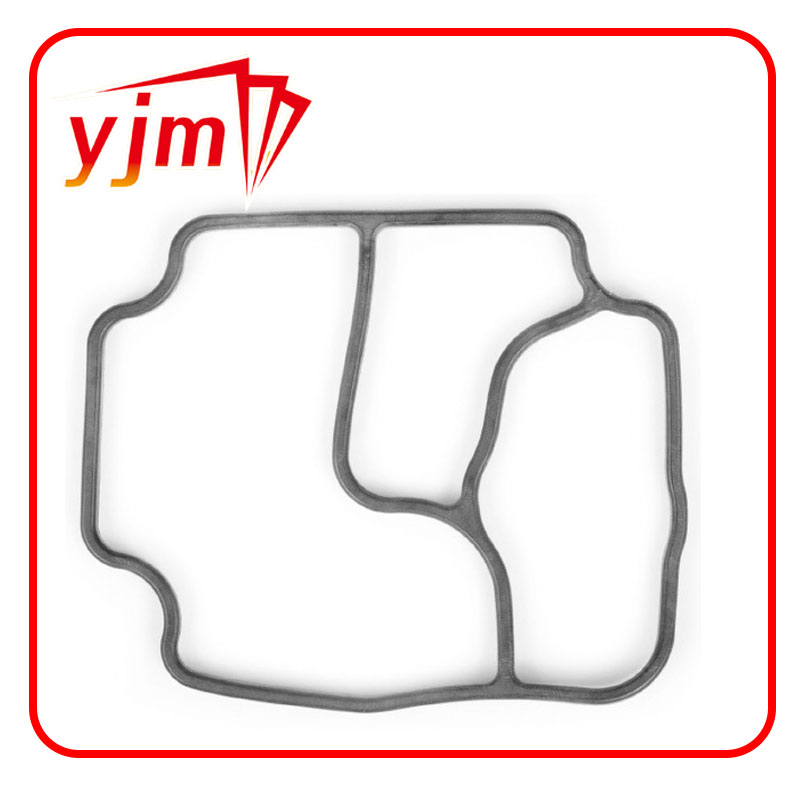
Steps to Change Your Oil Filter Housing for Optimal Engine Performance
Replacing Your Oil Filter Housing A Step-by-Step Guide
When it comes to maintaining your vehicle, one of the most overlooked components is the oil filter housing. This vital part not only holds the oil filter but also plays a critical role in the overall oil circulation within your engine. Over time, the oil filter housing can become damaged or worn, leading to potential leaks or decreased engine performance. If you're a DIY enthusiast looking to save some money on repairs, replacing your oil filter housing can be a rewarding task. Here’s a comprehensive guide to help you through the process.
What You’ll Need
Before starting the replacement, it's essential to gather all the necessary tools and materials
- New oil filter housing - New oil filter - Engine oil - Wrench set - Screwdriver set - Gasket scraper or razor blade - Oil catch pan - Clean rags - Torque wrench (if required) - Safety goggles and gloves
Step 1 Prepare Your Vehicle
Start by ensuring that your vehicle is parked on a flat surface. Turn off the engine and let it cool down if it has been running. For safety, disconnect the negative terminal of the battery to avoid any electrical issues during the process. This will also prevent any potential accidental starting of the engine.
Step 2 Drain the Engine Oil
Position the oil catch pan under the oil pan and drain the engine oil. Remove the oil drain plug using a wrench, allowing the oil to flow into the pan. Be cautious as the oil may still be warm. Once completely drained, replace the drain plug securely.
Step 3 Remove the Old Oil Filter Housing
Locate the oil filter housing; it is typically situated near the engine block. Use the appropriate wrench or socket to loosen and remove the bolts securing the oil filter housing. Take care to set the bolts aside safely for later use.
Once the bolts are removed, gently pull the housing away. Be prepared for some residual oil to spill out; that’s why the catch pan is essential. If the housing is stuck, you may need to gently tap it with a rubber mallet.
Step 4 Clean the Surface
replacing oil filter housing

After removing the housing, inspect the mounting surface on the engine. Using a gasket scraper or a razor blade, carefully clean off any remnants of the old gasket. This step is crucial in ensuring a good seal for the new oil filter housing.
Step 5 Install the New Oil Filter Housing
Take your new oil filter housing and place it on the engine block. Make sure that it aligns correctly with the bolt holes. Before securing it down, apply a light coat of clean engine oil on the gasket surface of the new housing. This will help in achieving a better seal.
Insert the bolts and hand-tighten them first. Once all bolts are in place, use a torque wrench to tighten them to the manufacturer’s specified torque settings. Consult the vehicle’s service manual for the exact specifications.
Step 6 Replace the Oil Filter
With the new oil filter housing installed, don’t forget to replace the oil filter itself. This is typically a straightforward process of unscrewing the old filter, applying a bit of oil to the rubber gasket of the new filter, and screwing it into place.
Step 7 Refill Engine Oil
After the oil filter and housing installation, it’s time to refill the engine with fresh oil. Remove the oil fill cap and pour the new oil into the engine. Be sure to use the correct type of oil specified in your vehicle’s manual.
Step 8 Test for Leaks
Reconnect the battery’s negative terminal and start your vehicle. Allow it to run for a few minutes while checking for any leaks around the new oil filter housing. If everything looks good, you’re done!
Conclusion
Replacing the oil filter housing might seem daunting at first, but with the right tools and a bit of patience, you can successfully complete the task yourself. Regular maintenance not only extends the life of your vehicle but also ensures optimal engine performance. If you're ever in doubt, consult a professional mechanic to ensure your vehicle runs smoothly and safely.
-
The Ultimate Guide to Boat Propeller Bearings and Trailer Wheel Bearings
News Jul.31,2025
-
The Essential Guide to Marine Bearings and Boat Trailer Wheel Bearings
News Jul.31,2025
-
The Complete Guide to Heavy Duty Seals: Protecting Doors and Spaces Efficiently
News Jul.31,2025
-
Essential Guide to Marine Shaft Bearings and Boat Trailer Axle Bearings
News Jul.31,2025
-
Comprehensive Guide to Marine and Trailer Bearings for Safe Boating and Transport
News Jul.31,2025
-
Comprehensive Guide to Automotive Oil Seals: Protecting Your Engine and Shafts
News Jul.31,2025
-
Understanding Automotive Oil Seals: Essential Components for Engine and Shaft Protection
News Jul.30,2025
Products categories


