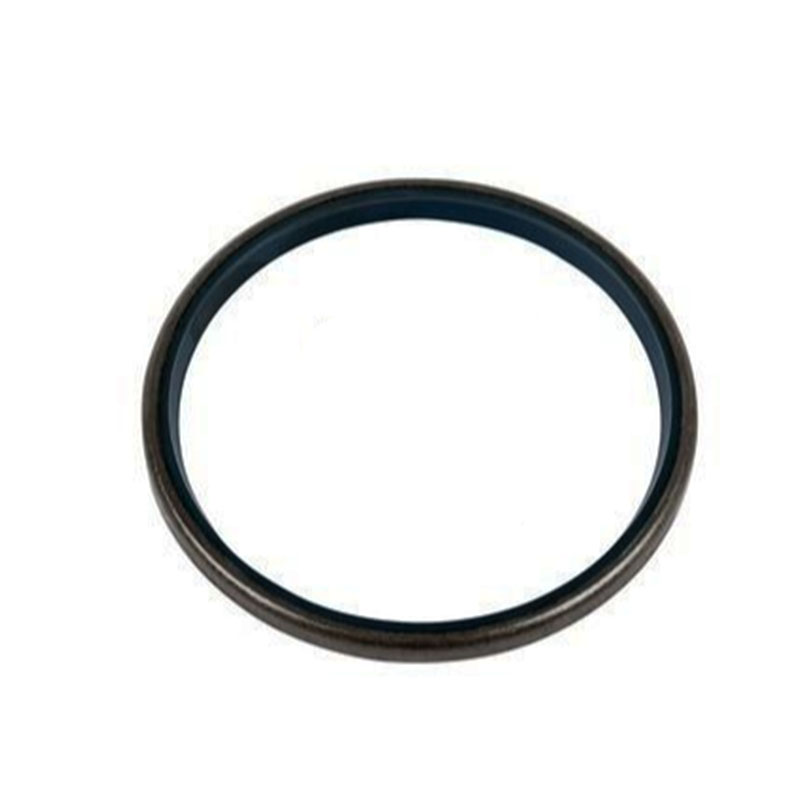
replacing front main seal
Replacing the Front Main Seal A Comprehensive Guide
The front main seal is a small but vital component of an engine that plays a significant role in ensuring your vehicle operates smoothly. Located at the front of the engine, this seal prevents engine oil from leaking out while keeping dirt and debris from entering the engine. Over time, the front main seal can wear out due to heat, pressure, and friction, resulting in oil leaks that can lead to more severe engine issues if not addressed promptly. In this article, we will discuss the signs of a failing front main seal, the replacement process, and tips for maintenance.
Signs of a Failing Front Main Seal
1. Oil Leaks One of the most evident signs of a failing front main seal is the presence of oil leaks. If you notice oil pooling under your vehicle, particularly at the front of the engine, it may be time to investigate the front main seal.
2. Oil Spots on the Driveway If you consistently find oil spots on your driveway or parking space, this could indicate a leak from the front main seal.
3. Engine Warning Light In some cases, your vehicle's dashboard warning light may illuminate if there is a significant oil leak. While this could be due to other issues, it's worth checking the front main seal.
4. Decreased Oil Level If you find yourself frequently adding oil to your engine, this could suggest that the front main seal is allowing oil to escape.
5. Strange Noises A failing front main seal can cause additional stress on other engine components, potentially leading to unusual noises such as whining or grinding sounds.
The Replacement Process
If you determine that your front main seal needs replacing, it’s best to approach the task with a clear plan. While replacing the front main seal can be a challenging job, it’s doable for those with some mechanical experience. Here are the steps involved in the replacement process
1. Gather Your Tools Before starting, ensure you have the necessary tools, including a socket set, screwdrivers, a seal puller, and a torque wrench. Additionally, you’ll need a new front main seal and possibly a front crankshaft pulley or harmonic balancer if your vehicle’s configuration requires it.
2. Prepare the Vehicle Lift and secure the vehicle using jack stands. Disconnect the negative battery terminal to prevent electrical hazards.
replacing front main seal

4. Remove the Old Seal Using a seal puller, carefully extract the old front main seal from its housing. Be cautious not to damage the crankshaft or the surrounding area.
5. Clean the Area Before installing the new seal, clean the area thoroughly to remove any debris or old sealant that could interfere with the new seal’s installation.
6. Install the New Seal Lubricate the new front main seal with a bit of engine oil to help it slide into place. Gently press the seal into the housing using a seal driver or a similar tool to ensure it’s seated evenly.
7. Reassemble Components Reattach any components you removed during disassembly, ensuring everything is torqued to the manufacturer’s specifications.
8. Check for Leaks After everything is reassembled, start the engine and allow it to run. Check for any signs of oil leakage around the newly installed seal.
Maintenance Tips
To prolong the life of your front main seal, regular maintenance is crucial. Here are a few tips
- Regular Oil Changes Changing your engine oil at recommended intervals helps reduce contaminants that can wear down seals.
- Monitor Engine Temperature Overheating can accelerate the wear of your seals. Ensure your cooling system is functioning correctly.
- Routine Inspections Periodically check for oil leaks and other signs of engine wear to catch issues early.
In conclusion, replacing the front main seal may seem daunting, but with the right knowledge and tools, it can be accomplished. Being aware of the signs of failure and maintaining your engine can help ensure your vehicle runs smoothly for years to come.
-
Understanding the Front Main Engine Seal: Purpose, Maintenance, and Installation
News Jul.29,2025
-
Understanding O-Rings and Seal Rings: Types, Applications, and Custom Solutions
News Jul.29,2025
-
Understanding Crankshaft Oil Seals: Rear Seals, Pulley Seals, and Their Role in Engine Integrity
News Jul.29,2025
-
The Importance of Front and Rear Crankshaft Seals in Engine Performance and Oil Management
News Jul.29,2025
-
Crank Oil Seals: Functions, Types, and Cost Considerations in Engine Maintenance
News Jul.29,2025
-
A Comprehensive Guide to O-Rings and Seals: Types, Materials, and Global Applications
News Jul.29,2025
-
Mastering Diesel and Performance Engine Maintenance: A Guide to Critical Oil Gaskets
News Jul.28,2025
Products categories


