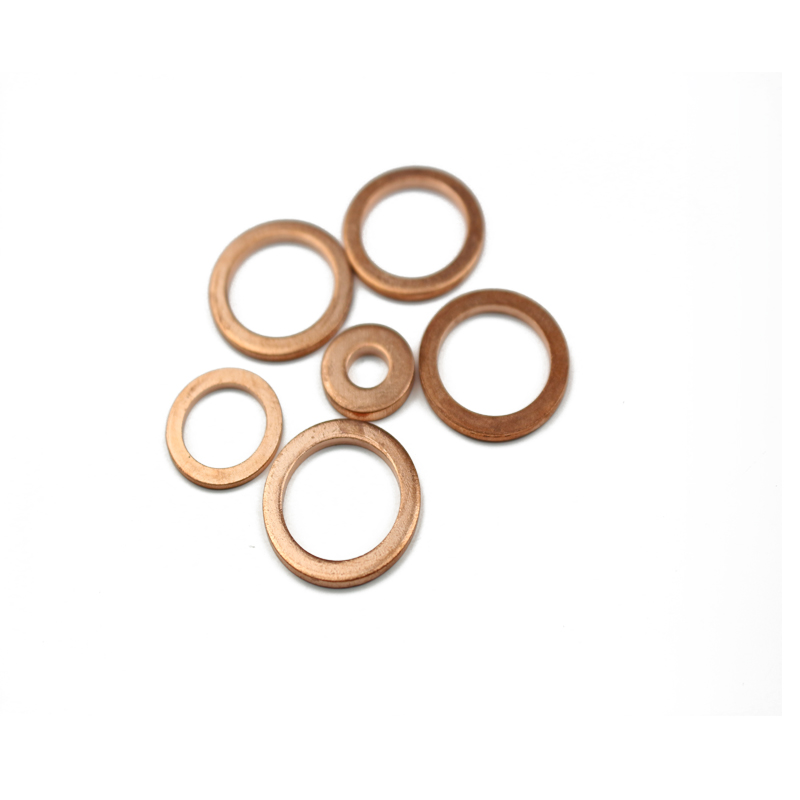
How to Change the Front Engine Oil Seal Efficiently
Replacing the Front Engine Oil Seal A Comprehensive Guide
The front engine oil seal is a vital component of your vehicle's engine system. Its primary function is to prevent engine oil from leaking out where the crankshaft meets the front of the engine. Over time, wear and tear can cause this seal to break down, leading to oil leaks which can result in more serious engine problems if not addressed promptly. This guide will walk you through the process of replacing the front engine oil seal, ensuring you can tackle this task confidently.
Understanding the Symptoms of a Faulty Oil Seal
Before embarking on the replacement process, it's crucial to identify whether your front engine oil seal indeed requires changing. Common signs of a failing oil seal include
1. Oil Leaks The most evident symptom is the presence of oil pooling under your vehicle, particularly towards the front of the engine. 2. Oil Spots If you notice oil spots on your driveway or garage floor, it could indicate that the seal is worn out. 3. Low Oil Levels Frequent checks revealing low oil levels can suggest that oil is escaping through a compromised seal. 4. Engine Noise Low oil levels can lead to insufficient lubrication, resulting in engine noises that indicate further damage.
Required Tools and Materials
Before getting started, gather the necessary tools and materials
- Socket set - Torque wrench - Screwdrivers (flathead and Phillips) - Replacement oil seal - Oil pan - Engine oil - Clean rags
Step-by-Step Replacement Process
replacing front engine oil seal

1. Preparation Begin by ensuring the engine is cool. Park your car on a flat surface and engage the parking brake for safety. Remove the negative battery cable to prevent any electrical issues.
2. Drain the Oil Using an oil pan, drain the engine oil by removing the oil pan drain plug. Allow the oil to completely drain before replacing the plug.
3. Remove Components Depending on your vehicle, you might need to remove certain components to access the front engine oil seal. This may include the serpentine belt, harmonic balancer, or timing cover.
4. Accessing the Oil Seal Once you have clear access, carefully pry out the old oil seal using a flathead screwdriver. Exercise caution not to damage the crankshaft or surrounding components.
5. Install the New Oil Seal Before installing the new oil seal, lubricate the inner edge with a bit of engine oil to facilitate easier fitting. Align the seal properly with the crankshaft and gently tap it into place using a seal installation tool or a suitable substitute until it's flush with the housing.
6. Reassembly Reattach any components removed during disassembly, taking care to tighten bolts to the manufacturer's specifications. Refill the engine with new oil and replace the oil filter if necessary.
7. Testing Reconnect the negative battery cable and start the engine. Let it run for a few minutes while inspecting for oil leaks around the newly installed oil seal. Adding oil may be necessary if oil levels are low.
Conclusion
Replacing the front engine oil seal can seem daunting, but with the right tools and a systematic approach, it is a manageable task. Regular maintenance and timely replacements can prevent oil leaks and ensure the longevity of your engine. If at any point you feel uneasy about the process, it may be wise to consult a professional mechanic. Proper care will keep your engine healthy and running smoothly for years to come.
-
The Ultimate Guide to Car Repair Kits: Tools and Essentials Every Driver Should Own
News Aug.01,2025
-
The Complete Guide to Oil Pan Gaskets: Sealing Engine Leaks the Right Way
News Aug.01,2025
-
Preventing Oil Leaks: A Complete Guide to Oil Pan Gaskets and Drain Seals
News Aug.01,2025
-
Everything You Need to Know About Oil Pan Gaskets and Drain Plug Seals
News Aug.01,2025
-
Essential for Car Owners: How to Use a Car Repair Kit to Deal with Minor Breakdown
News Aug.01,2025
-
Comprehensive Guide to Engine Oil Sump Gaskets and Related Seals
News Aug.01,2025
-
The Ultimate Guide to Boat Propeller Bearings and Trailer Wheel Bearings
News Jul.31,2025
Products categories


