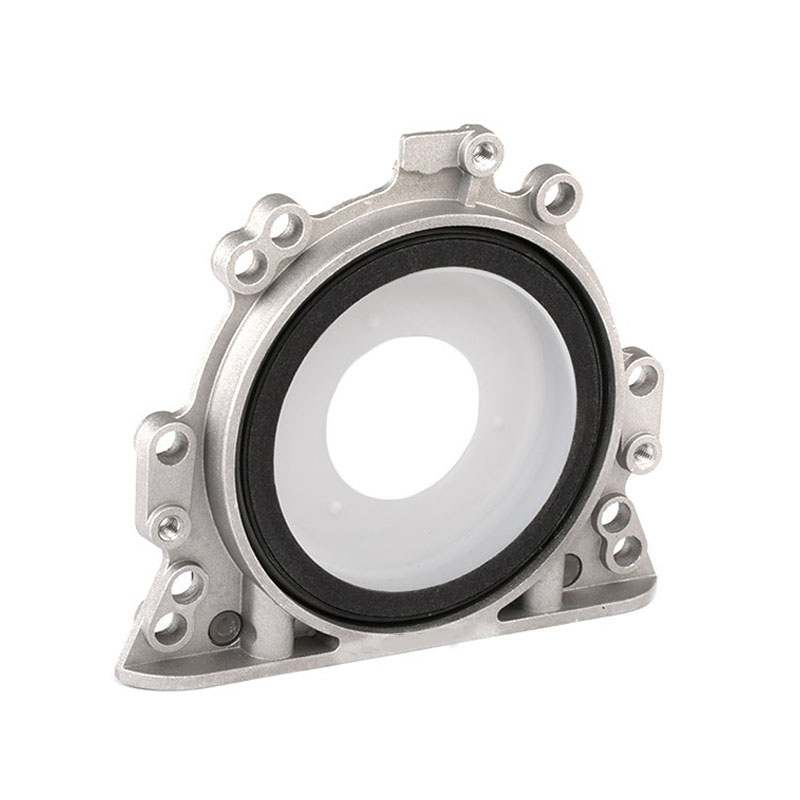
replacing front engine oil seal
Replacing the Front Engine Oil Seal A Comprehensive Guide
The front engine oil seal is a crucial component that prevents engine oil from leaking out of the front of the engine. Over time, this seal can wear out due to age, heat, and exposure to various contaminants, leading to potential oil leaks. If you notice oil spots under your vehicle or a drop in oil levels without visible leaks elsewhere, it may be time to consider replacing the front engine oil seal.
Signs of a Worn Oil Seal
Common indicators that your front engine oil seal may need replacement include oil puddles under the engine, burning oil smell, or the presence of oil in the timing belt area. Ignoring these signs can lead to serious engine damage, resulting in costly repairs. If you suspect a leak, it's important to act promptly.
Tools and Materials Needed
Before starting the replacement process, you'll need a few tools and materials - New front engine oil seal - Oil seal puller or a flat-head screwdriver - Torque wrench - Socket set - New engine oil and filter - Clean rags - Engine degreaser
Replacement Process
1. Prepare the Vehicle Park the vehicle on a level surface, engage the parking brake, and disconnect the negative battery terminal to avoid any electrical issues during the process.
replacing front engine oil seal

2. Drain the Engine Oil Start by draining the engine oil into a suitable container. This will help make the process cleaner and reduce the risk of any spills.
3. Remove Necessary Components Depending on your vehicle model, you may need to remove accessories like the timing belt, harmonic balancer, or water pump to access the oil seal. Consult your vehicle’s manual for specific instructions.
4. Extract the Old Oil Seal Use an oil seal puller or a flat-head screwdriver to carefully pry out the old oil seal. Be cautious not to damage the surrounding components.
5. Install the New Oil Seal Before installing the new seal, lubricate the outer edge with a small amount of engine oil. Position the seal squarely in its bore and gently tap it into place using a seal driver or a suitable tool to ensure it seats evenly.
6. Reassemble Components Once the new seal is in place, reassemble any components you removed earlier. Make sure to torque bolts to the manufacturer’s specifications.
7. Refill Engine Oil Replace the drain plug and refill the engine with the appropriate type and amount of oil. Start the engine and check for leaks.
Conclusion
Replacing the front engine oil seal can save you from significant engine damage and costly repairs in the future. While the process can be intricate, having the right tools and following proper steps can make the task more manageable. If you're uncomfortable with DIY repairs, seeking professional assistance is always recommended. Keeping your engine in tip-top shape ensures longevity and optimal performance.
-
Understanding the Front Main Engine Seal: Purpose, Maintenance, and Installation
News Jul.29,2025
-
Understanding O-Rings and Seal Rings: Types, Applications, and Custom Solutions
News Jul.29,2025
-
Understanding Crankshaft Oil Seals: Rear Seals, Pulley Seals, and Their Role in Engine Integrity
News Jul.29,2025
-
The Importance of Front and Rear Crankshaft Seals in Engine Performance and Oil Management
News Jul.29,2025
-
Crank Oil Seals: Functions, Types, and Cost Considerations in Engine Maintenance
News Jul.29,2025
-
A Comprehensive Guide to O-Rings and Seals: Types, Materials, and Global Applications
News Jul.29,2025
-
Mastering Diesel and Performance Engine Maintenance: A Guide to Critical Oil Gaskets
News Jul.28,2025
Products categories


