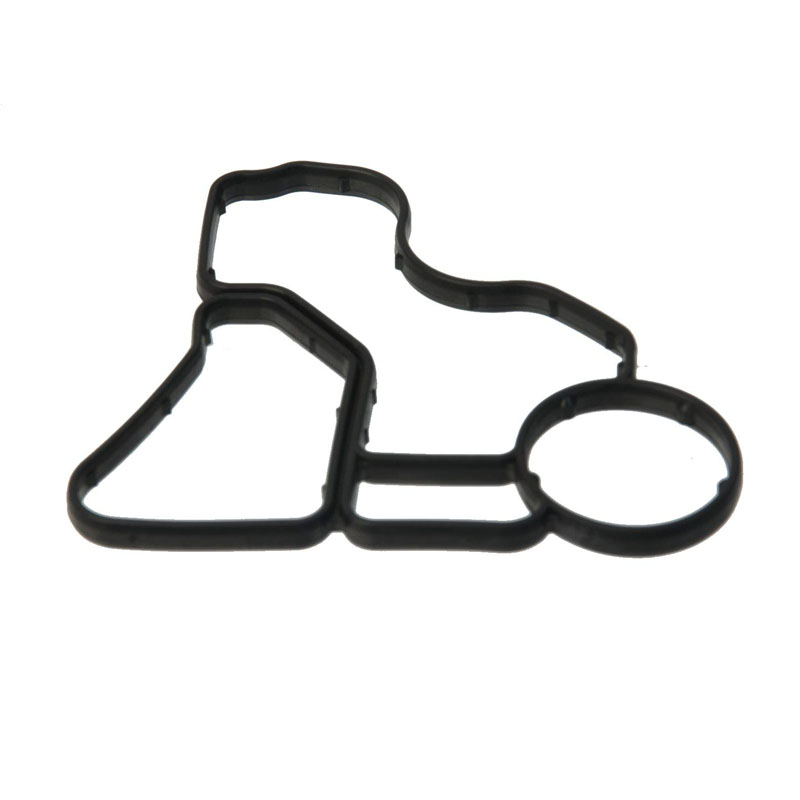
replacing front crankshaft seal
Replacing the Front Crankshaft Seal A Step-by-Step Guide
The front crankshaft seal is a vital component of your vehicle’s engine that helps to keep oil from leaking out. Over time, this seal can wear out due to constant movement and exposure to heat and oil. A leaking crankshaft seal can lead to significant engine issues, low oil levels, and can even affect the performance of your vehicle. If you suspect that your front crankshaft seal needs replacing, this guide will help you understand the process, tools required, and key considerations.
Symptoms of a Worn Crankshaft Seal
Before proceeding with a replacement, it's crucial to identify the telltale signs that your front crankshaft seal is faulty. Common symptoms include
1. Oil Leaks If you notice oil pooling under your vehicle or a wet engine, this could be a sign of a bad crankshaft seal. 2. Engine Performance Issues Oil leaks can lead to low oil levels, which may affect engine performance and cause overheating. 3. Strange Noises A bad seal can cause parts to be exposed to oil loss, which might lead to unusual noises from the engine.
Tools You Will Need
To replace the front crankshaft seal, you will need the following tools
- Socket set and wrenches - Screwdrivers (flat and Phillips) - Hammer - Seal puller or pry bar - New crankshaft seal - Engine oil for lubrication - Clean rags - Torque wrench
Steps to Replace the Front Crankshaft Seal
1. Preparation Begin by ensuring the vehicle is on a flat surface. Engage the parking brake and disconnect the battery to prevent any electrical issues.
replacing front crankshaft seal

2. Remove the Harmonic Balancer To access the front crankshaft seal, you will first need to remove the harmonic balancer. This typically involves - Removing any belts connected to the balancer. - Unscrewing bolts securing the balancer using the socket set. - Using a puller if the balancer is stuck, gently tapping it out with a hammer.
3. Accessing the Crankshaft Seal Once the harmonic balancer is removed, you will see the crankshaft seal. Inspect the area for any debris or damage.
4. Removing the Old Seal Use a seal puller or a pry bar to carefully remove the old crankshaft seal. Be cautious not to scratch or damage the crankshaft or surrounding components.
5. Preparing the New Seal Before installation, apply a bit of engine oil to the outer edge of the new crankshaft seal. This helps it to slide in easier and creates a better seal.
6. Installing the New Seal Position the new seal in place. Use a seal installation tool or a flat piece of wood to tap it gently into its housing until it is flush with the surrounding surface. Ensure it is seated evenly all around.
7. Reinstall the Harmonic Balancer Place the harmonic balancer back onto the crankshaft. Secure it with the bolts you previously removed, tightening them to the manufacturer’s specified torque using your torque wrench.
8. Reattach Belts and Battery Once everything is secured, replace any belts that were removed. Reconnect the battery terminals.
9. Check for Leaks Start the engine and let it run for a few minutes. Check around the new seal for any signs of leaks. It’s crucial to ensure that the installation was successful.
Conclusion
Replacing the front crankshaft seal can be a manageable task for those with some mechanical experience and the right tools. Properly conducting this repair not only prevents oil leaks but also maintains the longevity and performance of your vehicle’s engine. Always refer to your vehicle's repair manual for specifics related to your make and model, and don't hesitate to seek professional help if you're unsure about any part of the process. Remember, regular maintenance can save you from costly repairs down the road!
-
The Ultimate Guide to Boat Propeller Bearings and Trailer Wheel Bearings
News Jul.31,2025
-
The Essential Guide to Marine Bearings and Boat Trailer Wheel Bearings
News Jul.31,2025
-
The Complete Guide to Heavy Duty Seals: Protecting Doors and Spaces Efficiently
News Jul.31,2025
-
Essential Guide to Marine Shaft Bearings and Boat Trailer Axle Bearings
News Jul.31,2025
-
Comprehensive Guide to Marine and Trailer Bearings for Safe Boating and Transport
News Jul.31,2025
-
Comprehensive Guide to Automotive Oil Seals: Protecting Your Engine and Shafts
News Jul.31,2025
-
Understanding Automotive Oil Seals: Essential Components for Engine and Shaft Protection
News Jul.30,2025
Products categories


