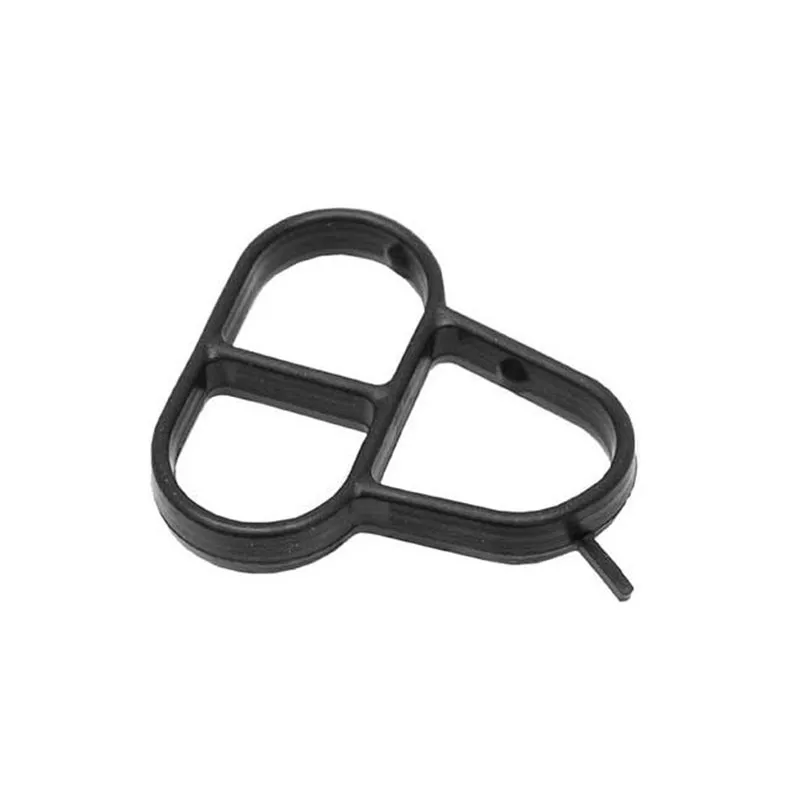
replacing crankshaft seal
Replacing the Crankshaft Seal A Comprehensive Guide
The crankshaft seal, often referred to as the crankshaft oil seal, plays a critical role in maintaining the efficiency and longevity of your vehicle's engine. Located at the rear and front ends of the crankshaft, these seals prevent oil from leaking out and protect the engine from dirt and debris. However, over time, these seals can wear out, leading to oil leaks and potential engine damage. In this article, we will discuss how to recognize when it’s time to replace the crankshaft seal, the steps involved in the replacement process, and some tips for maintenance.
Signs That Your Crankshaft Seal Needs Replacement
Identifying a failing crankshaft seal early can save you from costly repairs. Here are some indicators that it might be time to replace the seal
1. Oil Leaks The most noticeable sign is oil leaking from the engine. If you notice oil puddles under your vehicle or a drop in engine oil levels without any apparent reason, the crankshaft seal may be compromised.
2. Oil Around the Crankshaft Area Visual inspection around the crankshaft area can reveal oil residue. If you see oil staining or buildup around the seal, it’s a clear indicator that the seal is failing.
3. Low Oil Pressure A drop in oil pressure, detected via your vehicle's oil pressure gauge, can suggest a leak in the lubrication system, possibly from the crankshaft seal.
4. Engine Noise A failing seal can allow dirt and debris into the engine, leading to increased wear on engine components and unusual noises during operation.
Tools and Materials Needed
Before starting the replacement process, gather the following tools and materials
- Socket set - Wrench set - Screwdrivers - Pliers - Crankshaft seal remover - New crankshaft seal - Engine oil (for lubrication) - Gasket sealer (if needed) - Clean rags and a container for oil collection
replacing crankshaft seal

Steps to Replace the Crankshaft Seal
1. Preparation Start by parking your vehicle on a flat surface and disconnecting the battery. This ensures safety while working on the engine.
2. Drain the Engine Oil Place a container under the oil pan and drain the engine oil. This step is crucial to prevent oil spillage during the replacement process.
3. Remove Components Blocking Access Depending on whether you are replacing the front or rear crankshaft seal, you may need to remove components such as the timing belt or chain, harmonic balancer, or flywheel. Consult your vehicle’s service manual for specific instructions.
4. Remove the Old Seal Use a crankshaft seal remover to carefully extract the old seal from its housing. Be cautious not to damage the crankshaft or surrounding components.
5. Clean the Surface Once the old seal is removed, clean the sealing surface thoroughly to ensure a proper fit for the new seal. Any debris left can compromise the effectiveness of the new seal.
6. Install the New Seal Apply a thin layer of engine oil around the edge of the new seal and carefully press it into place. Ensure it sits flush and is properly aligned.
7. Reassemble the Engine Replace any components that were removed in the first step, ensuring all bolts are properly tightened. Reconnect the battery and refill the engine with oil.
8. Test the Installation Start the engine and let it run for a few minutes. Check for any signs of leaks around the new seal.
Conclusion
Replacing the crankshaft seal is a straightforward task that can prevent costly engine damage and improve your vehicle's overall performance. Recognizing the signs of a failing seal and acting promptly can save you time, money, and frustration. Regular maintenance and inspections will help ensure that your crankshaft seal and other engine components remain in good condition. If you're unsure about performing this repair yourself, consult with a professional mechanic for assistance.
-
Understanding the Front Main Engine Seal: Purpose, Maintenance, and Installation
News Jul.29,2025
-
Understanding O-Rings and Seal Rings: Types, Applications, and Custom Solutions
News Jul.29,2025
-
Understanding Crankshaft Oil Seals: Rear Seals, Pulley Seals, and Their Role in Engine Integrity
News Jul.29,2025
-
The Importance of Front and Rear Crankshaft Seals in Engine Performance and Oil Management
News Jul.29,2025
-
Crank Oil Seals: Functions, Types, and Cost Considerations in Engine Maintenance
News Jul.29,2025
-
A Comprehensive Guide to O-Rings and Seals: Types, Materials, and Global Applications
News Jul.29,2025
-
Mastering Diesel and Performance Engine Maintenance: A Guide to Critical Oil Gaskets
News Jul.28,2025
Products categories


