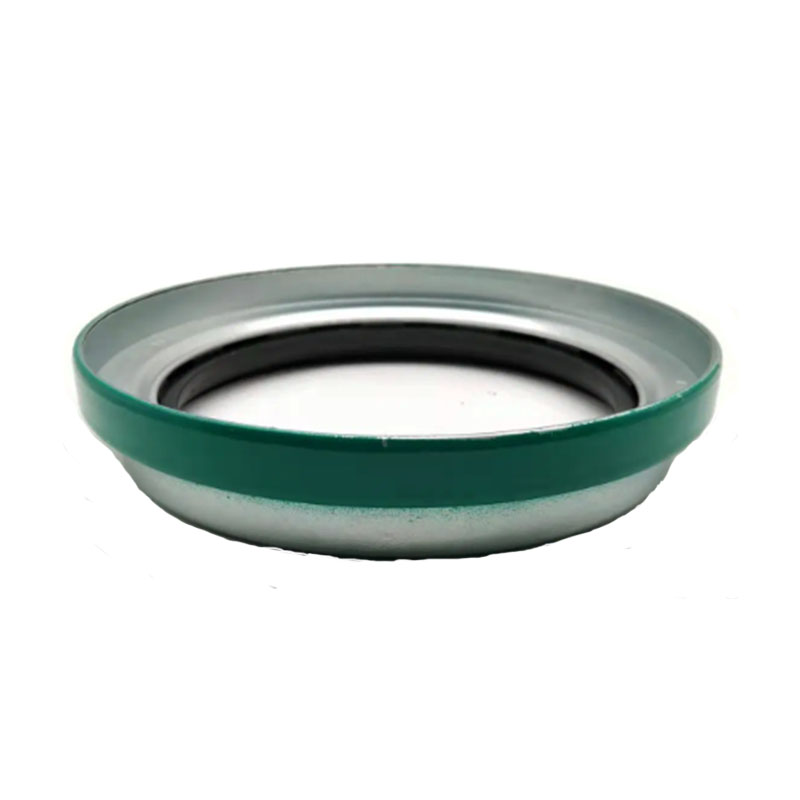
replacing crankshaft seal
Replacing Crankshaft Seal A Comprehensive Guide
The crankshaft seal is a vital component in your vehicle's engine that plays a crucial role in maintaining its efficiency and performance. As the name suggests, this seal prevents oil leaks from the crankshaft, which is responsible for converting the linear motion of the pistons into rotational motion that ultimately powers your vehicle. However, over time, wear and tear can lead to the degradation of the crankshaft seal, resulting in potential engine problems. If you suspect that your crankshaft seal needs replacing, this guide will provide you with all the necessary information to tackle the task successfully.
Why Replace a Crankshaft Seal?
The crankshaft seal is essential for the engine's proper function. A faulty seal can result in oil leaks, which can lead to engine oil loss and increased friction within the engine. This may cause overheating, increased wear on engine components, and ultimately, severe engine damage if not addressed promptly. Signs that your crankshaft seal may need replacing include
1. Oil Leaks Puddles of oil under your car or oil stains on the engine block can signal a failing seal. 2. Oil Consumption If you notice a higher-than-normal oil consumption level, it may be due to the oil leaking out of the seal. 3. Engine Performance Issues A compromised seal can affect the overall performance of your engine, leading to decreased horsepower and efficiency.
Tools and Materials Needed
Before starting the replacement process, gather the necessary tools and materials
- Socket set and ratchet - Torque wrench - Screwdrivers (flathead and Phillips) - Pliers - Crankshaft seal replacement kit (includes the new seal and any additional gaskets) - Engine oil or grease - Clean rags - Safety glasses and gloves
Step-by-Step Guide to Replacing the Crankshaft Seal
1. Prepare the Vehicle Begin by parking your vehicle on a level surface and engaging the parking brake. Disconnect the negative battery terminal to prevent electrical shock.
replacing crankshaft seal

2. Remove Engine Components Depending on your vehicle, you may need to remove components such as the harmonic balancer, timing belt or chain, and other parts that might obstruct access to the crankshaft seal. Refer to your vehicle’s service manual for specific instructions.
3. Locate the Crankshaft Seal The crankshaft seal is usually positioned at the front or rear of the crankshaft. Carefully inspect the area for any signs of oil leakage.
4. Remove the Old Seal Utilize a seal puller or a flathead screwdriver to gently pry out the old crankshaft seal. Be cautious not to damage the surrounding components during this process.
5. Prepare the New Seal Before installing the new seal, apply a thin layer of engine oil or grease to the outer lip of the seal. This helps ensure a proper fit and prevents damage during installation.
6. Install the New Seal Position the new seal in its designated space and gently tap it into place using a rubber mallet. Ensure it sits evenly and flush with the surrounding surface.
7. Reassemble Engine Components Follow the reverse order of your disassembly to reattach any components you previously removed. Be sure to replace any gaskets that were disturbed and torque all bolts to the manufacturer’s specifications.
8. Reconnect Battery and Test Once everything is securely in place, reconnect the negative terminal of the battery. Start the engine and allow it to run for a few minutes while keeping an eye out for any oil leaks around the newly installed seal.
Conclusion
Replacing a crankshaft seal can seem like a daunting task, but with the right tools and a methodical approach, it is a manageable job for any car enthusiast or DIYer. Addressing oil leaks proactively will not only enhance your vehicle's performance but also prolong the life of your engine. Always consult your vehicle’s service manual for specific instructions and torque specifications to ensure proper installation. By taking care of your crankshaft seal, you set the foundation for a healthier, more efficient engine.
-
The Ultimate Guide to Boat Propeller Bearings and Trailer Wheel Bearings
News Jul.31,2025
-
The Essential Guide to Marine Bearings and Boat Trailer Wheel Bearings
News Jul.31,2025
-
The Complete Guide to Heavy Duty Seals: Protecting Doors and Spaces Efficiently
News Jul.31,2025
-
Essential Guide to Marine Shaft Bearings and Boat Trailer Axle Bearings
News Jul.31,2025
-
Comprehensive Guide to Marine and Trailer Bearings for Safe Boating and Transport
News Jul.31,2025
-
Comprehensive Guide to Automotive Oil Seals: Protecting Your Engine and Shafts
News Jul.31,2025
-
Understanding Automotive Oil Seals: Essential Components for Engine and Shaft Protection
News Jul.30,2025
Products categories


