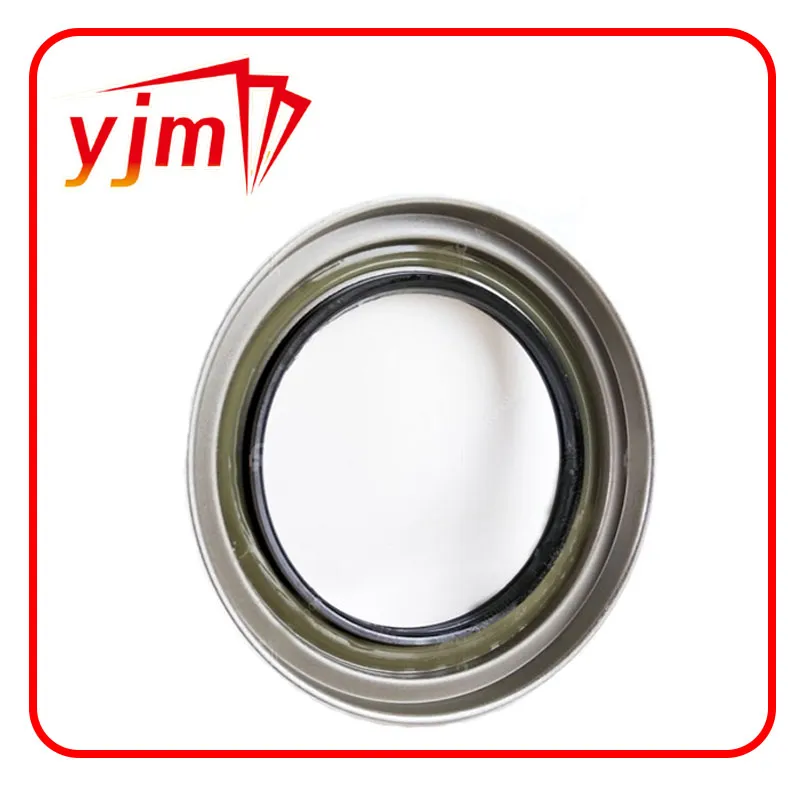
How to Replace a Crankshaft Seal for Optimal Engine Performance
Replacing Crankshaft Seal A Comprehensive Guide
The crankshaft seal is a vital component in an internal combustion engine, ensuring that oil remains contained within the engine and preventing leakage. Over time, due to factors such as wear and tear, temperature fluctuations, and exposure to harsh conditions, the seal can deteriorate. This deterioration can lead to oil leaks, which can compromise engine performance and, if left unaddressed, lead to significant damage. In this article, we will discuss the necessity of replacing the crankshaft seal, the signs of wear, and a step-by-step guide on how to do it.
Signs That Your Crankshaft Seal Needs Replacement
Understanding the signs of a failing crankshaft seal is crucial for timely maintenance. Common indicators include
1. Oil Leaks The most obvious sign of a failing seal is the presence of oil spots under your vehicle. If you observe a puddle of oil, especially near the front or rear of the engine, it's a strong indication that the crankshaft seal is leaking.
2. Low Oil Levels If you frequently find the oil level in your engine dropping faster than usual, inspect the crankshaft seal. A leak may not be immediately visible but can contribute to lower oil levels over time.
3. Burning Oil Smell If you notice a burning oil smell while driving, it may be due to oil leaking onto hot engine components, including the exhaust manifold. This can create smoke or a burnt odor.
4. Engine Performance Issues A failing seal can sometimes lead to a drop in oil pressure, potentially causing engine performance issues. If you experience reduced power or unusual sounds from the engine, it could be related to oil leaks impacting lubrication.
Tools and Materials Required
Before replacing the crankshaft seal, gather the necessary tools and materials
- New crankshaft seal - Socket set and wrenches - Screwdriver set - Oil gasket remover or scraper - Torque wrench - Engine oil - Clean rags - Safety goggles and gloves
Step-by-Step Guide to Replacing the Crankshaft Seal
replacing crankshaft seal

1. Prepare the Vehicle Start by parking the vehicle on a flat surface and engaging the parking brake. Gather your tools and materials.
2. Remove Engine Components Depending on your vehicle's make and model, you may need to remove various components to access the crankshaft. This typically involves removing the engine cover, belts, and any other obstructing parts.
3. Drain Engine Oil Before you proceed, drain the engine oil to prevent any spills. Use an oil pan and allow the oil to drain completely.
4. Remove the Old Crankshaft Seal Use a seal puller or a flat tool to carefully remove the old crankshaft seal. Be cautious not to damage the crankshaft or surrounding components.
5. Clean the Installation Area Thoroughly clean the area where the new seal will be installed. This includes removing any debris, oil residue, or old sealant using a scraper or gasket remover.
6. Install the New Crankshaft Seal Apply a thin coat of engine oil on the lip of the new seal for easier installation. Gently press the new seal into place. You can use a seal installation tool or a socket that matches the outer diameter of the seal to tap it in evenly.
7. Reassemble Engine Components Once the new seal is in place, reattach all previously removed components in the reverse order of removal.
8. Refill Engine Oil After reassembling, refill your engine with new oil and check the oil level with the dipstick.
9. Test Drive Start the engine and allow it to run for a few minutes. Check for any leaks around the seal area and ensure that everything is functioning correctly.
Conclusion
Replacing the crankshaft seal is an essential maintenance task that can prevent larger issues down the road. If you notice any of the signs mentioned above, it is best to address the problem sooner rather than later. While replacing the crankshaft seal can be a straightforward DIY job for those with mechanical skills, if you're uncertain, consulting a professional mechanic is always recommended to ensure proper installation and avoid potential complications. Maintaining your engine’s health will ensure its longevity and optimal performance, making it well worth the effort.
-
Understanding Automotive Oil Seals: Essential Components for Engine and Shaft Protection
News Jul.30,2025
-
The Importance of Heavy Duty Seals in Industrial and Residential Applications
News Jul.30,2025
-
Exploring Industrial Oil Seals: From Felt Oil Seals to TTO and CFW Solutions
News Jul.30,2025
-
Essential Guide to Oil Seals: From Radial to Metal-Cased Seals for Industrial Reliability
News Jul.30,2025
-
Choosing the Right Oil Seals and Gaskets for Industrial and Automotive Applications
News Jul.30,2025
-
Cassette Seals: Durable Sealing Solutions for Harsh Environments
News Jul.30,2025
-
Understanding the Front Main Engine Seal: Purpose, Maintenance, and Installation
News Jul.29,2025
Products categories


