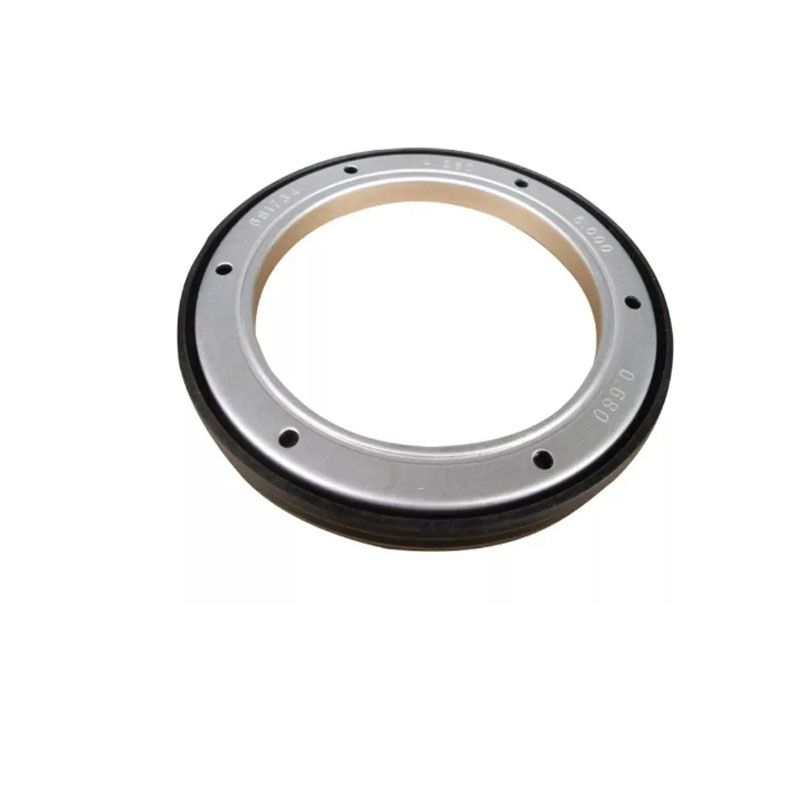
How to Replace an Oil Pan Gasket in Simple Steps
Replacing an Oil Pan Gasket A Step-by-Step Guide
The oil pan gasket is a vital component of your vehicle's engine, effectively sealing the oil pan to the engine block. A faulty gasket can lead to oil leaks, which can cause serious engine damage if not addressed promptly. If you notice oil spots under your car or a drop in oil levels without any visible leaks, it may be time to replace your oil pan gasket. Here’s a step-by-step guide to help you through the process.
Tools and Materials Needed
Before you begin, ensure you have the following tools and materials
- New oil pan gasket - Oil pan - Socket set and wrenches - Torque wrench - Screwdrivers - Oil catcher or pan - Clean rags - Engine oil - Cleaning solvent or degreaser - Safety glasses and gloves
Step 1 Preparation
Start by preparing your workspace. Park your vehicle on a level surface and engage the parking brake. It’s advisable to work in a well-ventilated area or a garage. Wear safety glasses and gloves to protect yourself from oil splashes and other debris. Make sure the engine is cool to avoid burns.
Step 2 Drain Engine Oil
Before removing the oil pan, you must drain the engine oil. Place an oil catcher under the oil pan's drain plug, remove the plug using a wrench, and allow all the oil to drain out. After the oil has drained completely, replace the drain plug securely.
Step 3 Remove the Oil Pan
Next, you’ll need to remove the oil pan. Start by loosening and removing the bolts that hold the oil pan in place using a socket set. Make sure to keep track of the bolts and their respective locations, as they may vary in size. Once all the bolts are removed, gently pry the oil pan loose using a flathead screwdriver, if necessary.
replacing an oil pan gasket

Take care not to damage the oil pan or the gasket area. If the oil pan is stuck due to old gasket material, you may need to apply a bit of force, but proceed with caution.
Step 4 Clean the Surfaces
Once the oil pan is removed, you will notice old gasket material still stuck to both the oil pan and the engine block. Use a cleaning solvent or degreaser to clean all surfaces thoroughly. Ensure there are no remnants of the old gasket, as any leftover material can lead to leaks with the new gasket.
Step 5 Install the New Gasket
Now it’s time to install the new oil pan gasket. Carefully position the new gasket onto the oil pan or the engine block, making sure it aligns perfectly with the bolt holes. Some gaskets may require a small amount of gasket maker application to hold them in place while you reattach the oil pan.
Step 6 Reattach the Oil Pan
With the new gasket in place, carefully position the oil pan back onto the engine block. Start threading the bolts into place by hand to avoid cross-threading. Once all the bolts are in place, use a torque wrench to tighten them to the manufacturer's specifications. This step is crucial to ensure a proper seal and avoid leaks.
Step 7 Refill the Engine Oil
After securely reattaching the oil pan, it’s time to refill the engine with oil. Use a funnel to pour the new oil into the engine, checking the owner’s manual for the recommended type and quantity. Once filled, run the engine for a few minutes and check for any leaks around the oil pan.
Conclusion
Replacing an oil pan gasket can seem daunting, but with the right tools and careful attention to detail, it’s a task most DIY enthusiasts can undertake. Regular maintenance and timely repairs will ensure the longevity of your engine. If you encounter any difficulties or are uncertain about any step of the process, don’t hesitate to consult a professional mechanic for assistance.
-
Understanding the Front Main Engine Seal: Purpose, Maintenance, and Installation
News Jul.29,2025
-
Understanding O-Rings and Seal Rings: Types, Applications, and Custom Solutions
News Jul.29,2025
-
Understanding Crankshaft Oil Seals: Rear Seals, Pulley Seals, and Their Role in Engine Integrity
News Jul.29,2025
-
The Importance of Front and Rear Crankshaft Seals in Engine Performance and Oil Management
News Jul.29,2025
-
Crank Oil Seals: Functions, Types, and Cost Considerations in Engine Maintenance
News Jul.29,2025
-
A Comprehensive Guide to O-Rings and Seals: Types, Materials, and Global Applications
News Jul.29,2025
-
Mastering Diesel and Performance Engine Maintenance: A Guide to Critical Oil Gaskets
News Jul.28,2025
Products categories


