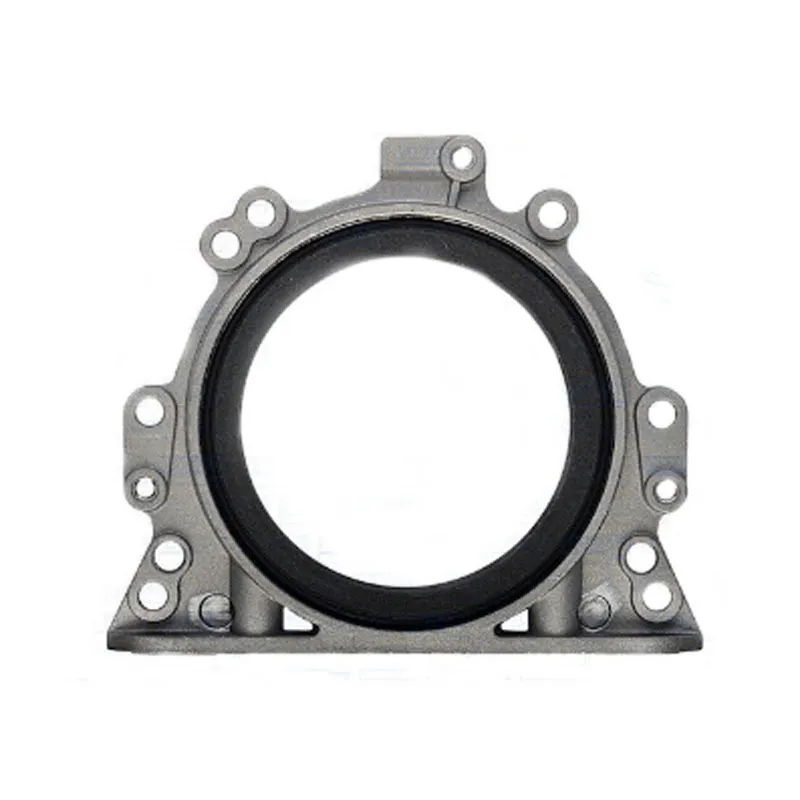
removing oil pan gasket
Removing Oil Pan Gasket A Comprehensive Guide
Maintaining your vehicle is essential for ensuring its longevity and optimal performance. One common task that may arise during routine maintenance is the replacement of the oil pan gasket. The oil pan gasket seals the oil pan to the bottom of the engine, preventing oil leaks and keeping the engine lubricated. Over time, this gasket can deteriorate, leading to oil leaks and potential engine damage. In this article, we will guide you through the process of removing and replacing an oil pan gasket, ensuring your engine remains in good health.
Tools and Materials Required
Before you start, gather the necessary tools and materials. You will need
- Socket and ratchet set - Torque wrench - Screwdrivers (flathead and Phillips) - Oil pan gasket (ensure it is compatible with your vehicle) - Engine oil - Cleaning solvent or degreaser - Rags or paper towels - Safety glasses and gloves
Step-by-Step Guide
1. Preparation Begin by ensuring that your vehicle is on a flat surface. Engage the parking brake and turn off the ignition. Elevate the front of the vehicle using jack stands for better access to the oil pan.
2. Drain the Oil Place a drain pan underneath the oil pan and remove the oil drain plug. Allow the engine oil to drain completely. Replace the plug once drained and secure it tightly, making sure it doesn’t leak.
3. Remove the Oil Pan Depending on the vehicle, you may need to remove several components to access the oil pan fully. This can include the exhaust system, crossmembers, or other brackets. Use your socket set to remove these components carefully. Be sure to keep track of all bolts and parts for reassembly.
removing oil pan gasket

4. Disconnect the Oil Pan Once you have clear access to the oil pan, remove the bolts securing it to the engine block. Carefully tap the oil pan with a rubber mallet to gently free it from its seating. If the pan doesn’t budge, you may need to run a flathead screwdriver around the seam to break the seal without damaging the pan itself.
5. Clean the Gasket Surface After removing the oil pan, you will see the old gasket material stuck to both the pan and the engine block. Use a gasket scraper or a razor blade to remove the old gasket carefully. Be cautious not to scratch the metal surfaces. Follow this with a solvent to clean any remaining debris and ensure a smooth surface for the new gasket.
6. Install the New Gasket Align the new gasket with the oil pan, ensuring it fits snugly. If your gasket has a preformed shape, it should fit perfectly. If it is a liquid gasket, apply it according to the manufacturer’s instructions.
7. Reattach the Oil Pan Position the oil pan back onto the engine block carefully. Ensure the gasket stays in place and line up the bolt holes. Hand-tighten the bolts initially, followed by using the torque wrench to secure them to the manufacturer’s specifications.
8. Reinstall Other Components If any components were removed to access the oil pan, now is the time to reinstall them. Double-check all bolts and connections for security.
9. Refill with Oil Once everything is back in place, remove the oil filler cap and refill the engine with fresh oil. Check your vehicle’s manual for the recommended oil type and amount.
10. Check for Leaks Start your vehicle and let it run for a few minutes, observing for any signs of leaks around the oil pan. After a short drive, recheck the oil level and inspect for any leaks once again.
Conclusion
Replacing an oil pan gasket might seem daunting, but with the right preparation and tools, it's a manageable task that can save you from costly repairs and ensure your engine runs smoothly. Regular maintenance, including oil changes and gasket inspections, contributes significantly to your vehicle’s lifespan. With a little patience and attention to detail, you'll have your vehicle back on the road in no time, running efficiently and leak-free. Remember to always refer to your vehicle’s service manual for specific details related to your model. Happy wrenching!
-
Understanding the Front Main Engine Seal: Purpose, Maintenance, and Installation
News Jul.29,2025
-
Understanding O-Rings and Seal Rings: Types, Applications, and Custom Solutions
News Jul.29,2025
-
Understanding Crankshaft Oil Seals: Rear Seals, Pulley Seals, and Their Role in Engine Integrity
News Jul.29,2025
-
The Importance of Front and Rear Crankshaft Seals in Engine Performance and Oil Management
News Jul.29,2025
-
Crank Oil Seals: Functions, Types, and Cost Considerations in Engine Maintenance
News Jul.29,2025
-
A Comprehensive Guide to O-Rings and Seals: Types, Materials, and Global Applications
News Jul.29,2025
-
Mastering Diesel and Performance Engine Maintenance: A Guide to Critical Oil Gaskets
News Jul.28,2025
Products categories


