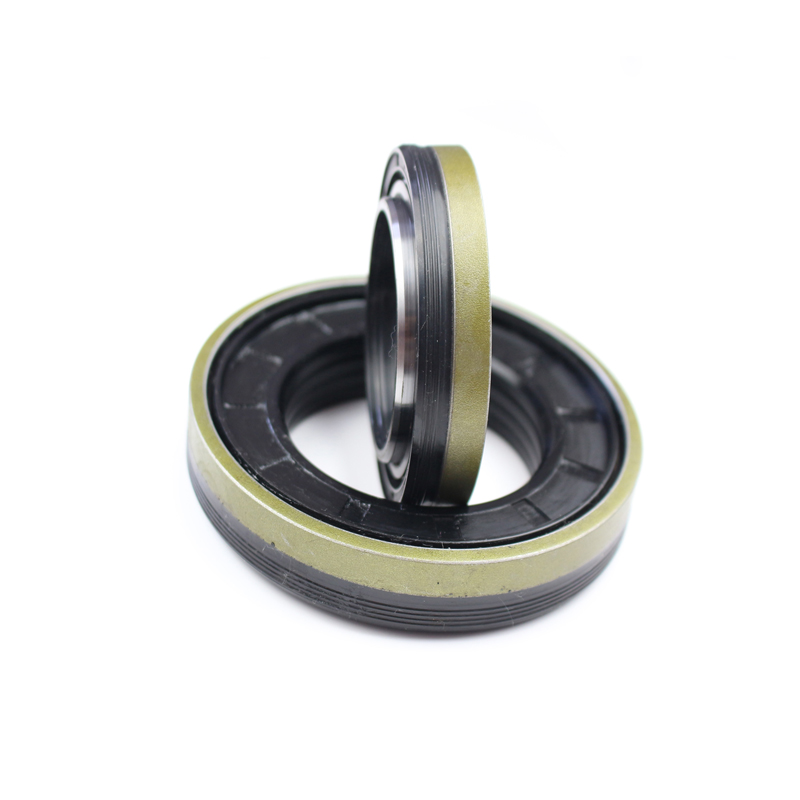
YJM Oil sump gasket 11 13 7 511 224
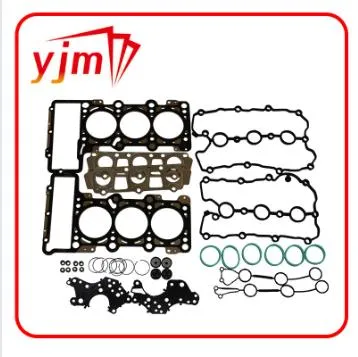
4. Clean Residual Gasket Material Once the pan is removed, meticulously clean both the pan and the engine block surfaces of any old gasket residue using a scraper and brake cleaner. A clean surface is crucial for the new gasket's effectiveness. 5. Inspect the Oil Pan Before reinstallation, inspect the oil pan for damage or warping. Any defects identified should be rectified or deemed appropriate for replacement. Reinstallation and Ensuring a Tight Seal 1. Apply Gasket Sealant Apply your chosen gasket sealant on the oil pan's designated area according to the product instructions. This step ensures an additional sealing layer to the new gasket. 2. Position the New Gasket Carefully position the new gasket onto the oil pan, ensuring alignment with bolt holes. Attention to detail here prevents future leaks and ensures the long-term performance of the seal. 3. Secure the Oil Pan Attach the oil pan to the engine block, carefully inserting and tightening bolts in the recommended sequence and torque specifications. Over-tightening can lead to a compromised gasket, so a torque wrench is essential. Final Checks and Test-Run After securing the oil pan, refill the engine with oil to the appropriate level as per manufacturer advice. Reconnect the battery and allow the engine to run momentarily, checking for leaks under the vehicle. Any excessive oil drips indicate a need to re-torque the bolts or check gasket placement. The Authority of Consistent Maintenance Beyond replacing your oil pan gasket, regular checks of the engine’s oil system can prevent severe issues. Continuous maintenance suggests professional expertise and also preserves vehicle integrity over time. It's prudent to establish a vehicle care routine that includes monitoring oil health, reinforcing both trust and reliability in your vehicle’s operation. By utilizing the right tools, following meticulous instructions, and relying on expert knowledge, removing and replacing an oil pan gasket becomes an attainable task even for those with limited mechanical experience. The confluence of preparation, precision, and persistence underscores successful automotive maintenance, cementing your role as a trustworthy and informed vehicle owner or mechanic.
-
Guide to Choosing the Right Washer for Oil Change and Sealing
News Apr.16,2026
-
Essential Guide to High Quality rubber washer oil drain plug
News Apr.09,2026
-
Understanding Rubber Crush Washers for Optimal Sealing Performance
News Apr.07,2026
-
Comprehensive Guide to Understanding and Reusing Crush Washer for Optimal Sealing
News Apr.04,2026
-
The Vital Role of a Drain Screw Gasket in Fluid System Integrity
News Mar.31,2026
-
The Essential Guide to Drain Crush Washer Selection and Plumbing Leak Prevention
News Mar.28,2026
-
The Vital Role of a Crush Washer in Oil Changes for Engine Protection
News Mar.26,2026
Products categories
-

Brass cutlass marine bearing
-

Genuine OEM Engine Oil Filter Housing Cover O-Ring For VW/Audi 06E115446
-

Oil Filter Stand Gasket,Oil filter cover seal
-

Oil Cooler Gasket, Oil Cooler to Oil Filter Housing 11427525335
-

11427508970 BMW - OIL FILTER HOUSING GASKETS
-
")
SEAL, OIL Genuine Toyota (9031170011)
-

Transfer Case Output Shaft Seal Part 9031223001
-
")
SEAL, OIL Genuine Toyota (9031672001)
-

Engine Crankshaft Oil Seal No.9031138096
-

Toyota Transfer Case Output Shaft Seal Front 9031136006
-

Seal, type v oil 9031287001 TOYOTA
-

Oil pump seal 9031143010
-

Genuine Toyota Oil SEAL 90311-54006
-

Toyota SEAL TYPE T OIL 90311-48031
-

Type T Oil Seal, Front Drive Shaft, Left 9031150064
-

Seal, type d oil 9031634001 TOYOTA