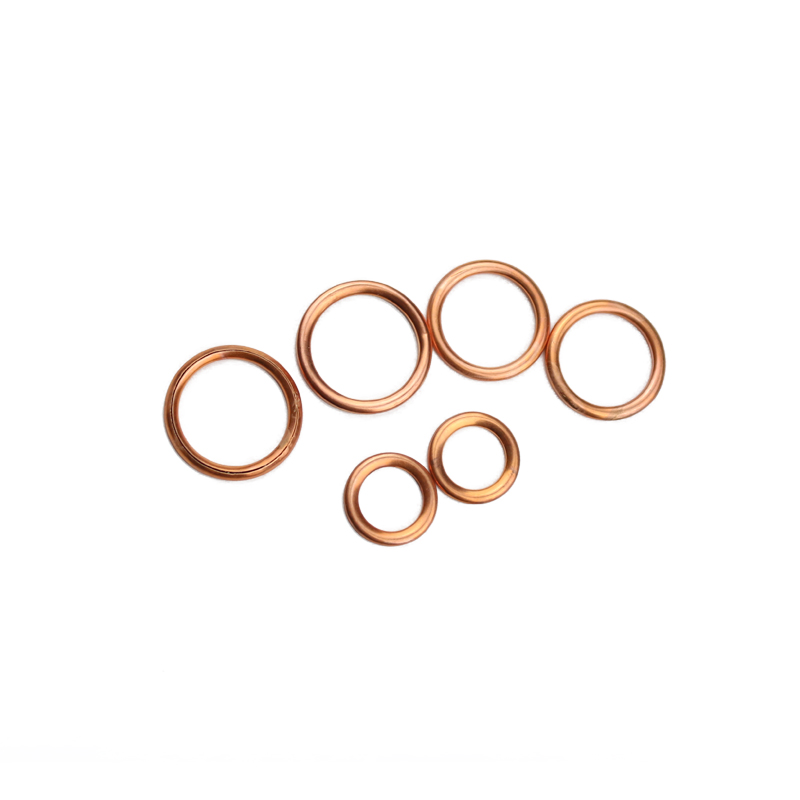
Steps for Replacing an Oil Pan Gasket in Your Vehicle
Removing Oil Pan Gasket A Comprehensive Guide
The oil pan gasket plays a crucial role in your vehicle's engine. It forms a seal between the oil pan and the engine block, preventing oil leaks that can lead to severe engine damage. Over time, due to heat and exposure to various engine fluids, the gasket can become brittle and degrade, resulting in leaks. Replacing the oil pan gasket is an essential maintenance task that can save you from expensive repairs down the line. This guide will take you through the steps required to successfully remove and replace an oil pan gasket.
Tools and Materials Needed
Before starting the replacement process, you'll need to gather some essential tools and materials. These might include
- Socket set and wrenches - Screwdrivers (flathead and Phillips) - Gasket scraper or razor blade - Torque wrench - Oil pan gasket (specific to your vehicle’s make and model) - Engine oil - Clean rags or paper towels - Safety glasses and gloves
Step-by-Step Procedure
1. Preparation
Before you begin any mechanical work, ensure that the engine is cool. Then, disconnect the negative battery terminal to prevent any electrical accidents. It’s also a good idea to raise the vehicle using jack stands if you need to access the oil pan from underneath.
To prevent spillage, drain the engine oil by locating the oil drain plug on the oil pan. Place an oil collection pan under the drain plug, remove the plug, and let the oil completely drain out. Once drained, replace the plug and tighten it securely.
3. Removing the Oil Pan
removing oil pan gasket

To remove the oil pan, begin by disconnecting any components that may be in the way. This may include the exhaust system, oil pump pickup tube, and any other parts that are obstructing access to the oil pan. Use your socket set to remove the bolts securing the oil pan to the engine block. Keep these bolts in a safe place, as you'll need them for reassembly.
4. Removing the Old Gasket
Once the oil pan is free, carefully lower it and inspect the old gasket. Use a gasket scraper or razor blade to remove any remnants of the old gasket from both the oil pan and the engine block. Be gentle to avoid scratching the surfaces, which could cause leaks with the new gasket. Clean the surfaces thoroughly with a rag or paper towel to ensure a proper seal with the new gasket.
5. Installing the New Gasket
Position the new oil pan gasket onto the oil pan or the engine block, depending on the design. Ensure it is aligned properly, as incorrect placement can lead to future leaks. Some gaskets may require sealant; refer to the manufacturer’s instructions for specifics.
6. Reattaching the Oil Pan
Carefully lift the oil pan into place, aligning it with the bolt holes on the engine block. Hand-tighten the bolts to secure the oil pan before using a torque wrench to tighten them to the manufacturer's recommended specifications. Follow the correct torque sequence to ensure even pressure on the gasket.
7. Refilling Engine Oil
Once the oil pan is reattached, refill the engine with fresh oil. Use the recommended type and grade of oil for your vehicle. After refilling, check for leaks by starting the engine and letting it idle for a few minutes. Inspect the area around the oil pan and under the vehicle to confirm that no oil is leaking.
Conclusion
Removing and replacing an oil pan gasket is a straightforward process that can be accomplished with a bit of patience and care. By following these steps, you can prevent costly repairs associated with oil leaks and keep your engine running smoothly. Always refer to your vehicle's service manual for specific instructions related to your model, and don’t hesitate to seek professional help if you're unsure about any part of the process. Regular maintenance of your vehicle is key to its longevity and performance.
-
Understanding the Front Main Engine Seal: Purpose, Maintenance, and Installation
News Jul.29,2025
-
Understanding O-Rings and Seal Rings: Types, Applications, and Custom Solutions
News Jul.29,2025
-
Understanding Crankshaft Oil Seals: Rear Seals, Pulley Seals, and Their Role in Engine Integrity
News Jul.29,2025
-
The Importance of Front and Rear Crankshaft Seals in Engine Performance and Oil Management
News Jul.29,2025
-
Crank Oil Seals: Functions, Types, and Cost Considerations in Engine Maintenance
News Jul.29,2025
-
A Comprehensive Guide to O-Rings and Seals: Types, Materials, and Global Applications
News Jul.29,2025
-
Mastering Diesel and Performance Engine Maintenance: A Guide to Critical Oil Gaskets
News Jul.28,2025
Products categories


