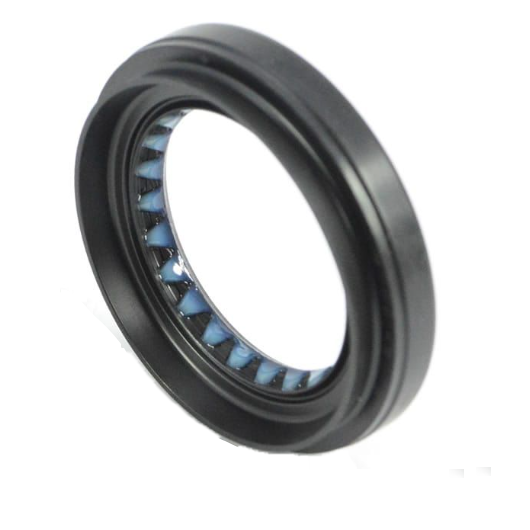
removing oil pan gasket
Removing Oil Pan Gasket A Step-by-Step Guide
Removing the oil pan gasket is an essential maintenance task that ensures your vehicle runs smoothly and efficiently. Over time, the oil pan gasket can develop leaks due to wear and tear, leading to oil loss and potentially causing severe engine damage. In this article, we will walk you through the process of removing and replacing the oil pan gasket, highlighting key steps and safety precautions.
Preparation and Tools Required
Before diving into the job, it’s crucial to gather all necessary tools and materials. Here’s a list of what you’ll need
2. Materials - New oil pan gasket - Engine oil (for refilling) - Cleaning solvent or degreaser - Rags or paper towels - Safety goggles and gloves
Safety First
Before you begin, ensure you’re wearing safety goggles and gloves to protect your eyes and skin from oil and debris. Also, make sure the car is parked on a flat surface, and the engine is turned off and cool to touch.
Step-by-Step Process
1. Elevate the Vehicle Begin by lifting the vehicle using a jack and securing it with jack stands. This will provide you with ample space to work underneath the car safely.
removing oil pan gasket

2. Drain the Oil Position an oil drain pan under the oil pan and remove the oil drain plug. Allow the old oil to fully drain out. Once drained, replace the drain plug and tighten it properly.
3. Remove the Oil Pan Next, locate the bolts securing the oil pan. Using a socket wrench, remove these bolts. Be sure to keep track of the bolts as you will need them for reassembly. Carefully pry the oil pan loose—taking care not to damage the pan or the engine block.
4. Clean the Surface Once the oil pan is removed, clean the mating surface on both the oil pan and the engine block. Use a gasket scraper or a razor blade to remove any old gasket material, oil residue, and debris. A cleaning solvent can help in achieving a smooth surface for the new gasket.
5. Install the New Gasket Place the new oil pan gasket onto the oil pan or the engine block, depending on the design. Make sure it is properly aligned with the holes. Some people prefer to use a light layer of gasket sealant for an extra seal, but check the manufacturer's recommendation for your specific gasket.
6. Reattach the Oil Pan Carefully lower the oil pan back into place, ensuring that the gasket stays aligned. Start threading the bolts by hand; this will help prevent cross-threading. Once all bolts are in place, use a torque wrench to tighten them to the manufacturer’s specifications.
7. Refill Engine Oil After securing the oil pan, you will need to refill the engine with oil. Remove the oil filler cap and pour in the new engine oil using a funnel. Check the owner’s manual for the correct type and amount of oil needed.
8. Check for Leaks Start the engine and let it run for a few minutes while checking around the oil pan for any signs of leakage. If everything appears secure, you're good to go.
Conclusion
Removing and replacing the oil pan gasket can seem daunting, but with proper preparation and attention to detail, it is a task that many DIY enthusiasts can tackle. Regular maintenance of your vehicle helps prolong its life and ensures optimal performance. If you’re uncertain at any step of the process, don’t hesitate to consult a professional mechanic for assistance. Proper handling of your car's maintenance will contribute significantly to its longevity and reliability on the road.
-
Understanding the Front Main Engine Seal: Purpose, Maintenance, and Installation
News Jul.29,2025
-
Understanding O-Rings and Seal Rings: Types, Applications, and Custom Solutions
News Jul.29,2025
-
Understanding Crankshaft Oil Seals: Rear Seals, Pulley Seals, and Their Role in Engine Integrity
News Jul.29,2025
-
The Importance of Front and Rear Crankshaft Seals in Engine Performance and Oil Management
News Jul.29,2025
-
Crank Oil Seals: Functions, Types, and Cost Considerations in Engine Maintenance
News Jul.29,2025
-
A Comprehensive Guide to O-Rings and Seals: Types, Materials, and Global Applications
News Jul.29,2025
-
Mastering Diesel and Performance Engine Maintenance: A Guide to Critical Oil Gaskets
News Jul.28,2025
Products categories


