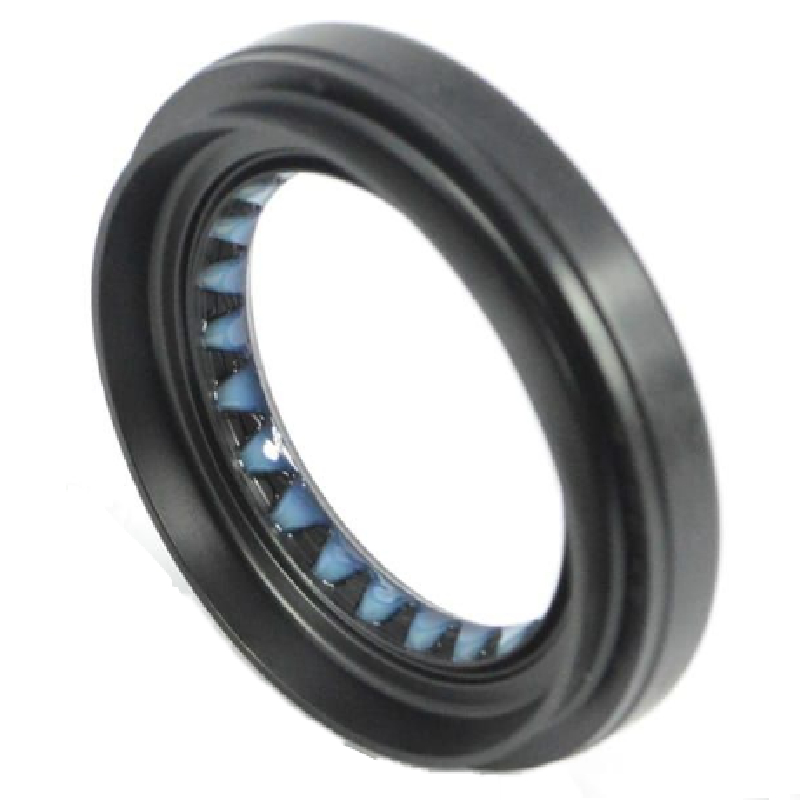
Steps to Replace an Oil Pan Gasket in Your Vehicle
How to Remove an Oil Pan Gasket A Step-by-Step Guide
Removing the oil pan gasket is a crucial procedure in automotive maintenance that ensures a proper seal between the oil pan and the engine. Over time, gaskets can wear out or become damaged, leading to oil leaks that can cause serious engine problems. This article will provide a detailed guide on how to safely and effectively remove an oil pan gasket.
Tools and Materials Needed
Before starting, gather the necessary tools and materials, including
- Socket set and wrenches - Screwdrivers - Oil pan gasket (replacement) - Gasket scraper or razor blade - Torque wrench - Clean rags - Engine oil - Oil catch pan - Safety glasses and gloves
Step 1 Safety First
Before diving into the task, ensure you’re wearing safety glasses and gloves for protection against sharp edges and oil spills. Work in a well-ventilated area, and if possible, elevate the vehicle using jack stands for easier access.
Step 2 Drain the Engine Oil
Start by draining the engine oil. Place an oil catch pan underneath the oil pan and remove the drain plug using a socket wrench. Allow all the oil to drain completely. This step not only prevents a mess but also minimizes exposure to the oil during the gasket removal process.
Step 3 Remove Obstacles
Next, you will need to remove any components obstructing access to the oil pan. Depending on your vehicle, this may include the exhaust manifold, crossmember, or various other parts. Take your time to document the placement of all screws and bolts, as you’ll need to put everything back together later.
Step 4 Unscrew the Oil Pan Bolts
Once you’ve cleared the area, locate the bolts holding the oil pan in place. Using the appropriate socket, carefully unscrew these bolts in a crisscross pattern to reduce stress on the pan. It is advisable to keep the bolts organized for easy reinstallation.
Step 5 Lift the Oil Pan
removing oil pan gasket

After all bolts are removed, gently tap the oil pan with a rubber mallet or wiggle it using your hands to break the seal created by the old gasket. If the oil pan is stuck, be careful not to damage it or the engine block. Once it comes loose, lift the oil pan off and set it aside on a clean surface.
Step 6 Remove the Old Gasket
With the oil pan removed, you will now see the old oil pan gasket. Use a gasket scraper or a razor blade to carefully remove any remnants of the old gasket from both the oil pan and the engine block. Be cautious not to scratch the mating surfaces as this can lead to future leaks.
Step 7 Clean the Surfaces
Clean both the oil pan and engine block surfaces using a clean rag. Make sure to remove any debris, dirt, or leftover gasket material. A clean surface is crucial for ensuring a good seal with the new gasket.
Step 8 Install the New Gasket
Before reinstalling the oil pan, place the new gasket onto the oil pan. If the gasket requires any sealant, apply it according to the manufacturer's instructions. Align the gasket carefully with the holes in the oil pan.
Step 9 Reattach the Oil Pan
Now, carefully position the oil pan back onto the engine block. Ensure that the gasket is aligned properly and sittings evenly. Begin inserting and tightening the bolts by hand before using a torque wrench to torque them to the manufacturer’s specifications. Tighten the bolts in a crisscross pattern to ensure uniform pressure.
Step 10 Reassemble and Refill
Once the oil pan is securely in place, reattach any components that were removed to gain access. Replace the drain plug and refill the engine with fresh oil. Check for leaks after the engine has run for a few minutes.
Conclusion
Removing and replacing an oil pan gasket can be a straightforward process when approached carefully. Following these steps will help you maintain your vehicle's engine integrity and prevent future oil leaks. Always refer to your vehicle’s service manual for specific instructions and torque settings. If at any point you feel overwhelmed, don’t hesitate to seek assistance from a professional mechanic.
-
Understanding the Front Main Engine Seal: Purpose, Maintenance, and Installation
News Jul.29,2025
-
Understanding O-Rings and Seal Rings: Types, Applications, and Custom Solutions
News Jul.29,2025
-
Understanding Crankshaft Oil Seals: Rear Seals, Pulley Seals, and Their Role in Engine Integrity
News Jul.29,2025
-
The Importance of Front and Rear Crankshaft Seals in Engine Performance and Oil Management
News Jul.29,2025
-
Crank Oil Seals: Functions, Types, and Cost Considerations in Engine Maintenance
News Jul.29,2025
-
A Comprehensive Guide to O-Rings and Seals: Types, Materials, and Global Applications
News Jul.29,2025
-
Mastering Diesel and Performance Engine Maintenance: A Guide to Critical Oil Gaskets
News Jul.28,2025
Products categories


