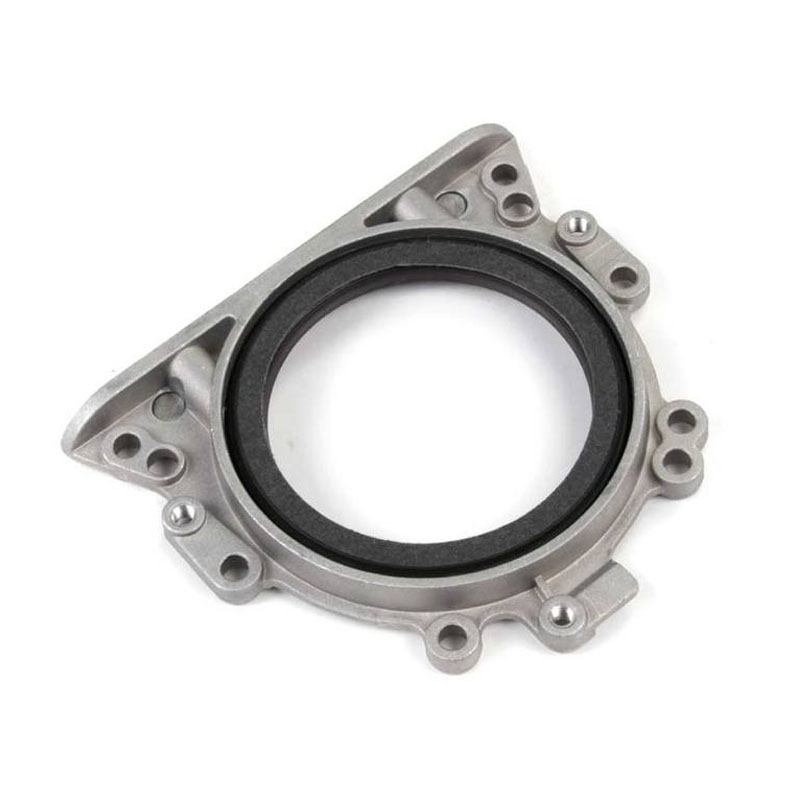
Steps to Replace a Crankshaft Seal Efficiently and Effectively for Your Engine
Removing a Crankshaft Seal A Comprehensive Guide
The crankshaft seal, often referred to as the crankshaft oil seal, plays a crucial role in any vehicle's engine, preventing oil leaks and protecting internal components from contaminants. When these seals wear out or get damaged, they can cause significant issues, including oil loss, engine performance problems, and unnecessary wear on other components. If you're experiencing oil leaks or suspect a compromised crankshaft seal, removing and replacing it is essential. This article provides a step-by-step guide to removing a crankshaft seal effectively and safely.
Tools and Materials Needed
Before diving into the removal process, ensure you have the following tools and materials on hand
1. Tools - Socket set - Wrench set - Screwdrivers (flat and Phillips head) - Pliers - Seal puller (or a suitable alternative) - Torque wrench - Hammer - Pry bar
Step-by-Step Removal Process
1. Prepare the Workspace Begin by ensuring your vehicle is parked on a flat surface, and engage the parking brake for safety. Turn off the engine and allow it to cool completely before starting any work.
2. Access the Crankshaft Seal To remove the crankshaft seal, you need to disassemble various components depending on your vehicle. This usually requires removing the engine cover, timing belt or chain, and possibly the oil pan. Follow the manufacturer's service manual for specific instructions related to your vehicle.
3. Drain the Engine Oil It’s crucial to drain the engine oil before working on the crankshaft seal. Place an oil pan under the engine, remove the oil drain plug, and let the oil fully drain.
removing crankshaft seal

4. Remove the Harmonic Balancer If your vehicle has a harmonic balancer, it will need to be removed to access the crankshaft seal. Use a socket and ratchet to carefully remove the bolts holding the balancer in place. A harmonic balancer puller may be necessary if it's tightly fitted.
5. Remove the Old Crankshaft Seal Once you have access to the seal, use a seal puller or a flathead screwdriver to pry the old crankshaft seal out of its housing. Be cautious during this process to avoid scratching or damaging the crankshaft itself.
6. Clean the Seal Area After removing the old seal, clean the area thoroughly to remove any debris or old sealant. This step is essential to ensure a proper fit for the new seal.
7. Install the New Crankshaft Seal Before installation, apply a light coating of engine oil to the new seal’s lip. This helps in proper sealing upon installation. Carefully tap the new seal into place using a suitable tool or hammer, ensuring it sits evenly and doesn't protrude above the surface.
8. Reassemble Components Once the new seal is securely in place, reassemble any components removed during the process, such as the harmonic balancer, timing belt/chain, and engine cover. Make sure to follow the manufacturer’s torque specifications for reassembling bolts to avoid any potential issues.
9. Refill Engine Oil After reassembling, refill the engine with the appropriate type and amount of oil. Check for leaks around the new seal when you start the engine.
10. Check for Leaks Allow the engine to run for a few minutes, then check for any signs of oil leaking from the seal. If everything looks good, you’ve successfully removed and replaced the crankshaft seal.
Conclusion
Removing a crankshaft seal might seem daunting, but with the right tools and a systematic approach, it can be accomplished effectively. Regular maintenance can help extend the life of your vehicle’s components, and addressing seal issues promptly can prevent further damage. Always consult your vehicle’s service manual for specific instructions and guidelines, ensuring you perform the task safely and accurately.
-
Understanding the Front Main Engine Seal: Purpose, Maintenance, and Installation
News Jul.29,2025
-
Understanding O-Rings and Seal Rings: Types, Applications, and Custom Solutions
News Jul.29,2025
-
Understanding Crankshaft Oil Seals: Rear Seals, Pulley Seals, and Their Role in Engine Integrity
News Jul.29,2025
-
The Importance of Front and Rear Crankshaft Seals in Engine Performance and Oil Management
News Jul.29,2025
-
Crank Oil Seals: Functions, Types, and Cost Considerations in Engine Maintenance
News Jul.29,2025
-
A Comprehensive Guide to O-Rings and Seals: Types, Materials, and Global Applications
News Jul.29,2025
-
Mastering Diesel and Performance Engine Maintenance: A Guide to Critical Oil Gaskets
News Jul.28,2025
Products categories


