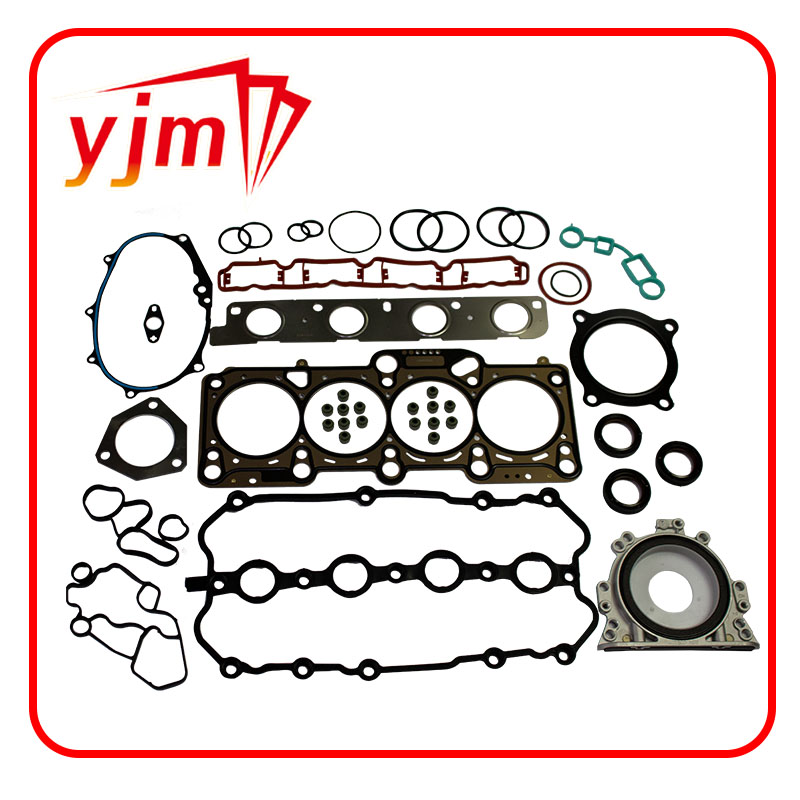
rear axle oil seal replacement
Rear Axle Oil Seal Replacement A Comprehensive Guide
The rear axle oil seal plays a crucial role in maintaining the efficient operation of your vehicle's drivetrain. Positioned at the rear axle housing, this seal prevents differential fluid from leaking out and also keeps dirt and debris from entering the axle assembly. Over time, wear and tear can lead to leakage, which can cause severe damage to the differential or the axle itself if not addressed promptly. This article outlines the steps for replacing the rear axle oil seal, ensuring your vehicle remains in optimal condition.
Symptoms of a Worn Rear Axle Oil Seal
Before diving into the replacement process, it's essential to identify the signs of a failing oil seal. Common symptoms include - Fluid Leaks You may notice differential fluid pooling on the ground beneath the rear axle or a noticeable decrease in fluid levels. - Strange Noises A whining or grinding noise from the axle area can indicate inadequate lubrication due to fluid loss. - Visual Inspection A close examination of the axle may reveal signs of fluid residue around the seal area.
If you observe any of these symptoms, it's crucial to replace the oil seal as soon as possible to avoid expensive repairs down the line.
Tools and Materials Needed
Before starting the replacement process, gather the necessary tools and materials - New rear axle oil seal - Fluid drain pan - Jack and jack stands or a hydraulic lift - Wrenches and sockets - Screwdrivers - Seal puller or pry bar - Brake cleaner - Clean rags - Differential fluid for refill
Step-by-Step Replacement Process
1. Preparation Park the vehicle on a level surface and engage the parking brake. Wear safety gear, including gloves and goggles.
2. Lifting the Vehicle Use a jack to lift the vehicle and secure it on jack stands to ensure safety while you work underneath.
rear axle oil seal replacement

3. Drain Differential Fluid Place a fluid drain pan underneath the rear differential. Remove the differential cover or drain plug to allow fluid to drain completely. Be cautious, as differential fluid can be messy and may have a strong odor.
4. Remove Axle Shaft Depending on your vehicle, you may need to remove the wheel, brake components, and axle retaining bolts to extract the axle shaft. Consult the vehicle's service manual for specific instructions related to your make and model.
5. Removing the Old Oil Seal Once the axle shaft is removed, locate the oil seal. Use a seal puller or a pry bar to carefully remove the old seal from its housing. Take care not to damage surrounding components during this process.
6. Prepare for Installation Clean the sealing surface thoroughly with brake cleaner and a clean rag. Ensure no debris is left behind, as this can affect the integrity of the new seal.
7. Install the New Oil Seal Gently press the new oil seal into place, ensuring it sits evenly in its bore. You can use a seal installation tool or a piece of PVC pipe of the same diameter to help drive it in evenly.
8. Reassemble the Axle Reinsert the axle shaft, reattach any brackets or bolts, and reinstall the wheel and brake components as necessary.
9. Refill Differential Fluid Replace the differential cover or plug and refill the differential with the appropriate type and amount of fluid, following your vehicle's specifications.
10. Final Checks Lower the vehicle and conduct a test drive to ensure everything is functioning correctly. After the drive, check for any signs of leaks around the new oil seal.
Conclusion
Replacing the rear axle oil seal is a manageable task for those with some mechanical skills and the right tools. By addressing this issue promptly, you can ensure the longevity of your vehicle's drivetrain and avoid costly repairs down the road. Always refer to your vehicle's service manual for specific instructions and specifications to ensure a successful replacement. Regular maintenance and inspection of your vehicle can also help catch issues early, contributing to a safer and more efficient driving experience.
-
Understanding the Front Main Engine Seal: Purpose, Maintenance, and Installation
News Jul.29,2025
-
Understanding O-Rings and Seal Rings: Types, Applications, and Custom Solutions
News Jul.29,2025
-
Understanding Crankshaft Oil Seals: Rear Seals, Pulley Seals, and Their Role in Engine Integrity
News Jul.29,2025
-
The Importance of Front and Rear Crankshaft Seals in Engine Performance and Oil Management
News Jul.29,2025
-
Crank Oil Seals: Functions, Types, and Cost Considerations in Engine Maintenance
News Jul.29,2025
-
A Comprehensive Guide to O-Rings and Seals: Types, Materials, and Global Applications
News Jul.29,2025
-
Mastering Diesel and Performance Engine Maintenance: A Guide to Critical Oil Gaskets
News Jul.28,2025
Products categories


