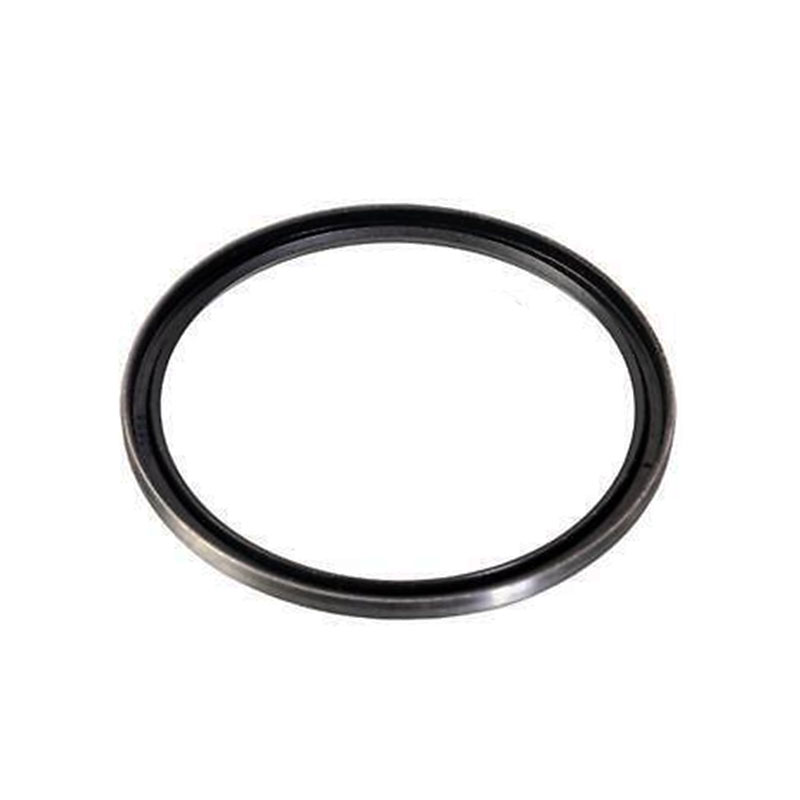
rear axle oil seal replacement
Rear Axle Oil Seal Replacement A Comprehensive Guide
Maintaining your vehicle in top condition requires attention to many components, one of which is the rear axle oil seal. This seemingly small part plays a crucial role in ensuring that your vehicle’s axle remains lubricated and protected from contaminants. Over time, oil seals can wear out due to age, heat, and mechanical stress, leading to leaks that can cause significant damage if not addressed promptly. This article provides a detailed guide on how to replace a rear axle oil seal, helping you understand the process and encouraging you to take on this vital maintenance task.
Understanding the Role of the Rear Axle Oil Seal
The rear axle oil seal's primary function is to prevent the differential fluid from leaking out of the axle housing. Additionally, it keeps dirt, dust, and water from entering the axle, which could cause wear and tear on the bearings and gears. When a seal fails, it often leads to leaking fluids, which can compromise the lubrication of crucial components, potentially resulting in costly repairs if left unchecked.
Signs of a Bad Rear Axle Oil Seal
Before you begin the replacement process, it’s essential to identify the signs of a failing oil seal. Common symptoms include
- Oil Leaks Puddles of fluid beneath the vehicle, typically located near the rear axle, are a strong indicator of a bad seal. - Unusual Noises Grinding or whining noises from the rear axle area can suggest that the differential fluid is low due to leaks. - Visual Inspection Look for signs of wear or damage on the axle and seal itself. Cracking, hardening, or distortion are red flags.
Tools and Materials Needed
To replace the rear axle oil seal, you will need a few tools and materials
- New rear axle oil seal - Socket set and ratchet - Screwdrivers (flathead and Phillips) - Hammer or mallet - Seal puller (optional but recommended) - Torque wrench - Differential fluid - Shop rags for cleanup - Safety glasses and gloves
Step-by-Step Replacement Process
rear axle oil seal replacement

1. Preparation and Safety Before starting, ensure the vehicle is parked on a level surface. Engage the parking brake and chock the front wheels to prevent movement. Wearing safety glasses and gloves will protect you during the process.
2. Remove the Wheel Loosen the lug nuts, then lift the rear of the vehicle using a jack. Secure it with jack stands for safety. Take off the wheel to access the axle.
3. Remove the Axle Depending on your vehicle’s make and model, you may need to remove the brake drum or rotor. After that, detach the axle from the differential, usually held in place with bolts or a retaining clip.
4. Extract the Old Seal Once the axle is removed, locate the old oil seal in the differential housing. Use a seal puller or a flathead screwdriver to carefully pry the old seal out. Take care not to damage the surrounding area.
5. Install the New Seal Before installing the new seal, clean the area where the old seal was located. Apply a small amount of differential fluid to the new seal's lip to aid in installation. Gently tap the new seal into place using a hammer or mallet, ensuring it sits flush against the differential housing.
6. Reassemble the Axle Reinsert the axle into the differential, securing it with the appropriate bolts or retaining clip. Reattach the brake drum or rotor if removed, and finally, put the wheel back on.
7. Refill Differential Fluid Check the differential fluid level and refill if necessary. Consult your vehicle’s manual for the correct type of fluid and capacity.
8. Final Checks Before lowering the vehicle, check that everything is properly secured. Double-check the torque on the axle bolts according to the manufacturer’s specifications.
Post-Replacement
After completing the replacement, carefully lower your vehicle and take a test drive. Keep an eye out for leaks and unusual noises. If everything appears to be functioning correctly, congratulations! You’ve successfully replaced the rear axle oil seal. Regular maintenance of your vehicle's components can save you time and money in the long run and keep your ride smooth and safe.
-
Understanding the Front Main Engine Seal: Purpose, Maintenance, and Installation
News Jul.29,2025
-
Understanding O-Rings and Seal Rings: Types, Applications, and Custom Solutions
News Jul.29,2025
-
Understanding Crankshaft Oil Seals: Rear Seals, Pulley Seals, and Their Role in Engine Integrity
News Jul.29,2025
-
The Importance of Front and Rear Crankshaft Seals in Engine Performance and Oil Management
News Jul.29,2025
-
Crank Oil Seals: Functions, Types, and Cost Considerations in Engine Maintenance
News Jul.29,2025
-
A Comprehensive Guide to O-Rings and Seals: Types, Materials, and Global Applications
News Jul.29,2025
-
Mastering Diesel and Performance Engine Maintenance: A Guide to Critical Oil Gaskets
News Jul.28,2025
Products categories


