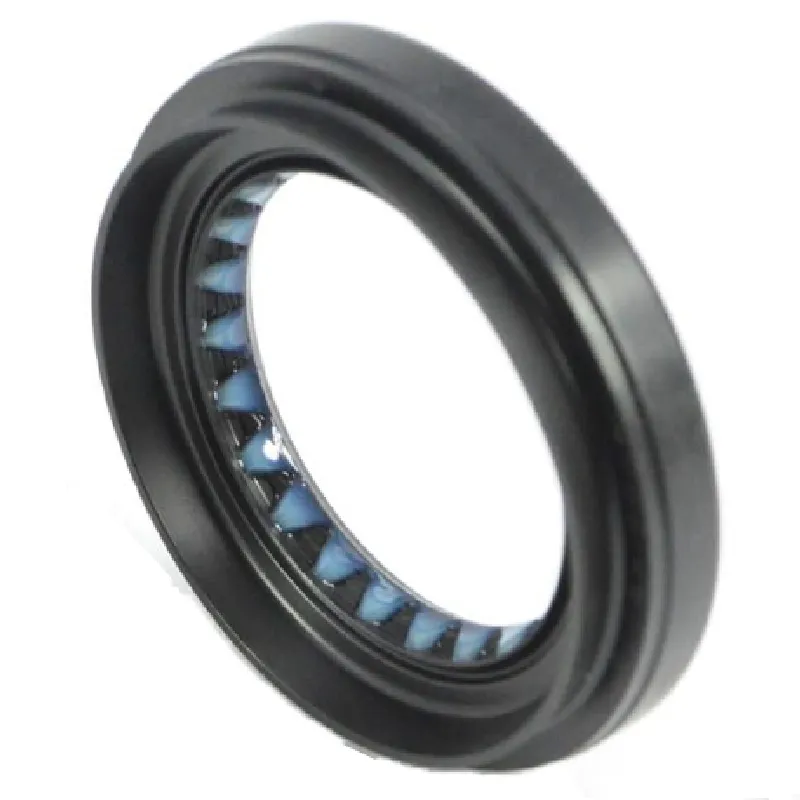
plug washer replacement
Plug Washer Replacement A Step-by-Step Guide
Maintaining the plumbing fixtures in your home is crucial for ensuring their longevity and efficient performance. One of the most common plumbing issues homeowners experience is a leaky faucet or a sink that refuses to hold water due to worn-out washers. Plug washers, specifically, are an essential component that helps create a watertight seal. In this article, we will guide you through the process of replacing a plug washer, ensuring your fixtures operate effectively without leaks.
Understanding Plug Washers
Before diving into the replacement process, it’s essential to understand what a plug washer is. A plug washer is typically a circular rubber or plastic disc that fits within the assembly of a faucet or a drain. Its primary function is to stop the flow of water when the tap is turned off or to block drainage as needed. Over time, due to constant exposure to water and friction, these washers can become warped, cracked, or worn, leading to leaks or ineffective seals.
Tools and Materials Needed
To replace a plug washer, you will require the following tools and materials
- A replacement plug washer (make sure it is the correct size for your faucet) - Adjustable wrench or pliers - Screwdriver (flathead or Phillips, depending on your faucet) - Towels or rags - A small bowl or bucket (to catch any water) - Plumber’s grease (optional, but recommended)
Step-by-Step Replacement Process
1. Turn Off Water Supply Before doing any plumbing work, ensure that the water supply to the faucet is turned off. Look for the shut-off valve under the sink and turn it clockwise to stop the water flow.
plug washer replacement

2. Remove the Faucet Handle Depending on the type of faucet you have, you might need to remove the handle to access the plug washer. Generally, you will find a screw on the top or back of the handle. Use your screwdriver to remove the screw and gently lift the handle off.
3. Disassemble the Faucet With the handle removed, you may need to take off additional components to access the plug washer. This could involve unscrewing a retaining nut or pulling out parts of the assembly. Take note of how the parts are arranged or take pictures to ensure proper reassembly.
4. Locate and Remove the Old Plug Washer Once you have access to the assembly, locate the plug washer. It will be seated against the valve. Carefully remove it, taking note of how it fits in place. If it's stubborn, you may need to use a flathead screwdriver to pry it out gently.
5. Install the New Plug Washer Take your new plug washer and ensure it is the correct size and shape. Press it firmly into place where the old washer was seated. It should fit snugly and create a tight seal.
6. Reassemble the Faucet Begin reattaching the faucet components in the reverse order of disassembly. Make sure not to overtighten screws, as this can cause damage. If you’re using plumber’s grease, apply a small amount to the threads and the new washer for a better seal and easier assembly.
7. Turn the Water Supply Back On Once everything is reassembled, gradually turn the water supply back on. Check for leaks by carefully turning the faucet on and off.
8. Test the Faucet Let the water run for a few moments and check for any signs of leakage around the faucet. If everything is working correctly, your faucet should no longer leak, and the plug washer replacement should be successful.
Conclusion
Replacing a plug washer is a straightforward process that can save you from the hassle of a leaky faucet or sink. With a few simple tools and a little bit of time, you can perform this task yourself and ensure your plumbing fixtures remain in good working order. Regular maintenance, including replacing worn washers, can extend the life of your fixtures and help conserve water in your home. Happy plumbing!
-
Understanding Automotive Oil Seals: Essential Components for Engine and Shaft Protection
News Jul.30,2025
-
The Importance of Heavy Duty Seals in Industrial and Residential Applications
News Jul.30,2025
-
Exploring Industrial Oil Seals: From Felt Oil Seals to TTO and CFW Solutions
News Jul.30,2025
-
Essential Guide to Oil Seals: From Radial to Metal-Cased Seals for Industrial Reliability
News Jul.30,2025
-
Choosing the Right Oil Seals and Gaskets for Industrial and Automotive Applications
News Jul.30,2025
-
Cassette Seals: Durable Sealing Solutions for Harsh Environments
News Jul.30,2025
-
Understanding the Front Main Engine Seal: Purpose, Maintenance, and Installation
News Jul.29,2025
Products categories


