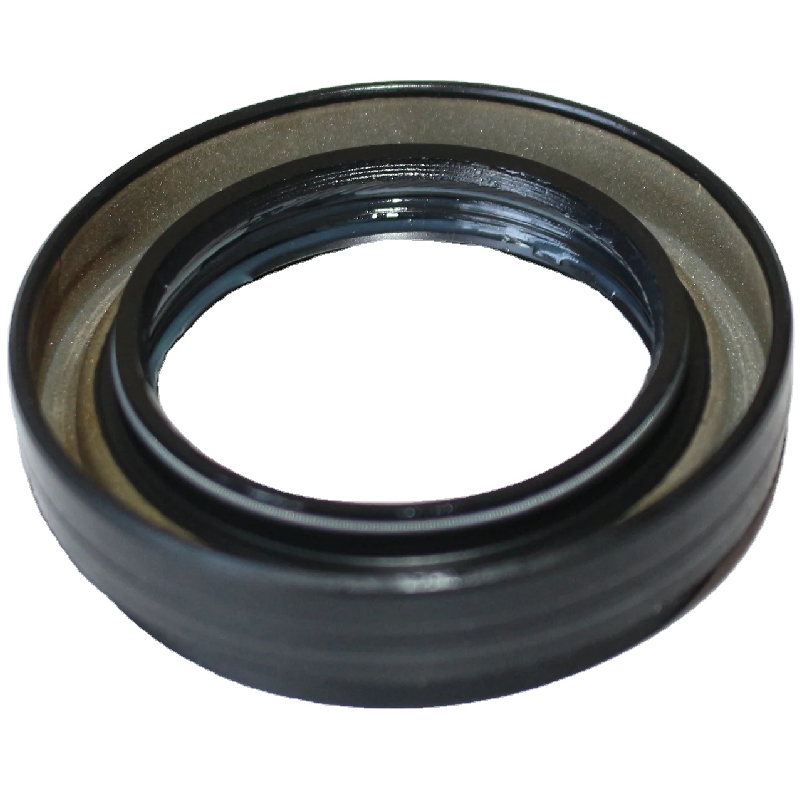
Guide to Replacing the Plug Washer Efficiently and Effectively
Plug Washer Replacement A Step-by-Step Guide
Replacing a plug washer may seem like a small task, but it plays a crucial role in maintaining the functionality of plumbing fixtures and preventing leaks. Whether it's in your sink, bathtub, or washing machine, plug washers often wear out over time due to constant use and age. Understanding how to replace a plug washer can save you money on repairs and enhance your home’s efficiency. Here’s a comprehensive guide to help you through this process.
Understanding Plug Washers
A plug washer is a small but essential rubber or silicone component located within the plumbing fixtures, usually around the drain area. Its primary function is to create a watertight seal when the plug is inserted into the drain, preventing water from escaping. When a plug washer deteriorates or gets damaged, it can lead to leaks, which may cause water damage or increased water bills if not addressed promptly.
Tools and Materials Needed
Before starting your plug washer replacement, gather the necessary tools and materials 1. Screwdriver Depending on the type of screws in your fixture. 2. Replacement Plug Washer Make sure it matches the size of the old one. 3. Pliers For removing any stubborn screws or components. 4. Safety Gloves To protect your hands during the process. 5. Towel or Cloth To catch any residual water.
Steps to Replace a Plug Washer
1. Turn Off the Water Supply Before you begin any plumbing work, ensure you turn off the water supply to the fixture. This prevents any unexpected water flow during the replacement process.
2. Remove the Plug Depending on your plumbing fixture, you may need to unscrew or pull out the plug. In some cases, the plug is attached with a lift chain or a toggle mechanism. Take note of how the plug is attached, as this will help you reassemble it later.
plug washer replacement

3. Inspect the Old Washer Once the plug is removed, inspect the existing washer. Look for cracks, tears, or any hardening that could indicate it's time for a replacement.
4. Remove the Old Washer Using your screwdriver, carefully pry off the old washer. It may be stuck, so apply a little turning pressure if necessary. Once it's free, dispose of it properly.
5. Install the New Washer Take your new plug washer and place it in the same position as the old one. Ensure it’s seated evenly to create the best possible seal.
6. Reassemble the Plug Once the new washer is in place, reattach the plug. If it was secured using screws, ensure they are tightened adequately, but avoid over-tightening as this could damage the new washer or the fixture.
7. Turn On the Water Supply After reassembling the plug, turn the water supply back on. Check for any signs of leakage around the plug and drain area.
8. Test the Fixture Fill the sink or tub to ensure the new washer holds and that no water escapes. If you notice any leaks, double-check the installation of the washer.
Conclusion
Replacing a plug washer is a straightforward task that can be completed with minimal tools and effort. By following these steps, you can enhance the performance of your plumbing fixtures and avoid costly repairs. Regular maintenance checks on your plumbing components, including washers, can ensure a longer lifespan and better efficiency. Take the time to educate yourself about such minor repairs; it's empowering and can significantly reduce the need for professional plumbing services. With just a little effort, you can keep your home running smoothly.
-
Understanding the Front Main Engine Seal: Purpose, Maintenance, and Installation
News Jul.29,2025
-
Understanding O-Rings and Seal Rings: Types, Applications, and Custom Solutions
News Jul.29,2025
-
Understanding Crankshaft Oil Seals: Rear Seals, Pulley Seals, and Their Role in Engine Integrity
News Jul.29,2025
-
The Importance of Front and Rear Crankshaft Seals in Engine Performance and Oil Management
News Jul.29,2025
-
Crank Oil Seals: Functions, Types, and Cost Considerations in Engine Maintenance
News Jul.29,2025
-
A Comprehensive Guide to O-Rings and Seals: Types, Materials, and Global Applications
News Jul.29,2025
-
Mastering Diesel and Performance Engine Maintenance: A Guide to Critical Oil Gaskets
News Jul.28,2025
Products categories


