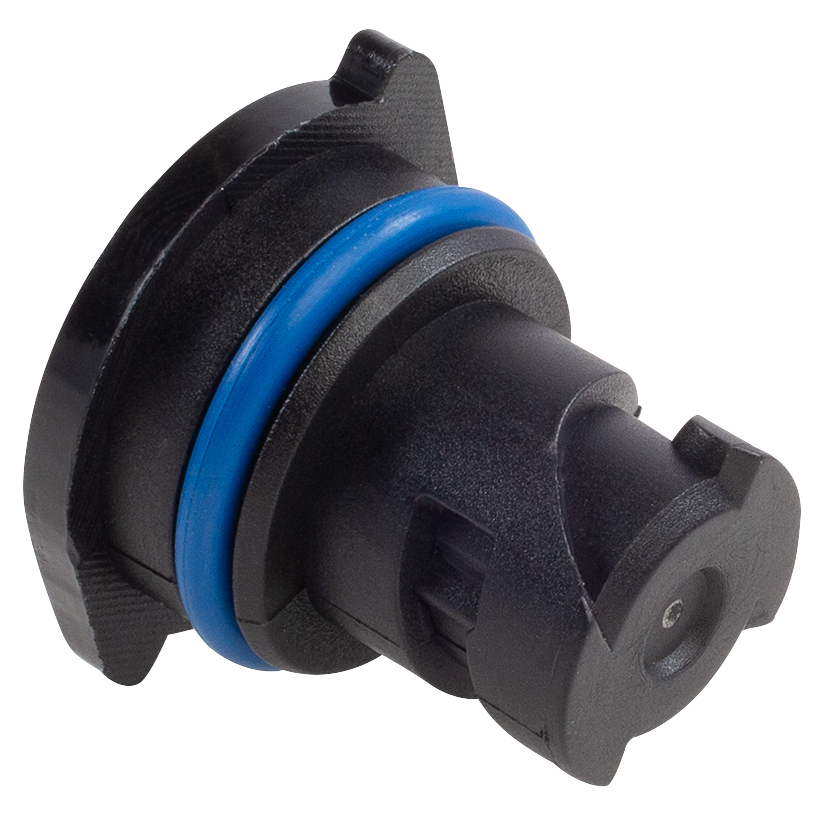
Guide to Replacing a Washer for Optimal Performance and Maintenance
Plug Washer Replacement A Step-by-Step Guide
Replacing a plug washer is a common DIY task that many homeowners encounter. A plug washer is a small, rubber or plastic washer found in sinks, bathtubs, or other plumbing fixtures that creates a seal, preventing leaks. Over time, these washers can wear out, causing water to leak. If you're facing this issue, fear not! Replacing a plug washer is straightforward and can be accomplished with a few tools and steps.
Tools and Materials Needed
Before starting your project, gather the following tools and materials - Adjustable wrench or pliers - Screwdriver (flathead or Phillips, depending on your fixtures) - Replacement washers (specific to your faucet model) - Towels or rags (to clean up any spills) - Bucket (to catch dripping water)
Step 1 Turn Off the Water Supply
The first and most crucial step is to shut off the water supply to the fixture you're working on. Most plumbing fixtures have a shut-off valve located underneath. Turn the valve clockwise to stop the flow of water. To ensure no water is running, open the faucet and let any remaining water drain out.
Step 2 Remove the Plug
Once the water supply is off, it's time to remove the plug. Depending on your fixture, you may need to unscrew a retaining nut or simply lift out the plug. Use the appropriate screwdriver or wrench for this step. If the plug is particularly stubborn, use a lubricant to help ease it out.
Step 3 Inspect and Remove the Old Washer
plug washer replacement

With the plug removed, you will see the washer. Inspect it for cracks, tears, or signs of wear. Use your fingers or a flathead screwdriver to gently pry it out. Ensure all remnants of the old washer are cleared before proceeding further.
Step 4 Install the New Washer
After removing the old washer, take your replacement washer and align it with the seat in the plug housing. Make sure it fits snugly and is the same size as the old washer. If everything looks good, press the new washer into place.
Step 5 Reassemble the Plug
Now that the new washer is installed, reattach the plug to your fixture. Use your wrench or screwdriver to secure it tightly, but be careful not to overtighten, as this can damage the new washer.
Step 6 Turn On the Water Supply
Once everything is reassembled, it’s time to test your work. Slowly turn the water supply back on and check beneath your sink for leaks. Run the faucet to ensure it operates smoothly. If there are no leaks and the water flow is as expected, you’ve successfully replaced the plug washer!
Conclusion
Replacing a plug washer is a simple and cost-effective way to prevent leaks and maintain your plumbing fixtures. By following this step-by-step guide, you can tackle this task with confidence. Remember, regular maintenance of your plumbing can save you from more significant problems down the road. Happy DIY-ing!
-
The Ultimate Guide to Boat Propeller Bearings and Trailer Wheel Bearings
News Jul.31,2025
-
The Essential Guide to Marine Bearings and Boat Trailer Wheel Bearings
News Jul.31,2025
-
The Complete Guide to Heavy Duty Seals: Protecting Doors and Spaces Efficiently
News Jul.31,2025
-
Essential Guide to Marine Shaft Bearings and Boat Trailer Axle Bearings
News Jul.31,2025
-
Comprehensive Guide to Marine and Trailer Bearings for Safe Boating and Transport
News Jul.31,2025
-
Comprehensive Guide to Automotive Oil Seals: Protecting Your Engine and Shafts
News Jul.31,2025
-
Understanding Automotive Oil Seals: Essential Components for Engine and Shaft Protection
News Jul.30,2025
Products categories


