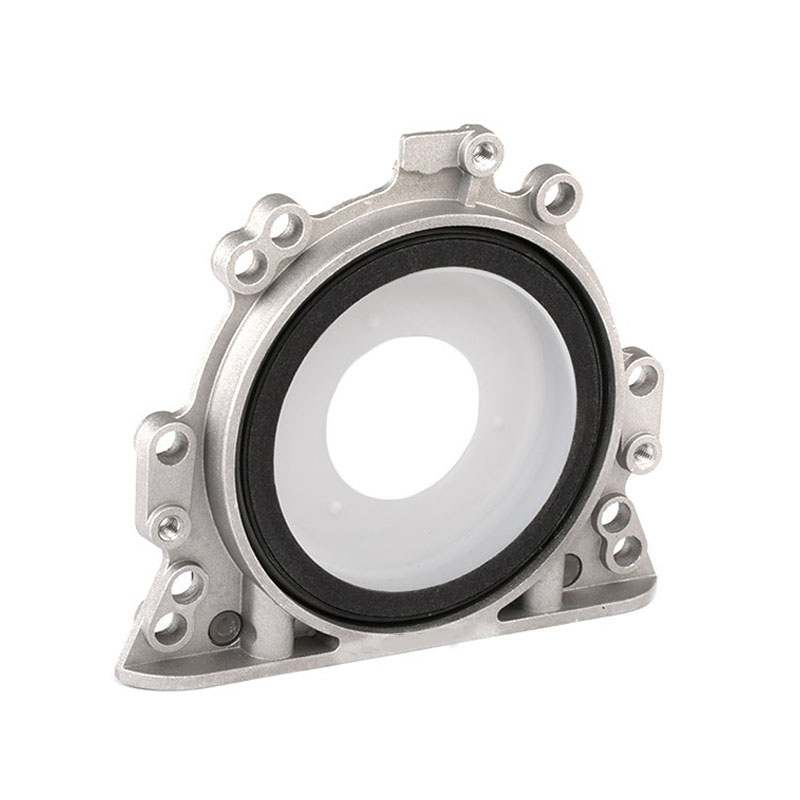
Guide to Replacing Oil Pan Bolts for Improved Engine Performance
Oil Pan Bolt Replacement A Step-by-Step Guide
Replacing the oil pan bolts in your vehicle is an essential maintenance task that can help prevent oil leaks and ensure the longevity of your engine. Over time, these bolts can become loose or corroded, leading to the risk of oil seepage, which can result in serious engine problems. In this guide, we’ll walk you through the process of replacing your oil pan bolts efficiently and safely.
Why Oil Pan Bolt Replacement is Necessary
The oil pan is critical for engine lubrication; it holds the oil that lubricates various engine components. The bolts that secure the oil pan can deteriorate due to exposure to heat, oil, and road conditions. If these bolts are not functioning properly, the oil pan may not seal effectively, leading to leaks and loss of oil pressure. Regular inspection and replacement of these bolts can help maintain optimal engine performance and prevent costly repairs.
Tools and Materials Needed
Before you start, gather the following tools and materials
- Torque wrench - Socket set (including a ratchet) - Screwdriver set - Oil pan gasket (if it's worn) - New oil pan bolts - Engine oil - Oil catch pan - Clean rags
Step-by-Step Replacement Process
1. Safety First Begin by ensuring your vehicle is parked on a flat surface. Turn off the engine and allow it to cool down completely. Engage the parking brake and wear safety goggles and gloves.
2. Drain the Oil Place an oil catch pan underneath the oil pan and remove the oil drain plug to let the old oil drain completely. This step is crucial to prevent spills and mess.
oil pan bolt replacement

3. Remove the Old Oil Pan Bolts Use the appropriate socket from your socket set to remove the old oil pan bolts. Start at the corners and work your way to the center. This sequence helps relieve stress evenly and prevent warping of the oil pan. As you remove each bolt, keep them organized to avoid confusion when installing the new ones.
4. Inspect the Oil Pan and Gasket Once the bolts are removed, carefully take off the oil pan. Inspect the pan for any cracks or damage. Also, examine the gasket. If it appears worn or damaged, replace it with a new oil pan gasket.
5. Clean the Surfaces Use clean rags to clean the mounting surface of the oil pan and the engine block. It's vital to remove any old gasket material or debris to ensure a proper seal with the new gasket.
6. Install the New Oil Pan Gasket (if applicable) Place the new gasket onto the oil pan or the engine block, depending on your vehicle's design. Ensure that it sits correctly in place without any twists or gaps.
7. Install New Bolts Begin re-installing the oil pan by aligning the pan with the bolt holes. Insert the new oil pan bolts into their respective holes. Hand-tighten them first.
8. Torque the Bolts Use the torque wrench to tighten the bolts to the manufacturer’s specifications. It's essential to follow the proper torque sequence to ensure even pressure across the oil pan. Typically, this involves tightening in a crisscross pattern.
9. Reinstall the Drain Plug and Fill New Oil After finalizing the bolt installation, reinstall the oil drain plug. Use a funnel to fill the new oil into the engine, ensuring you use the correct type and amount as specified in your owner's manual.
10. Start the Engine After everything is back in place, start the engine and let it run for a few minutes. Check for any leaks around the oil pan. If everything looks good, turn off the engine, check the oil level, and add more if necessary.
Conclusion
Replacing your oil pan bolts is a straightforward process that can significantly impact your vehicle's performance and health. By following these steps, you can ensure that your engine remains properly lubricated and free from leaks, ultimately extending its lifespan and efficiency. Regular maintenance checks can save you time and money in the long run, allowing you to enjoy your vehicle without worry.
-
Understanding the Front Main Engine Seal: Purpose, Maintenance, and Installation
News Jul.29,2025
-
Understanding O-Rings and Seal Rings: Types, Applications, and Custom Solutions
News Jul.29,2025
-
Understanding Crankshaft Oil Seals: Rear Seals, Pulley Seals, and Their Role in Engine Integrity
News Jul.29,2025
-
The Importance of Front and Rear Crankshaft Seals in Engine Performance and Oil Management
News Jul.29,2025
-
Crank Oil Seals: Functions, Types, and Cost Considerations in Engine Maintenance
News Jul.29,2025
-
A Comprehensive Guide to O-Rings and Seals: Types, Materials, and Global Applications
News Jul.29,2025
-
Mastering Diesel and Performance Engine Maintenance: A Guide to Critical Oil Gaskets
News Jul.28,2025
Products categories


