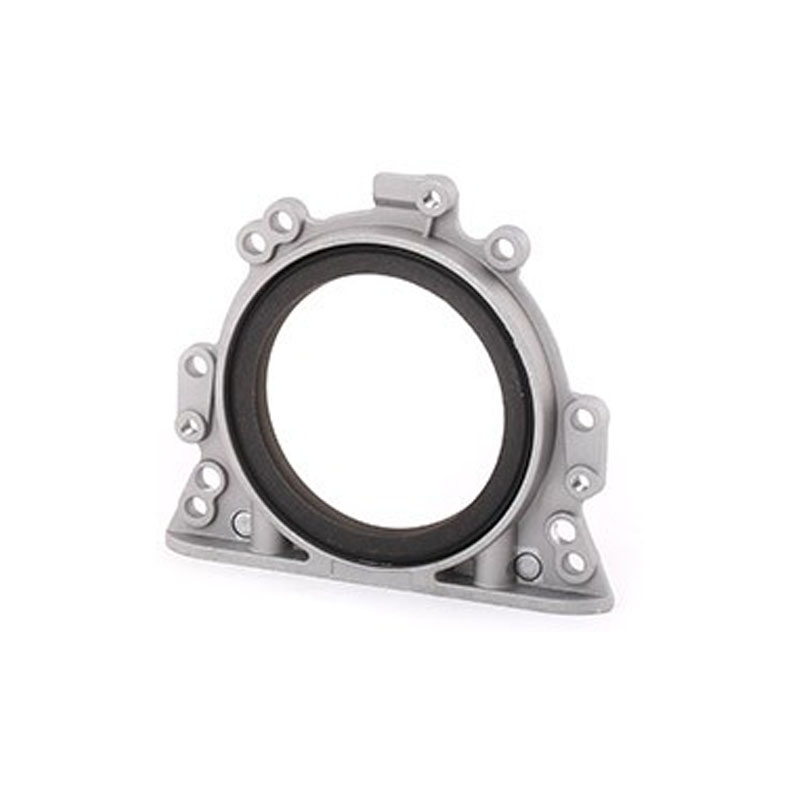
Guide to Replacing Your Vehicle's Oil Drain Plug Efficiently and Effectively
Oil Drain Plug Replacement A Step-by-Step Guide
The oil drain plug is a crucial component of any vehicle’s engine, designed to allow for the drainage of old engine oil during routine maintenance. Over time, this small but mighty piece can wear down, become stripped, or develop leaks, necessitating a replacement. In this guide, we will walk you through the process of replacing your oil drain plug, ensuring your engine runs efficiently and securely.
Understanding the Importance of the Oil Drain Plug
Before diving into the replacement process, it’s essential to understand the role of the oil drain plug. It serves as the closure for the oil pan, preventing oil from leaking out and allowing for effective oil changes. A damaged or worn drain plug can lead to significant oil loss, potentially resulting in engine damage or failure.
Tools and Materials Needed
Before starting the replacement process, you’ll need a few tools and materials
1. New Oil Drain Plug Ensure it is the correct fit for your vehicle. Consult your owner’s manual or an auto parts store for specifications. 2. Oil Drain Plug Gasket Many drain plugs require a gasket or washer to ensure a proper seal. 3. Socket Wrench Set Make sure to have the correct size socket to remove the old drain plug. 4. Torque Wrench This will help ensure that the new plug is tightened to the manufacturer’s specifications. 5. Oil Catch Pan Necessary for collecting old oil during the drain process. 6. Clean Rags For cleaning any spills or drips.
Step-by-Step Replacement Process
Now, let’s walk through the replacement process step by step.
Step 1 Prepare Your Vehicle
1. Safety First Ensure your vehicle is on a level surface and turn off the engine. Engage the parking brake and, if needed, use wheel chocks to prevent any rolling. 2. Gather Materials Organize your tools and materials nearby to streamline the process.
Step 2 Drain the Old Oil
oil drain plug replacement

1. Remove the Oil Cap Start by removing the oil fill cap on top of the engine. This helps air flow and allows for smoother draining. 2. Position the Oil Catch Pan Place your oil catch pan beneath the oil drain plug to collect the old oil. 3. Unscrew the Old Drain Plug Use your socket wrench to remove the drain plug. Be careful, as old oil may still be hot. Allow the oil to drain completely into the pan.
Step 3 Clean the Drain Area
After all the old oil has drained, wipe the area around the oil drain hole with a clean rag. This will remove any debris or old oil that could interfere with the new gasket.
Step 4 Install the New Drain Plug
1. Insert the New Gasket If your new drain plug requires a gasket, place it on the plug before installation. 2. Screw in the New Drain Plug Carefully thread the new drain plug into the oil pan. Use the socket wrench to tighten it, but avoid over-tightening, which can strip the threads. 3. Use a Torque Wrench Check your vehicle’s specifications for the correct torque setting and apply it with your torque wrench.
Step 5 Refill Engine Oil
1. Replace the Oil Cap After ensuring the new drain plug is secure, replace the oil cap. 2. Refill with New Oil Use your oil fill funnel to add new engine oil to the engine. Refer to your owner’s manual for the correct type and amount of oil.
Step 6 Check for Leaks
Finally, run the engine for a few minutes and observe the drain plug area for any leaks. If there are no leaks, congratulations on successfully replacing your oil drain plug!
Conclusion
Regular maintenance, including the timely replacement of your oil drain plug, is key to keeping your vehicle in good working condition. By following these steps, you can ensure that your engine remains well-lubricated and protected from damage. Take pride in your ability to perform this essential task—it not only saves you money but also enhances your understanding of your vehicle’s inner workings. Happy motoring!
-
The Ultimate Guide to Boat Propeller Bearings and Trailer Wheel Bearings
News Jul.31,2025
-
The Essential Guide to Marine Bearings and Boat Trailer Wheel Bearings
News Jul.31,2025
-
The Complete Guide to Heavy Duty Seals: Protecting Doors and Spaces Efficiently
News Jul.31,2025
-
Essential Guide to Marine Shaft Bearings and Boat Trailer Axle Bearings
News Jul.31,2025
-
Comprehensive Guide to Marine and Trailer Bearings for Safe Boating and Transport
News Jul.31,2025
-
Comprehensive Guide to Automotive Oil Seals: Protecting Your Engine and Shafts
News Jul.31,2025
-
Understanding Automotive Oil Seals: Essential Components for Engine and Shaft Protection
News Jul.30,2025
Products categories


