How to Replace an Oil Drain Plug Effectively and Safely in Your Vehicle
Oil Drain Plug Replacement A Step-by-Step Guide
Maintaining your vehicle's engine health is crucial, and one essential aspect of this maintenance is regular oil changes. During an oil change, replacing the oil drain plug is often overlooked. However, ensuring that this small yet vital component is in good condition can prevent leaks and prolong the life of your engine. In this article, we’ll guide you through the process of oil drain plug replacement, highlighting why it’s essential and how to properly execute the task.
Why Replace the Oil Drain Plug?
The oil drain plug is a critical component that holds the oil in the oil pan. Over time, it can wear out due to corrosion, or it may become damaged if improperly tightened. A faulty oil drain plug can lead to oil leaks, which not only contribute to environmental pollution but also can result in engine damage if the oil level drops too low. Therefore, checking the condition of your oil drain plug during an oil change is vital. If it’s worn, deformed, or consistently leaking, it’s time to replace it.
Tools and Materials Needed
Before you begin, gather the necessary tools and materials - Replacement oil drain plug (ensure it matches your vehicle’s specifications) - New washer (if applicable) - Socket wrench or adjustable wrench - Oil catch pan - Torque wrench (for proper tightening) - Clean cloth or paper towels
Replacing the Oil Drain Plug Step-by-Step
1. Prepare Your Vehicle Ensure your vehicle is parked on a level surface and the engine is cool. Engage the parking brake for safety. If necessary, lift the vehicle using a jack and secure it with jack stands.
2. Drain the Oil Place an oil catch pan under the oil pan. Locate the oil drain plug, which is usually at the bottom of the oil pan. Using a socket wrench, carefully loosen and remove the drain plug. Allow the old oil to completely drain into the catch pan.
oil drain plug replacement

3. Inspect the Drain Plug Once the oil has drained, inspect the old drain plug for damage, wear, or stripped threads. If the threads are stripped, you may need a thread repair kit or to consult a professional mechanic.
4. Clean the Drain Plug Area Before installing the new drain plug, clean the area where the drain plug seats to ensure a proper seal. Use a clean cloth to wipe away any old oil residue or debris.
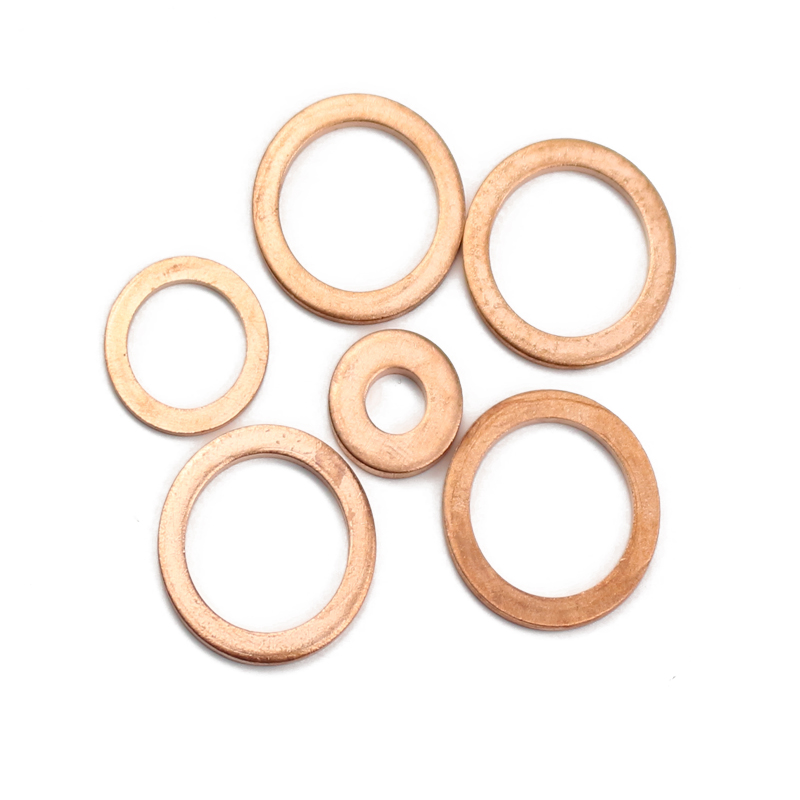
5. Install the New Drain Plug If applicable, install a new washer onto the new oil drain plug. Hand-tighten the drain plug into the oil pan, then use a wrench to secure it. Be careful not to overtighten, as this can cause damage to the oil pan or the plug itself.
6. Torque the Drain Plug Use a torque wrench to tighten the drain plug to your vehicle manufacturer’s specified torque setting. This information can typically be found in your owner’s manual.
7. Refill the Oil After the new drain plug is securely in place, remove the oil catch pan. Refill the engine with the appropriate type and amount of oil through the oil filler cap.
8. Check for Leaks Start your engine and allow it to run for a few minutes while observing the area around the drain plug for any signs of oil leakage. If everything looks good, turn off the engine and check the oil level with the dipstick, adding oil if necessary.
Conclusion
Replacing your oil drain plug is a straightforward task that can significantly contribute to the overall health of your engine. By being proactive and ensuring that this vital component is in good condition, you can help prevent costly repairs down the road. Regular maintenance not only extends the life of your vehicle but also ensures optimal performance. Happy driving!
-
The Ultimate Guide to Boat Propeller Bearings and Trailer Wheel Bearings
News Jul.31,2025
-
The Essential Guide to Marine Bearings and Boat Trailer Wheel Bearings
News Jul.31,2025
-
The Complete Guide to Heavy Duty Seals: Protecting Doors and Spaces Efficiently
News Jul.31,2025
-
Essential Guide to Marine Shaft Bearings and Boat Trailer Axle Bearings
News Jul.31,2025
-
Comprehensive Guide to Marine and Trailer Bearings for Safe Boating and Transport
News Jul.31,2025
-
Comprehensive Guide to Automotive Oil Seals: Protecting Your Engine and Shafts
News Jul.31,2025
-
Understanding Automotive Oil Seals: Essential Components for Engine and Shaft Protection
News Jul.30,2025
Products categories


