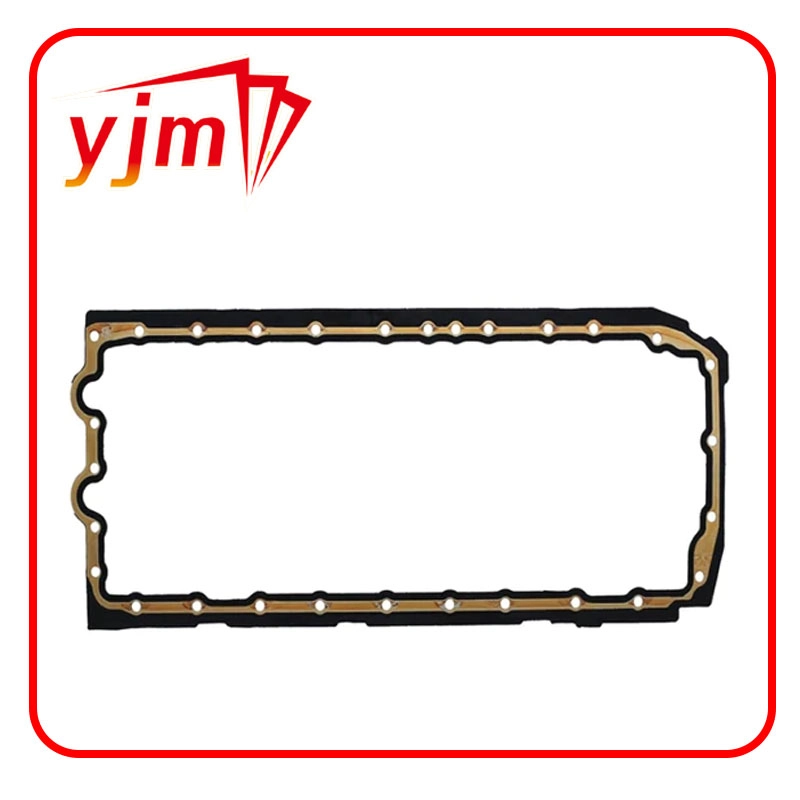
oil drain plug replacement
Oil Drain Plug Replacement A Step-by-Step Guide
Oil change is a crucial maintenance task for any vehicle, ensuring its engine runs smoothly and efficiently. One often overlooked component during this process is the oil drain plug. Over time, the drain plug can become worn or damaged, leading to oil leaks and potential engine damage. Here’s a detailed guide on how to replace your oil drain plug, ensuring your engine stays protected and performs optimally.
Tools and Materials Needed To successfully replace your oil drain plug, you will need a few essential tools and materials 1. New oil drain plug (make sure it’s the correct size for your vehicle) 2. Oil drain plug washer (if applicable) 3. Socket wrench set 4. Torque wrench 5. Oil catch pan 6. Rags or paper towels 7. Safety gloves and goggles
Step 1 Prepare Your Vehicle Start by parking your vehicle on a flat surface and turning off the engine. Give the engine some time to cool down before beginning the oil change process. If necessary, lift the vehicle with a jack and secure it with jack stands. Always wear gloves and goggles to protect yourself from any oil spills.
Step 2 Drain the Old Oil Position your oil catch pan underneath the oil pan where the drain plug is located. Use the socket wrench to carefully loosen and remove the old drain plug. Allow the old oil to fully drain into the catch pan. This step is crucial as it ensures that you’re working with minimal mess.
oil drain plug replacement

Step 3 Inspect the Old Drain Plug Examine the old drain plug for any signs of wear, such as cracks or stripped threads. If it looks damaged, it’s a clear indication that a replacement is needed. Also, inspect the drain plug washer; if it’s worn or damaged, replace it with a new one.
Step 4 Install the New Drain Plug Once the old oil has fully drained and you’ve inspected the components, take your new drain plug and install it into the oil pan. If your vehicle requires a washer, ensure it’s in place. Tighten the drain plug using your socket wrench, and then use a torque wrench to tighten it to the manufacturer’s specified torque settings. This is essential to prevent leaks.
Step 5 Dispose of Old Oil Responsibly After replacing the drain plug, it’s essential to dispose of the old oil properly. Many local auto parts stores and service stations provide recycling services for used oil.
Conclusion Replacing your oil drain plug is a simple yet vital task that can save you from costly repairs in the long run. Regular vehicle maintenance, including checking and replacing the drain plug when necessary, will help extend the life of your engine and improve its performance. Always consult your vehicle’s owner manual for specific instructions and torque specifications.
-
Understanding the Front Main Engine Seal: Purpose, Maintenance, and Installation
News Jul.29,2025
-
Understanding O-Rings and Seal Rings: Types, Applications, and Custom Solutions
News Jul.29,2025
-
Understanding Crankshaft Oil Seals: Rear Seals, Pulley Seals, and Their Role in Engine Integrity
News Jul.29,2025
-
The Importance of Front and Rear Crankshaft Seals in Engine Performance and Oil Management
News Jul.29,2025
-
Crank Oil Seals: Functions, Types, and Cost Considerations in Engine Maintenance
News Jul.29,2025
-
A Comprehensive Guide to O-Rings and Seals: Types, Materials, and Global Applications
News Jul.29,2025
-
Mastering Diesel and Performance Engine Maintenance: A Guide to Critical Oil Gaskets
News Jul.28,2025
Products categories


