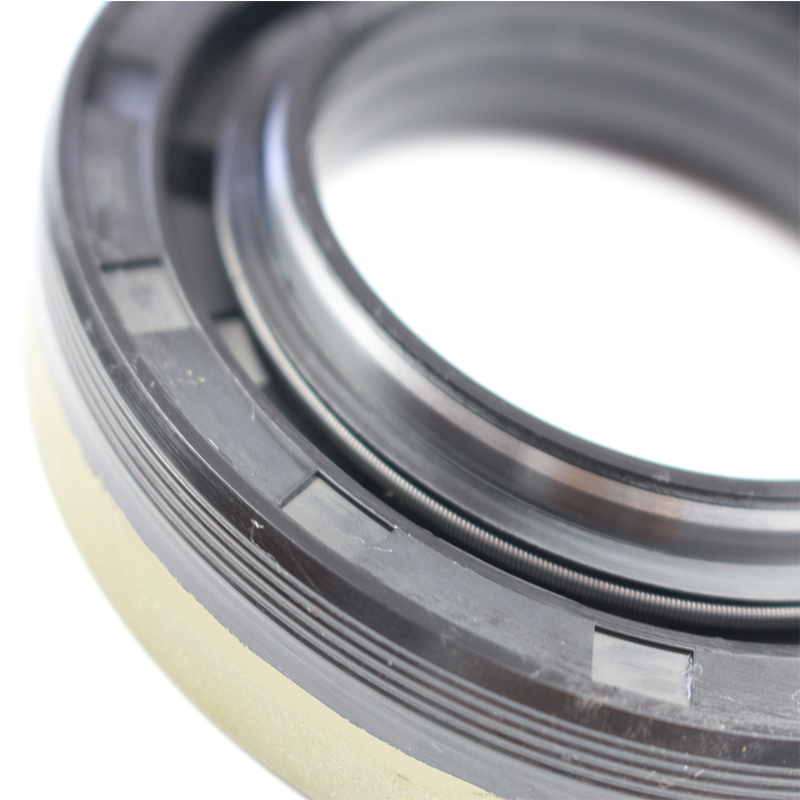
left rear axle seal replacement
Left Rear Axle Seal Replacement A Comprehensive Guide
The left rear axle seal plays a crucial role in maintaining the integrity and performance of your vehicle's rear differential. Over time, wear and tear can lead to leaks, which can compromise the functionality of the axle and ultimately lead to more significant problems. If you suspect that your left rear axle seal is leaking, timely replacement is essential. This article will guide you through the steps of replacing the left rear axle seal, ensuring you can tackle this task with confidence.
Understanding the Axle Seal
The axle seal is designed to prevent differential lubricant from leaking out of the axle and to keep contaminants from entering the differential. If the seal fails, you may notice fluid leaking from the rear wheel area or experience unusual noises while driving. Ignoring a bad seal can lead to severe damage to your axle bearings and gears, resulting in costly repairs.
Tools and Materials Needed
Before starting the replacement process, gather the necessary tools and materials. You’ll need
- A new left rear axle seal - A socket set and ratchet - A bearing puller or slide hammer - A seal installer tool - A torque wrench - Clean rags - Gear oil - Jack and jack stands
Step-by-Step Replacement Process
1. Preparation Park your vehicle on a flat surface, and set the parking brake. Gather all necessary tools and materials.
2. Raise the Vehicle Use a jack to lift the rear of the vehicle and secure it with jack stands. Make sure the vehicle is stable before proceeding.
4. Remove the Brake Components Detach the brake drum or brake rotor (depending on your vehicle) by loosening the bolts. This may require removing the brake caliper or drum retainers. Keep all parts organized as you'll need to reinstall them later.
left rear axle seal replacement

5. Access the Axle Once the brakes are out of the way, you can access the axle assembly. If your vehicle has a retaining clip holding the axle in place, remove it.
6. Extract the Axle Using a bearing puller or slide hammer, carefully pull the axle out of the differential housing. Be cautious not to damage the axle or surrounding components during this process.
7. Remove the Old Seal Once the axle is removed, locate the old axle seal inside the differential housing. Use a seal puller or a flathead screwdriver to carefully pry it out, ensuring you don’t scratch the housing.
8. Install the New Seal Before installing the new seal, clean the sealing surface thoroughly. Use the seal installer tool to press the new seal into place evenly. Ensure it’s seated correctly to avoid future leaks.
9. Reassemble the Axle Reinsert the axle into the differential, ensuring it locks in place. Replace the retaining clip if applicable.
10. Reinstall Brake Components Reattach the brake assembly, including the brake drum or rotor. Ensure all bolts are tightened to the manufacturer’s specifications.
11. Replace the Wheel Put the left rear wheel back on and tighten the lug nuts securely.
12. Lower the Vehicle Carefully remove the jack stands and lower the vehicle back to the ground.
13. Test Drive After completing the replacement, take your vehicle for a test drive. Monitor for any leaks or unusual noises to ensure the job was done correctly.
Conclusion
Replacing the left rear axle seal may seem daunting, but with the right tools and instructions, it can be a manageable DIY project. Regular maintenance and timely replacement of worn components like the axle seal can significantly improve the lifespan of your vehicle and enhance its performance on the road. Always consult your vehicle’s service manual for specific instructions related to your make and model, and don’t hesitate to seek professional help if needed. Safe driving!
-
Understanding the Front Main Engine Seal: Purpose, Maintenance, and Installation
News Jul.29,2025
-
Understanding O-Rings and Seal Rings: Types, Applications, and Custom Solutions
News Jul.29,2025
-
Understanding Crankshaft Oil Seals: Rear Seals, Pulley Seals, and Their Role in Engine Integrity
News Jul.29,2025
-
The Importance of Front and Rear Crankshaft Seals in Engine Performance and Oil Management
News Jul.29,2025
-
Crank Oil Seals: Functions, Types, and Cost Considerations in Engine Maintenance
News Jul.29,2025
-
A Comprehensive Guide to O-Rings and Seals: Types, Materials, and Global Applications
News Jul.29,2025
-
Mastering Diesel and Performance Engine Maintenance: A Guide to Critical Oil Gaskets
News Jul.28,2025
Products categories


