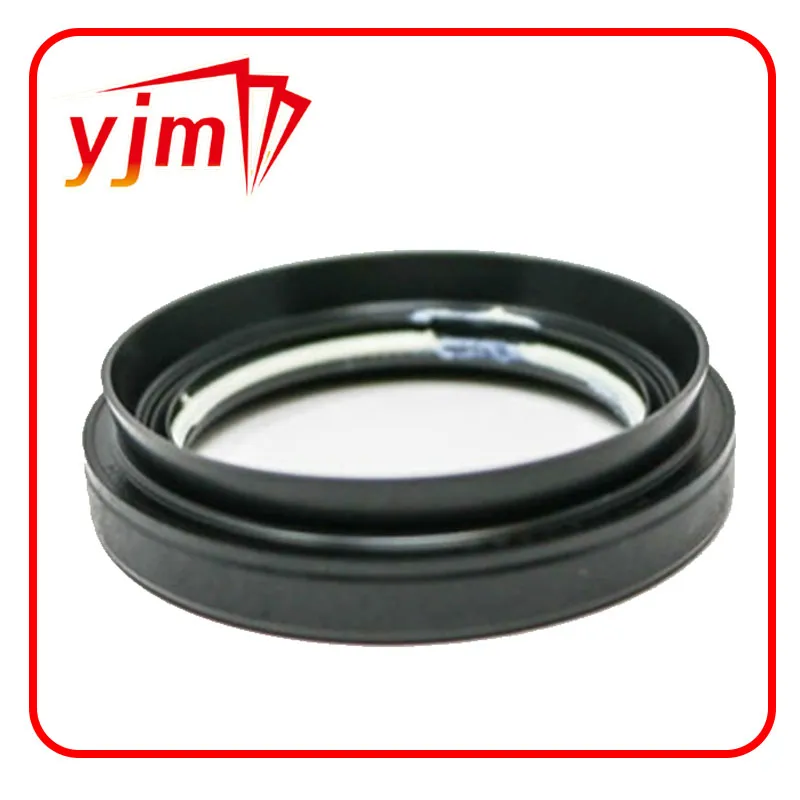
Left Rear Axle Seal Replacement Guide for Improved Vehicle Performance and Reliability
Left Rear Axle Seal Replacement A Comprehensive Guide
The left rear axle seal is a critical component in any vehicle, playing a crucial role in maintaining the integrity of the rear axle assembly. Over time, these seals can wear out or become damaged, leading to potential fluid leaks and further mechanical issues if not addressed promptly. This guide will walk you through the process of replacing the left rear axle seal in your vehicle, ensuring that you can tackle this task confidently and efficiently.
Understanding the Role of the Axle Seal
The axle seal is designed to keep the differential lubricant inside the axle housing while preventing contaminants, such as dirt and moisture, from entering. A faulty seal can lead to fluid leakage, which can cause premature wear on the axle bearings and gear components. Noticing signs of leakage, such as oil spots under your vehicle, is an indicator that the axle seal may need to be replaced.
Tools and Materials Needed
Before starting the replacement process, gather the necessary tools and materials. You'll need - A jack and jack stands - A socket set - A wrench set - Torque wrench - Screwdrivers - A seal puller or appropriate pry tool - New axle seal - Differential fluid (as specified by your vehicle manufacturer) - Clean rags - Safety goggles and gloves
Step-by-Step Replacement Process
1. Prepare the Vehicle - Park your vehicle on a flat surface and engage the parking brake. - Use a jack to lift the rear of the vehicle, and secure it with jack stands. Ensure the vehicle is stable before proceeding.
2. Remove the Wheel - Unbolt the left rear wheel using a lug wrench and set it aside. This will provide access to the brake assembly and axle.
3. Access the Axle - Depending on your vehicle, you may need to remove the brake caliper and rotor to gain better access to the axle. Make sure to support the caliper with a bungee cord or similar item to avoid putting strain on the brake line.
left rear axle seal replacement

4. Remove the Axle - With the brake components out of the way, you can now access the axle itself. Remove the retaining bolts or clips that secure the axle in place. Gently pull the axle out of the housing. You may need to use a pry tool, but be cautious not to damage any components.
5. Replace the Seal - Once the axle is removed, you will see the old axle seal which is located in the axle housing. Use the seal puller or a suitable pry tool to carefully remove the old seal. Clean the area thoroughly to remove any debris or old lubricant.
6. Install the New Seal - Take the new axle seal and apply a bit of differential fluid to the outer edge for lubrication. Carefully press the new seal into place, ensuring it is seated evenly. A seal installation tool may be helpful to press the seal in without damaging it.
7. Reinstall the Axle - Once the new seal is installed, reinsert the axle into the housing. Secure it in place with the retaining bolts or clips, ensuring they are torqued to the manufacturer’s specifications.
8. Reassemble Components - Replace the brake rotor and caliper, followed by the wheel. Make sure all components are reinstalled correctly and securely.
9. Refill Differential Fluid - If any differential fluid was lost during the process, refill the axle to the appropriate level using the manufacturer’s recommended lubricant.
10. Test Drive - Lower the vehicle, remove the jack stands, and take the vehicle for a short test drive. Afterward, inspect the area for any signs of leaks.
Conclusion
Replacing the left rear axle seal is a manageable task that can save you from more significant repairs down the line. By following the outlined steps and taking the necessary precautions, you can successfully complete the replacement, prolonging the life of your vehicle's rear axle assembly. Remember that proper maintenance is key to keeping your vehicle running smoothly, and addressing small issues like a leaking axle seal can make a significant difference in your vehicle's overall health.
-
Understanding the Front Main Engine Seal: Purpose, Maintenance, and Installation
News Jul.29,2025
-
Understanding O-Rings and Seal Rings: Types, Applications, and Custom Solutions
News Jul.29,2025
-
Understanding Crankshaft Oil Seals: Rear Seals, Pulley Seals, and Their Role in Engine Integrity
News Jul.29,2025
-
The Importance of Front and Rear Crankshaft Seals in Engine Performance and Oil Management
News Jul.29,2025
-
Crank Oil Seals: Functions, Types, and Cost Considerations in Engine Maintenance
News Jul.29,2025
-
A Comprehensive Guide to O-Rings and Seals: Types, Materials, and Global Applications
News Jul.29,2025
-
Mastering Diesel and Performance Engine Maintenance: A Guide to Critical Oil Gaskets
News Jul.28,2025
Products categories


