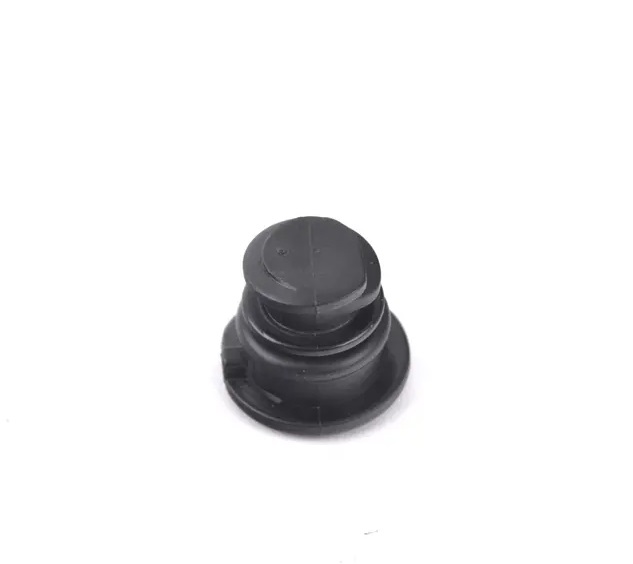
installing oil seals
Installing Oil Seals A Comprehensive Guide
Oil seals, also known as radial shaft seals, play a crucial role in preventing leakage and contamination in various mechanical systems. They are designed to keep lubricants in and contaminants out, ensuring the longevity and efficiency of equipment such as engines, gearboxes, and hydraulic systems. This article provides a comprehensive guide to installing oil seals, highlighting the necessary tools, preparation, installation steps, and post-installation checks.
Tools and Materials Needed
Before beginning the installation of oil seals, gather the following tools and materials
1. Oil seals Ensure you have the correct size and type for your application. 2. Seal installation tool (or appropriate substitute) A dedicated seal driver is ideal, but you can also use a piece of wood or plastic for smaller seals. 3. Clean cloths or paper towels For cleaning the sealing surface and removing any debris. 4. Lubricant Oil or grease for lubricating the seal before installation. 5. Pliers or removal tool If you are replacing an old seal, having a tool to remove it can be helpful.
Preparation
1. Cleaning the Sealing Area Before installing a new seal, make sure the mating surfaces are clean and free of debris. This is crucial as any dirt or foreign particles can compromise the seal's effectiveness.
2. Inspect the Housing Check the housing where the seal will be installed for any damage or wear. If the surface is scratched or pitted, it might need to be repaired or replaced to ensure a proper seal.
3. Choose the Right Seal It's essential to use the correct replacement seal. Refer to the manufacturer's specifications regarding the size and type of oil seal required for your equipment.
4. Lubricate the Seal Apply a thin film of lubricant to the sealing lip of the oil seal. This will help prevent damage during installation and ensure a good initial seal.
installing oil seals

Installation Steps
1. Positioning the Seal Place the seal into the housing or over the shaft where it will be installed. Make sure it is aligned properly to avoid slippage and misalignment.
2. Using a Seal Driver If available, use a seal installation tool or a flat object to apply even pressure around the outer edge of the seal. Gently tap or push the seal into the housing until it is fully seated. Avoid using excessive force, as this can deform the seal.
3. Check for Proper Seating After tapping, visually inspect the seal to ensure that it is level with the surrounding surface. It should be flush, without any gaps between the seal and the housing.
4. Final Check After the installation, check again for any signs of misalignment or improper seating. Ensure that the sealing lip is not twisted or damaged during the installation process.
Post-Installation Checks
1. Inspection for Leaks Once the installation is complete, run the equipment and monitor it for leaks. If there are any leaks, it might indicate an issue with the seal installation.
2. Regular Maintenance After installing the oil seal, regular maintenance checks should be conducted to ensure the seal remains in good condition. Look for any signs of wear or damage, and replace seals as necessary.
Conclusion
Installing oil seals might seem straightforward, but attention to detail is crucial for ensuring their effectiveness. By following these guidelines, you can correct past mistakes and ensure a successful installation. Proper installation not only helps in prolonging the life of the equipment but also enhances its operational efficiency. Whether you're a seasoned mechanic or a DIY enthusiast, understanding the proper techniques for installing oil seals will contribute significantly to the reliability of your machinery.
-
The Ultimate Guide to Boat Propeller Bearings and Trailer Wheel Bearings
News Jul.31,2025
-
The Essential Guide to Marine Bearings and Boat Trailer Wheel Bearings
News Jul.31,2025
-
The Complete Guide to Heavy Duty Seals: Protecting Doors and Spaces Efficiently
News Jul.31,2025
-
Essential Guide to Marine Shaft Bearings and Boat Trailer Axle Bearings
News Jul.31,2025
-
Comprehensive Guide to Marine and Trailer Bearings for Safe Boating and Transport
News Jul.31,2025
-
Comprehensive Guide to Automotive Oil Seals: Protecting Your Engine and Shafts
News Jul.31,2025
-
Understanding Automotive Oil Seals: Essential Components for Engine and Shaft Protection
News Jul.30,2025
Products categories


