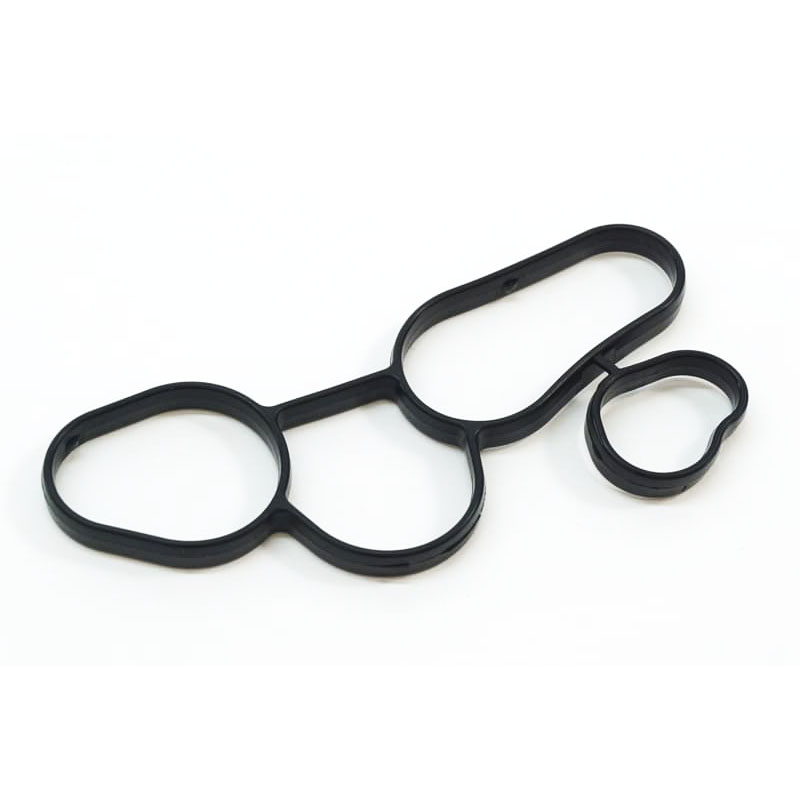
installing oil seals
Installing Oil Seals A Step-by-Step Guide
Oil seals are critical components in many mechanical systems, designed to prevent the leakage of oil and other fluids. Proper installation is essential to ensure their efficiency and longevity. In this article, we will discuss the step-by-step process of installing oil seals correctly.
Step 1 Gather Necessary Tools and Materials
Before you begin, make sure you have all the necessary tools at hand. Common tools required for installing oil seals include a clean cloth, a seal installer or a suitable rod, a rubber mallet, and some lubricant (preferably the same kind of oil that will be contained). You’ll also need the correct replacement seal that fits your specific application.
Step 2 Prepare the Installation Site
Start by cleaning the area where the oil seal will be installed. Remove any dirt, old oil, or debris using a clean cloth. If the old seal was removed, inspect the housing for any damage. A clean surface ensures that the new seal will seat properly and reduces the risk of leaks.
Step 3 Apply Lubrication
Before installing the new oil seal, apply a thin layer of the lubricant to the outer edge of the seal. This helps to ease the installation process and protects the seal’s rubber from potential damage during installation. It’s also beneficial to lubricate the shaft where the seal will be in contact, which reduces friction and wear.
installing oil seals

Step 4 Align the Seal
Carefully position the oil seal over the installation site, ensuring it is aligned correctly with the housing. Misalignment can lead to early failure of the seal. If the seal has a lip, make sure it faces inward towards the oil reservoir, as this is critical for effective sealing.
Step 5 Install the Seal
Using a seal installer or a suitable rod, press the seal evenly into the housing. Tap gently with a rubber mallet if necessary, ensuring that the seal is flush with the surface. It’s important to apply even pressure to avoid damaging the seal or housing. Do not use excessive force, as this can cause distortion or breakage.
Step 6 Final Inspection
After the seal is installed, conduct a final inspection. Check for even seating and ensure there are no gaps or distortions. Once satisfied, you can proceed to reassemble any components that were removed during the process.
Conclusion
Installing oil seals correctly is crucial for maintaining the efficiency of mechanical systems. By following these steps, you can ensure that your oil seals are fitted properly, minimizing the risk of leaks and prolonging the life of your equipment. With some patience and the right tools, even those new to mechanical maintenance can successfully install oil seals.
-
Your Essential Guide to Car Repair Kits: From Rust to Dings
News Jun.13,2025
-
Understanding Vital Engine Seals: Key Gaskets in Diesel and Performance Engines
News Jun.13,2025
-
The Vital Role of Bearings in Marine and Boating Applications
News Jun.13,2025
-
Sealing the System: A Complete Guide to Engine Oil Gaskets
News Jun.13,2025
-
Sealing the Foundation: A Complete Guide to Engine and Transmission Pan Gaskets
News Jun.13,2025
-
Essential Bearings and Hubs for Marine Vessels and Trailers
News Jun.13,2025
-
Your Complete Guide to Automotive Oil Drain Plugs and Valves
News Jun.12,2025
Products categories


