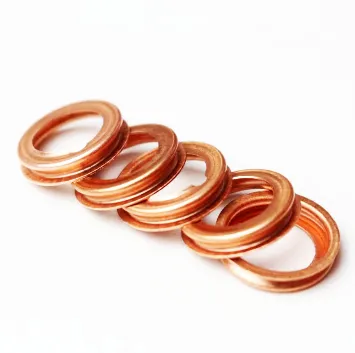
Auto spare parts Crankshaft Seal 038103171


Using a seal installation tool is highly recommended over improvisational methods. These tools are specifically designed to align the seal evenly, preventing skewing which can occur if using a hammer or screwdriver, potentially damaging the seal or crankshaft surface. Slowly and evenly press the seal into position, ensuring it sits flush with the engine block. Post-installation, visually inspect the seal placement. There should be no gaps or uneven edges. This is also the opportune moment to double-check that the seal is correctly aligned with the crankshaft, allowing for smooth operation. Once the seal is satisfactorily seated, reassemble any components that were removed to access the crankshaft. An often-overlooked but crucial step is testing the installation. Start the engine and let it idle, observing for any potential leaks at the site of the new seal. Bear in mind, initial test runs should be conducted cautiously, gradually escalating to regular operational conditions over time. This will help in confirming the seal’s integrity without undue pressure. While the installation of a crankshaft seal might seem daunting to beginners, armed with the right information and tools, it becomes a manageable task. Whether for seasoned professionals or dedicated DIY enthusiasts, understanding the importance of precision and attention to detail can make the difference between a successful installation and future engine headaches. In conclusion, when you undertake the task of installing a crankshaft seal, approach it with diligence and expertise. The benefits—extended engine life, improved performance, and peace of mind—are well worth the time and effort invested. Always prioritize quality materials and precise techniques, and the task will prove not only to be manageable but also exceptionally rewarding.
-
Understanding the Front Main Engine Seal: Purpose, Maintenance, and Installation
News Jul.29,2025
-
Understanding O-Rings and Seal Rings: Types, Applications, and Custom Solutions
News Jul.29,2025
-
Understanding Crankshaft Oil Seals: Rear Seals, Pulley Seals, and Their Role in Engine Integrity
News Jul.29,2025
-
The Importance of Front and Rear Crankshaft Seals in Engine Performance and Oil Management
News Jul.29,2025
-
Crank Oil Seals: Functions, Types, and Cost Considerations in Engine Maintenance
News Jul.29,2025
-
A Comprehensive Guide to O-Rings and Seals: Types, Materials, and Global Applications
News Jul.29,2025
-
Mastering Diesel and Performance Engine Maintenance: A Guide to Critical Oil Gaskets
News Jul.28,2025
Products categories


